
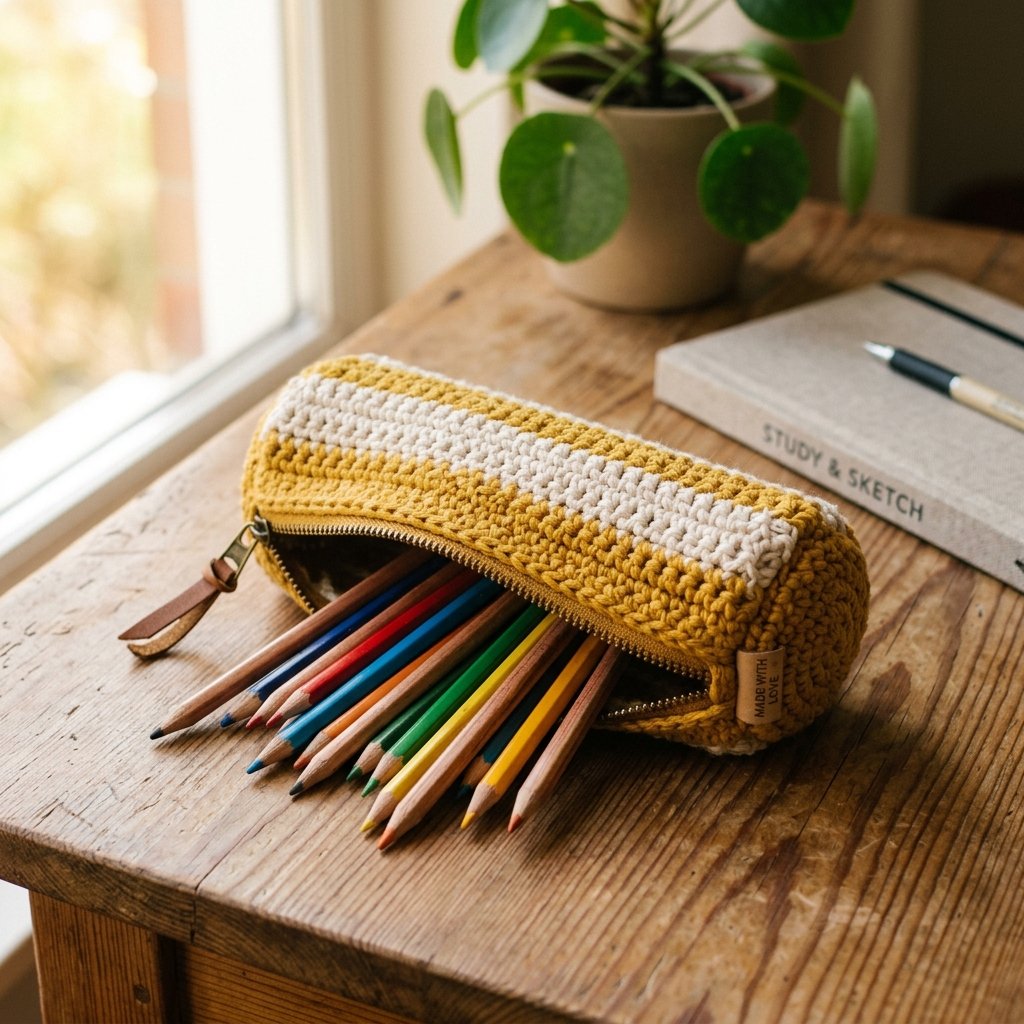
How to Crochet a Striped Pencil Case (Beginner-Friendly Pattern)
Posted on Learn Crochet Daily
There’s something so satisfying about making your own stationery — and this striped crochet pencil case is one of my favorite quick projects. It’s simple enough for a weekend afternoon, uses just two yarn colors, and looks just as good holding pencils on your desk as it does tucked into a bag.
In this post, I’ll walk you through everything you need to make your own: materials, stitch counts, step-by-step instructions, and a few tips I picked up along the way to help it turn out neat and sturdy.

Project Overview
- Skill Level: Beginner–Intermediate
- Time to Complete: ~3–4 hours
- Finished Size: Approx. 8 in x 3 in (20 cm x 7.5 cm)
Materials Needed
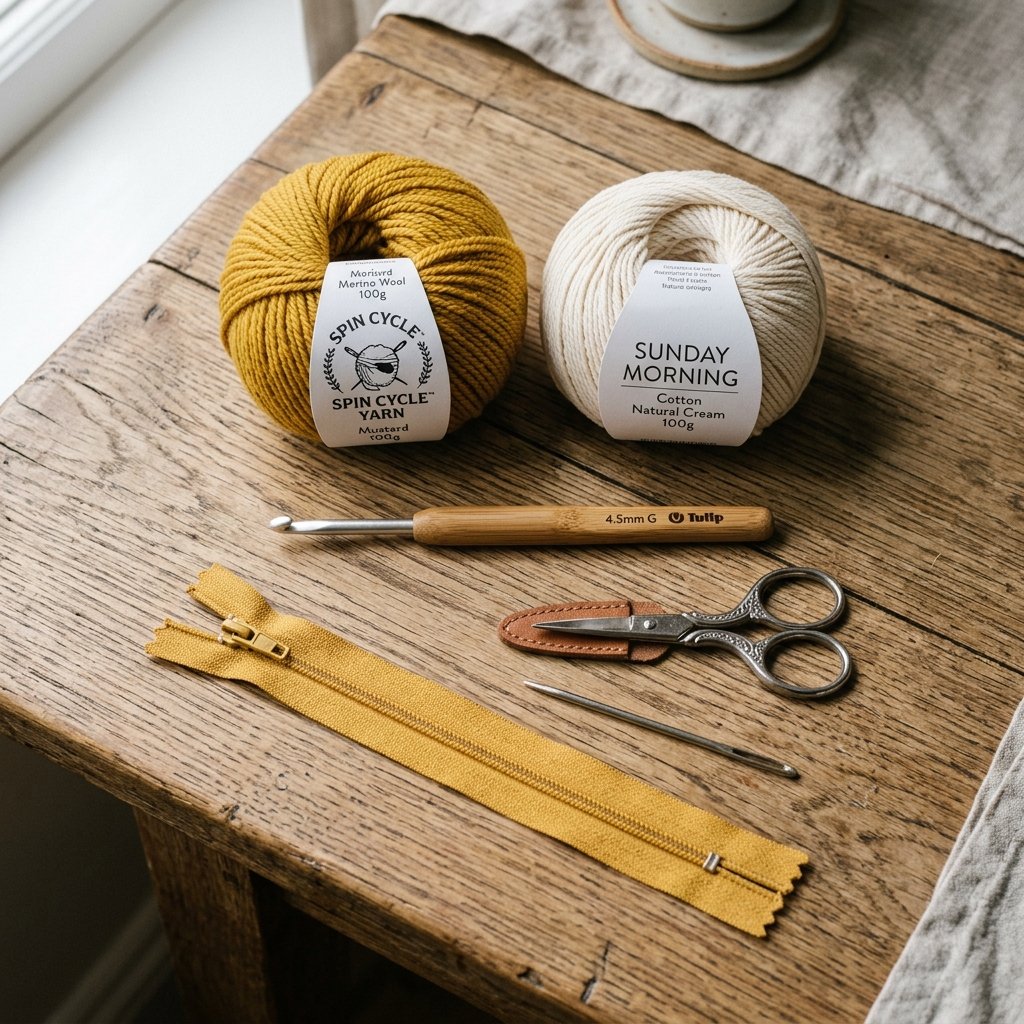
- Worsted weight (Medium #4) yarn in mustard yellow — approx. 80g
- Worsted weight yarn in cream/off-white — approx. 40g
- Crochet hook, size 4.5mm (US 7)
- Yarn needle (for weaving in ends)
- 8-inch zipper matching your color scheme
- Sewing needle and matching thread (for attaching the zipper)
- Scissors
- Stitch markers (optional, but helpful for tracking rounds)
Gauge
14 single crochet (sc) stitches and 16 rows = 4 inches (10 cm) in single crochet.
Gauge doesn’t need to be exact for this project, but it will affect your final size — swatch first if you want a precise fit.
Stitches & Abbreviations Used
- ch – chain
- sc – single crochet
- sl st – slip stitch
- inc – increase (2 sc in same stitch)
- st(s) – stitch(es)
Instructions
Step 1: Foundation Chain
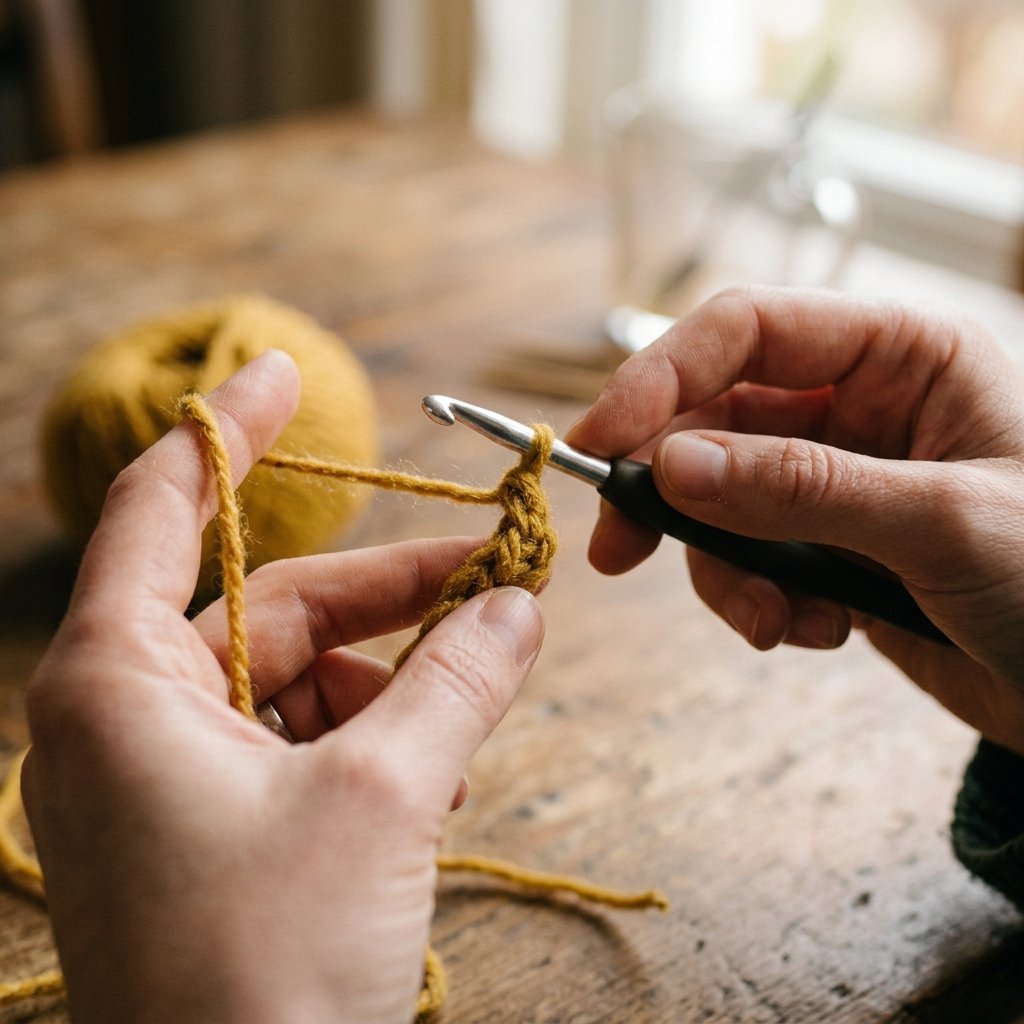
With mustard yarn, chain 34.
Step 2: Base Row
Sc in 2nd chain from hook and in each chain across (33 sc total). Turn.
Step 3: Build the Body
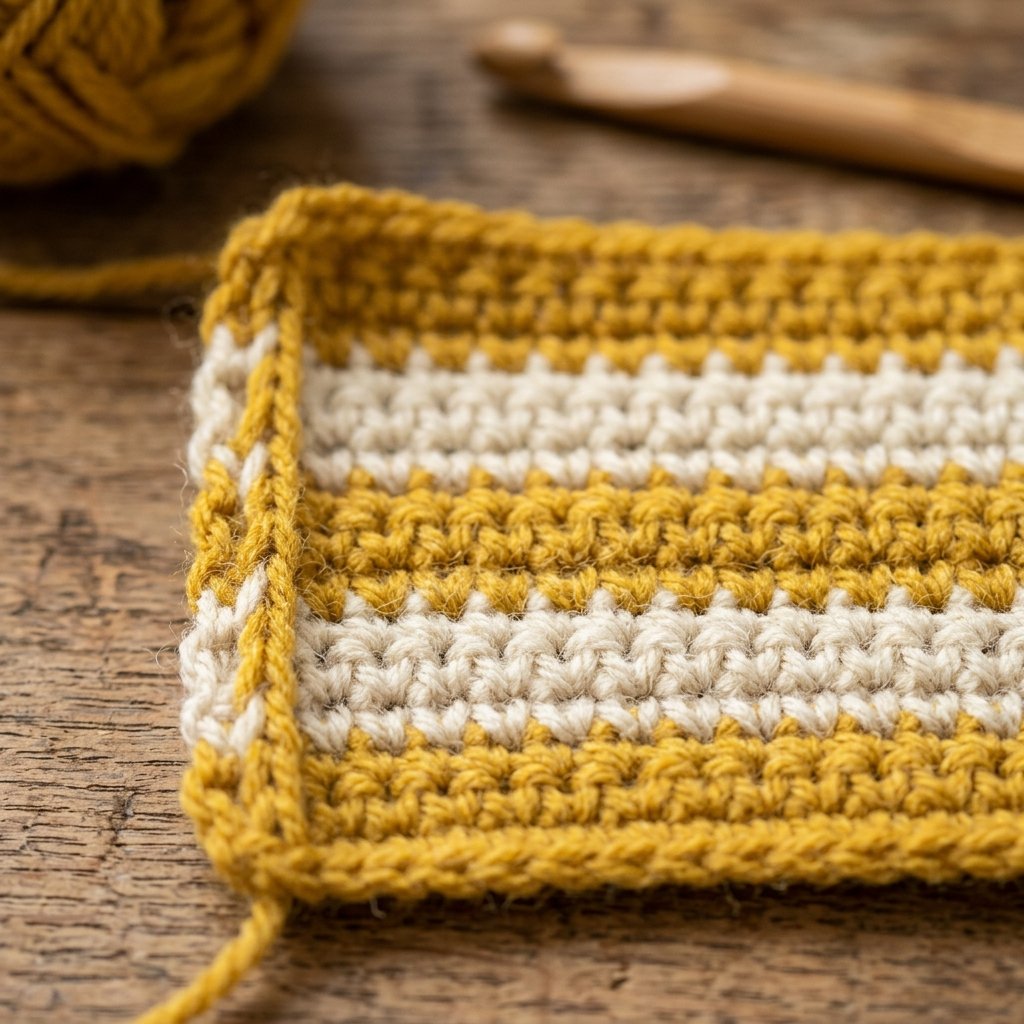
Continue working in sc, turning after each row, until your piece measures approximately 6 inches (15 cm) tall.
Stripe pattern: work 4 rows mustard, then switch to cream for 2 rows, then back to mustard for 4 rows. Repeat this stripe sequence until you reach your desired height. Carry the unused yarn color up the side of your work to avoid cutting and rejoining every stripe.
Step 4: Fold and Seam the Sides
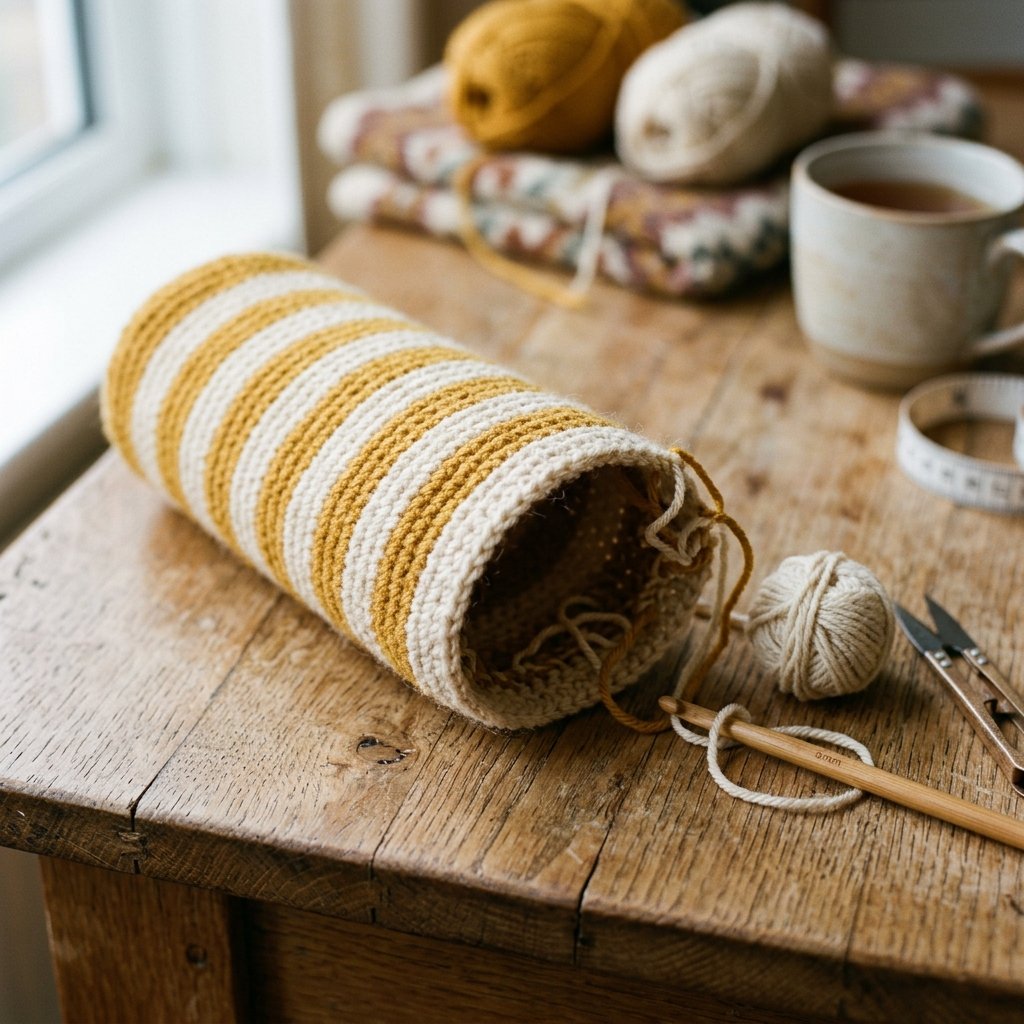
Fold your rectangle in half (right sides together) so the top edges meet. Using your yarn needle, whip stitch or sc the two side seams closed, leaving the top open.
Step 5: Turn Right-Side Out
Turn your pencil case right-side out through the open top. Gently push out the corners so the shape is even.
Step 6: Attach the Zipper
Pin your zipper along the inside top edge of the opening, right side facing out. Using a sewing needle and thread, whip stitch the zipper in place along both sides, keeping stitches small and even for a clean finish.
Tip: Crochet stitches can be a little bulkier than fabric — go slowly around the corners so the zipper lies flat without puckering.
Step 7: Weave in Ends
Weave in any remaining yarn ends using your yarn needle, and trim excess yarn close to the fabric.
Finishing Touches
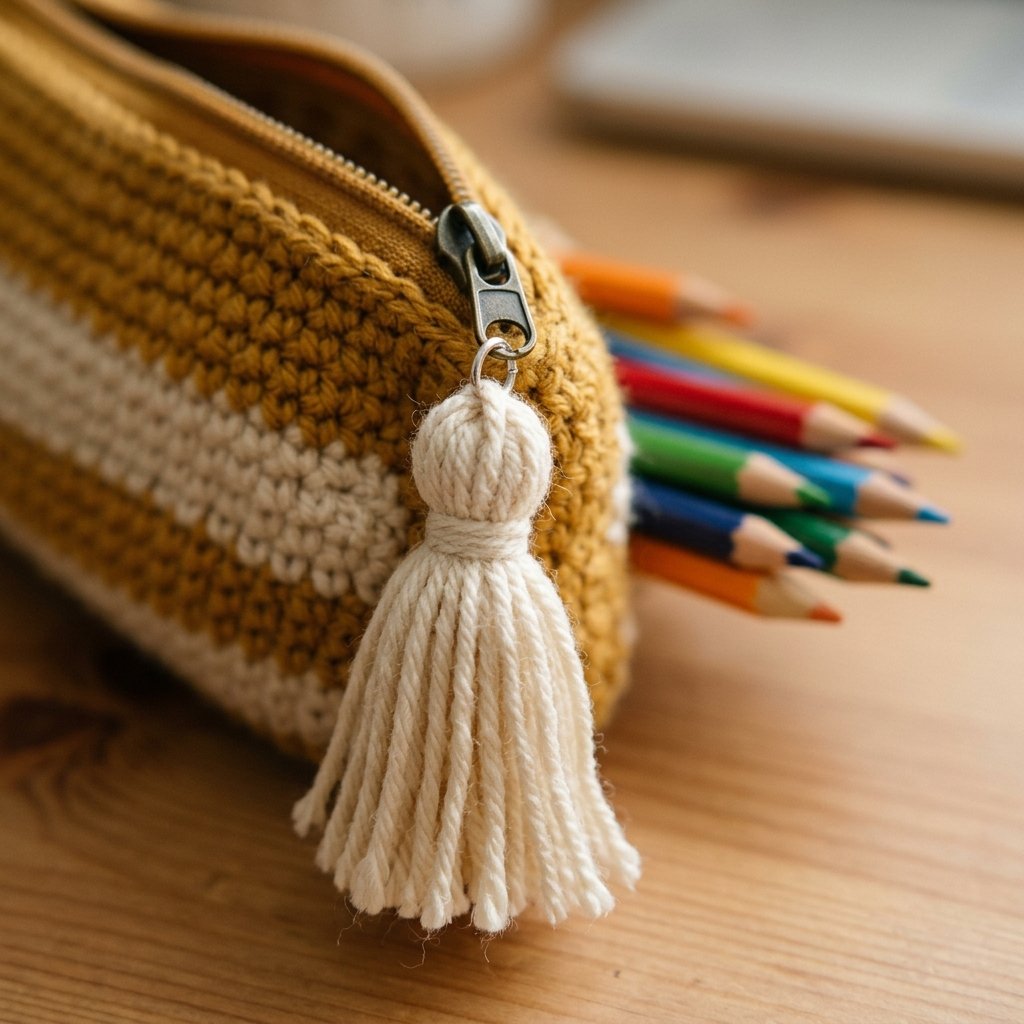
pull for a cute finishing detail.
Your pencil case is complete! A few optional add-ons if you want to make it extra special:
- Attach a small crochet or fabric tassel to the zipper pull
- Add a name tag or initial patch to the front
- Line the inside with fabric for extra durability (great if you plan to gift it)
Tips for Beginners
- If this is your first time attaching a zipper, practice on a scrap swatch first — it’s much less frustrating than learning directly on your finished piece.
- Keep your tension consistent throughout, especially when switching colors, to avoid puckering along the stripe transitions.
- This pattern is very adaptable — make it taller/narrower for a phone case, or wider for a small makeup bag.
Loved this pattern? Browse more beginner-friendly crochet projects on learncrochetdaily.com, and don’t forget to tag us if you make your own version!