
This Top-Hatted Amigurumi Pumpkin Is the Cutest Thing You’ll Crochet This Fall
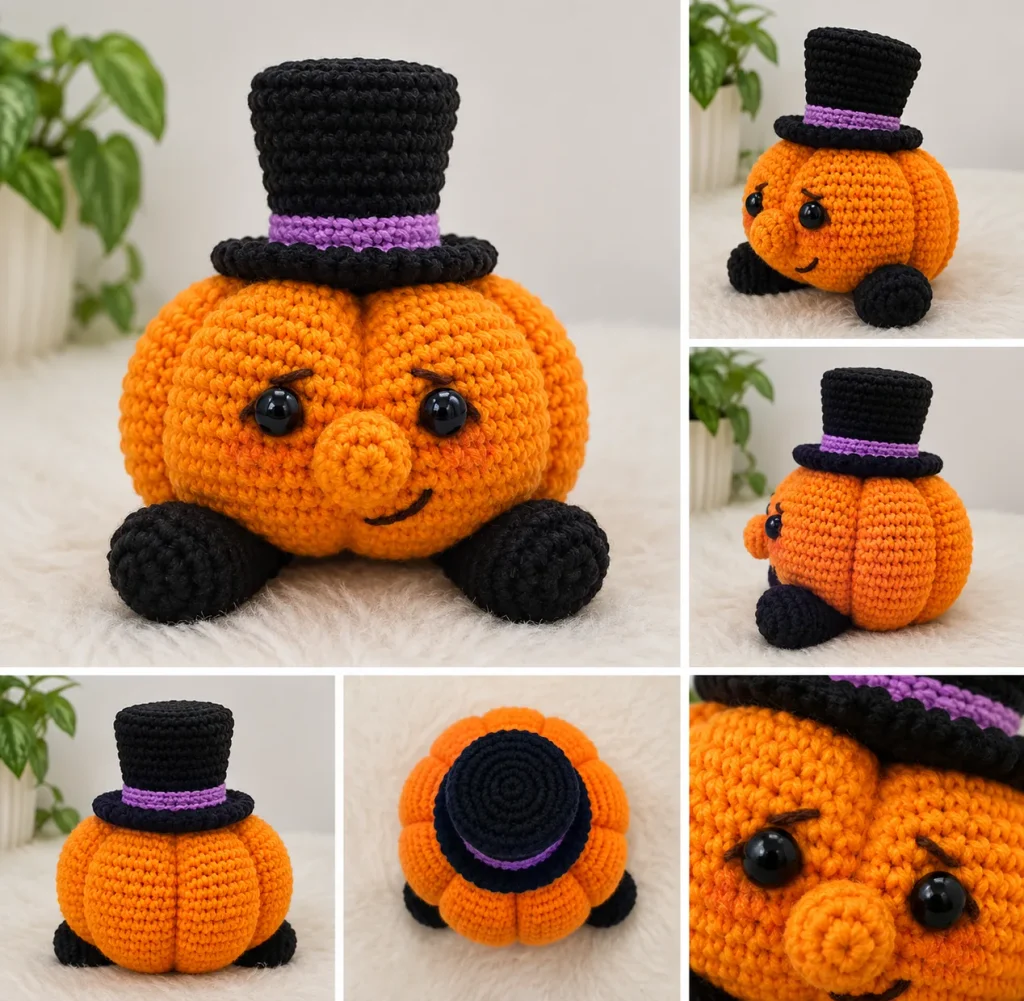
Key takeaways:
- Beginner-friendly pattern worked entirely in continuous spiral single crochet, no joining required
- Finished in roughly 4 to 6 hours with just a 2 mm hook and DK weight cotton yarn1
- The signature ridged texture is created after stuffing, using the long yarn tail through the front loops
- Five pieces total: body, nose, hat, and two feet, all with exact stitch counts spelled out round by round
- Safety eyes go in during the body, so plan that step ahead rather than adding them at the end
I have a soft spot for amigurumi that looks like it has somewhere to be. Not just cute, but dressed for the occasion. That is exactly what happens the moment you pop a tiny top hat on a crocheted pumpkin. Suddenly he is not just a seasonal decoration sitting on a shelf, he is a small orange gentleman with somewhere important to go, and he is bringing his best hat.
If you have ever finished a round of amigurumi decreases at eleven at night and felt a small jolt of victory over something the size of a golf ball, this pattern is for you. It is quick, it is forgiving, and the payoff (that ridged pumpkin body next to a jaunty little hat) is disproportionate to the effort involved.
Why this pattern works so well
A lot of amigurumi pumpkin patterns skip the texture and just leave you with a plain orange ball, which is fine, but it does not really read as “pumpkin” until you add the ridges. This one builds the ridge shaping into the finishing step: once the body is stuffed, you thread the long tail through the front loops only, top to bottom, and cinch gently. That single technique is what turns a round orange blob into something that unmistakably says pumpkin at a glance.
The hat is the other detail that elevates this from “cute” to “conversation piece.” It has its own reinforced brim (a plastic or cardboard circle keeps it from collapsing) and a front-loop-only increase round that flares the brim out from the crown. Add a twisted cord around the base and you have got something that looks far more complicated than nine rounds of single crochet actually is.
Materials You’ll Need
- DK weight cotton yarn (orange, black, green)
- 2 mm crochet hook
- 6 mm safety eyes (1 pair)
- Fiberfill stuffing
- Stitch marker
- Yarn needle
- Scissors
- Brown embroidery floss
- Plastic or cardboard circle for the hat brim
Pattern at a Glance
| Item | Details |
| Difficulty | Beginner |
| Time | 4 to 6 hours |
| Hook | 2 mm |
| Size | Depends on your yarn weight and tension |
| Language | EN (US crochet terminology) |
| Abbreviation | Meaning |
| BLO | Back Loop Only |
| ch | Chain |
| dec | Decrease |
| FLO | Front Loop Only |
| inc | Increase |
| MR | Magic Ring |
| sc | Single Crochet |
| sl st | Slip Stitch |
A note before you start: everything is worked in continuous spiral rounds, no joining or chaining unless a step says otherwise. Gauge is not critical here, just keep your tension tight and even, since that is what gives amigurumi its clean, sturdy shape.
Step-by-Step Instructions
1. The Pumpkin Body
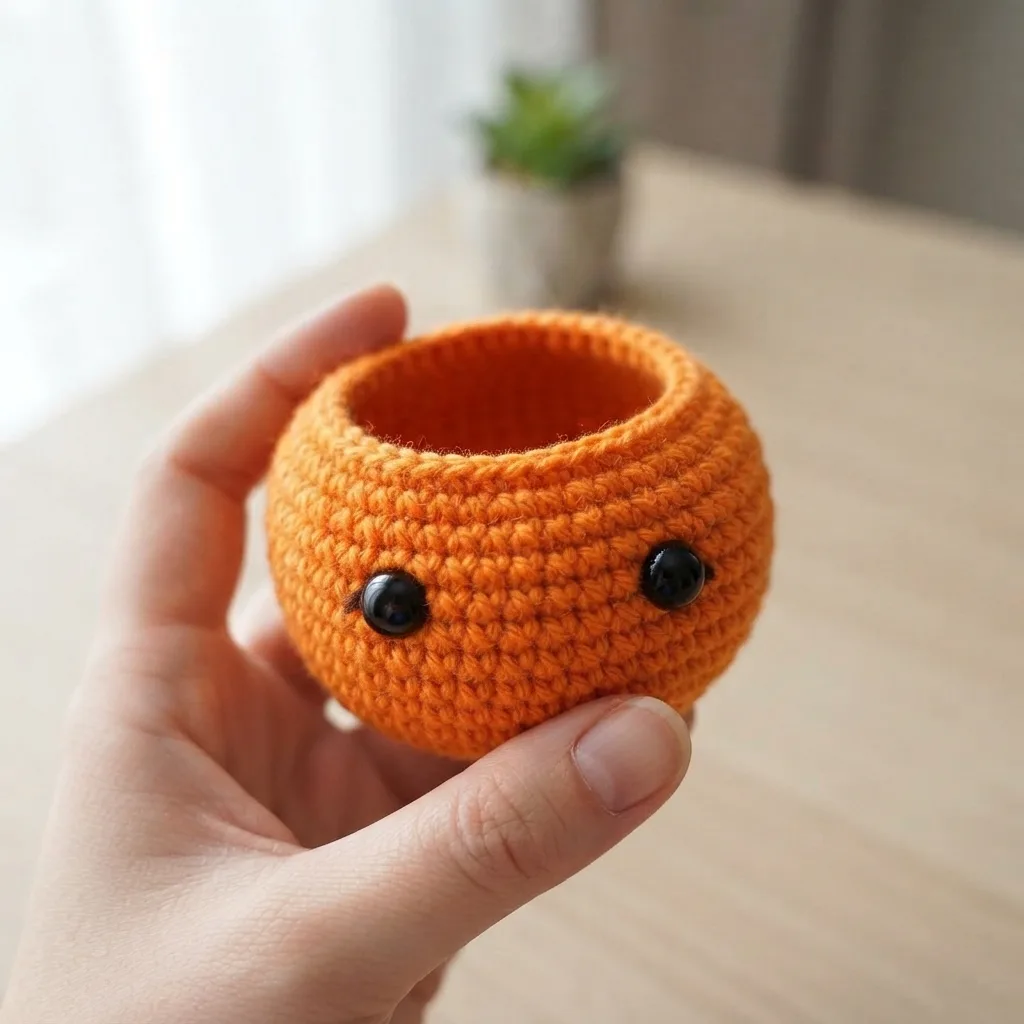
This is the biggest piece and the one that sets the tone for the whole project. You are building up from a magic ring to 72 stitches by round 10, holding steady through round 22, then decreasing back down to close.
| Round | Instructions | Stitches |
|---|---|---|
| 1 | 9 sc in MR | 9 |
| 2 | inc in each stitch | 18 |
| 3 | (sc, inc) around | 27 |
| 4 | sc, inc, 2 sc, inc x8, sc | 36 |
| 5 | sc around | 36 |
| 6 | (5 sc, inc) around | 42 |
| 7 | 3 sc, inc, 6 sc, inc x5, 3 sc | 48 |
| 8 | (5 sc, inc) around | 56 |
| 9 | 3 sc, inc, 6 sc, inc x7 | 64 |
| 10 | (7 sc, inc) around | 72 |
| 11 to 22 | sc around | 72 |
| 23 | (7 sc, dec) around | 64 |
| 24 | (6 sc, dec) around | 56 |
| 25 | (5 sc, dec) around | 48 |
| 26 | (4 sc, dec) around | 40 |
| 27 | (3 sc, dec) around, sl st | 32 |
Insert the 6 mm safety eyes between rounds 17 and 18, spacing them 7 to 8 stitches apart. Stuff firmly and leave a long tail when you close it up, you will need that tail for the ridges.
Ridge shaping: thread the tail onto a yarn needle and pass it through the front loops only, from top to bottom of the pumpkin. Pull gently to create each groove. Start your first ridge directly between the eyes, that placement anchors the whole face and makes the rest easier to space evenly.
2. The Nose
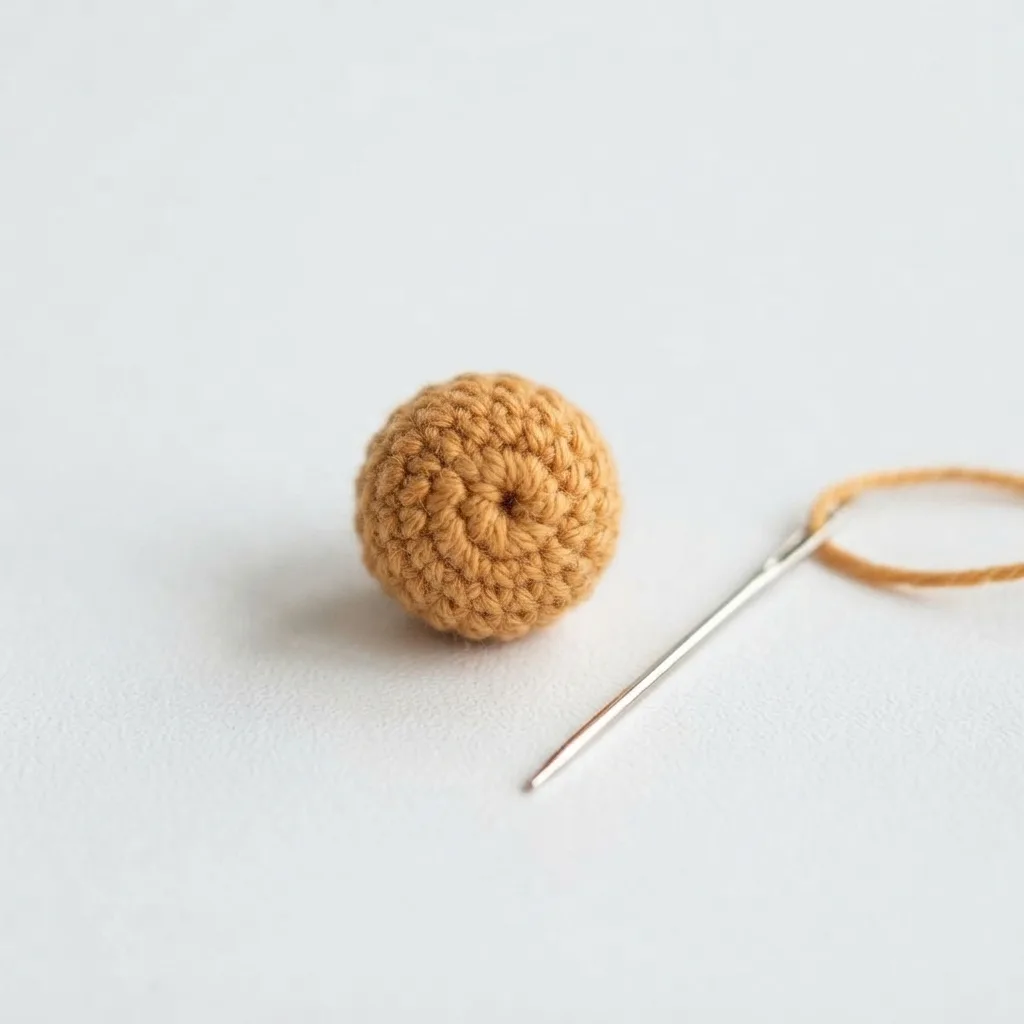
A quick little piece, just four rounds and done.
| Round | Instructions | Stitches |
|---|---|---|
| 1 | 6 sc in MR | 6 |
| 2 | inc around | 12 |
| 3 | sc around | 12 |
| 4 | (2 sc, dec) x3, sl st | 9 |
Leave a long sewing tail so it is ready to attach later.
3. The Hat
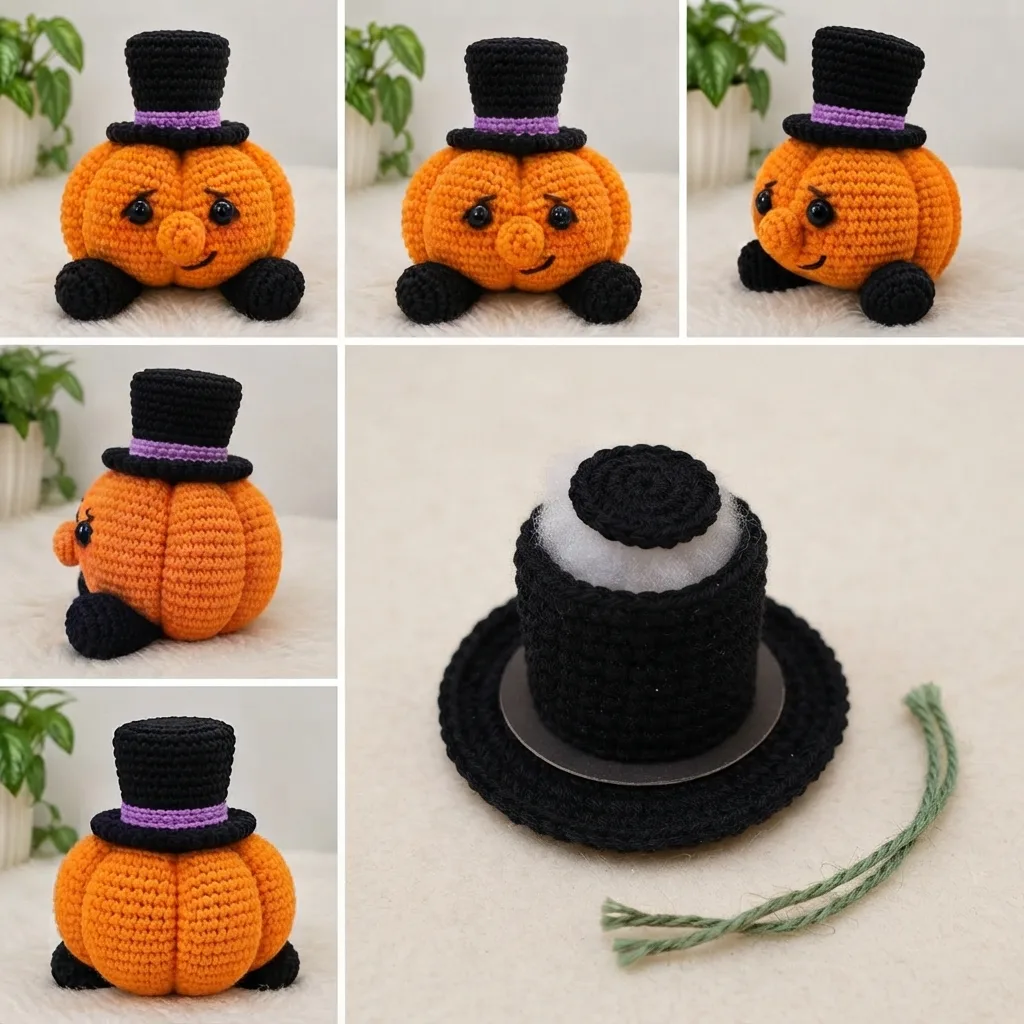
The hat is where the pattern earns its charm. It builds a wide flared brim, a straight crown, and finishes with a round of reverse single crochet (crab stitch) for a neat, corded edge.
| Round | Instructions | Stitches |
|---|---|---|
| 1 | 6 sc in MR | 6 |
| 2 | inc around | 12 |
| 3 | (sc, inc) around | 18 |
| 4 | (2 sc, inc) around | 24 |
| 5 | BLO: (3 sc, inc) around | 30 |
| 6 | sc around | 30 |
| 7 | (8 sc, dec) around | 27 |
| 8 to 10 | sc around | 27 |
| 11 | (7 sc, dec) around | 24 |
| 12 | sc around | 24 |
| 13 | (6 sc, dec) around | 21 |
| 14 to 17 | sc around | 21 |
| 18 | FLO: (inc, sc) x10, inc | 32 |
| 19 to 20 | sc around | 32 |
| 21 | Reverse single crochet (crab stitch) | 32 |
Insert your plastic or cardboard circle before round 11, that is what keeps the brim from folding in on itself once the hat is finished. Stuff lightly and tie a green chain or twisted cord around the crown for that finished, dapper look.
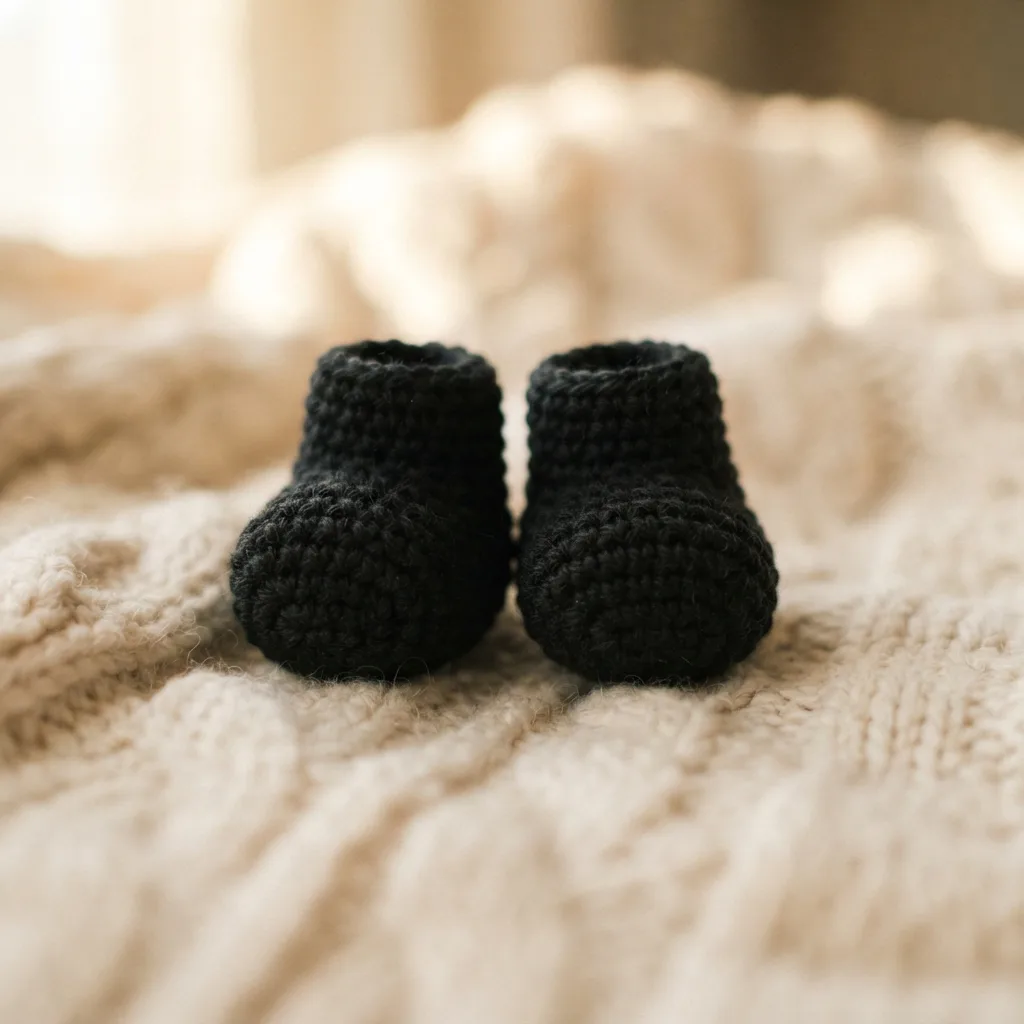
4. The Feet (Make 2)
| Round | Instructions | Stitches |
|---|---|---|
| 1 | 6 sc in MR | 6 |
| 2 | inc around | 12 |
| 3 | (sc, inc) around | 18 |
| 4 to 6 | sc around | 18 |
| 7 | (sc, dec) around | 12 |
| 8 to 9 | sc around | 12 |
Stuff only the toe, leave the opening flat, then single crochet through both layers to close it. That flat back is what lets the feet sit flush against the body.
5. Assembly
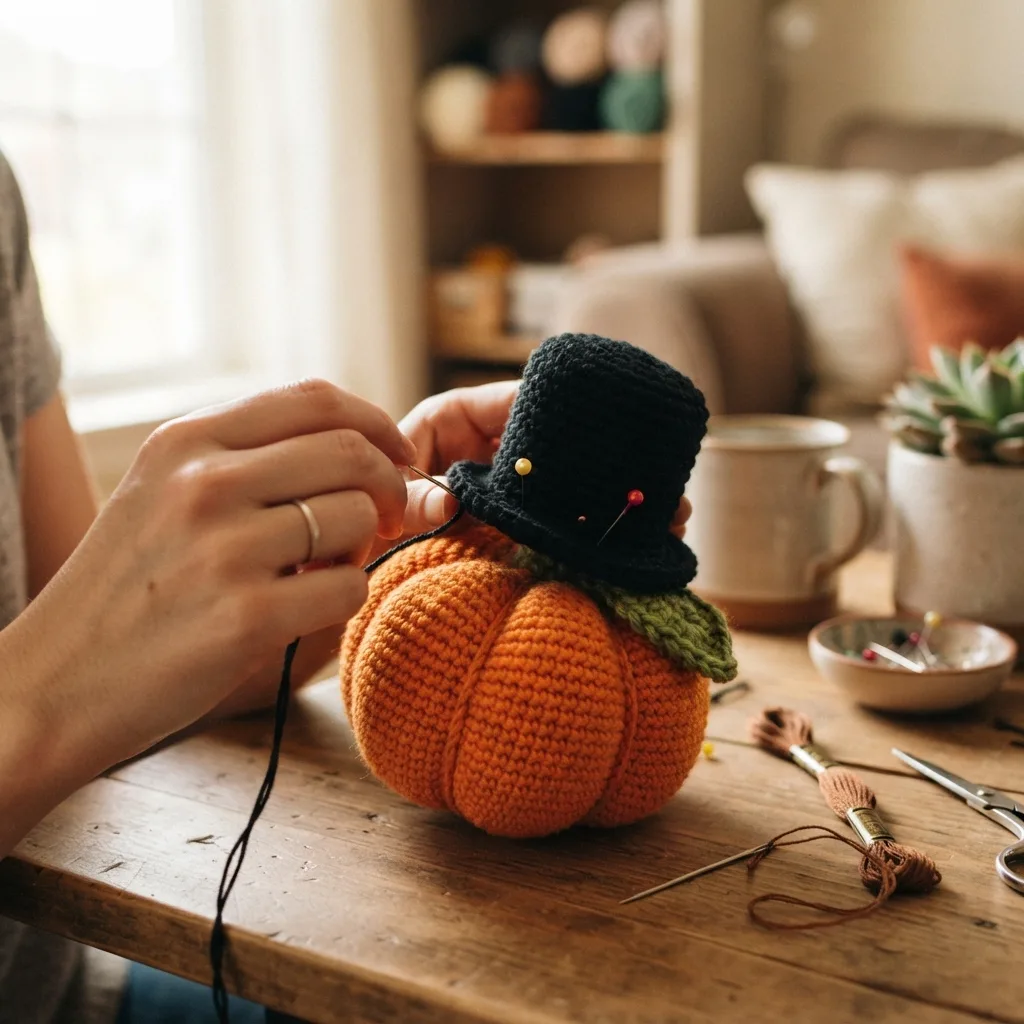
This is the part where all those separate little pieces suddenly become a character.
- Sew the nose between the eyes.
- Pin and whipstitch the hat onto the top of the head.
- Pin both feet to the lower front of the pumpkin and sew securely.
- Embroider eyelids, eyebrows, and a small smile with brown floss.
- Add a touch of blush to the cheeks if you want a little extra warmth in the face.
- Weave in all your yarn ends.
Practical Tips for a Cleaner Finish
- Keep your stitches snug and even, loose tension is the number one culprit behind gaps and visible stuffing.
- Use invisible decreases wherever you can, they disappear into the fabric instead of leaving little bumps.
- Stuff pieces gradually as you go rather than waiting until the opening is too small to work with.
- Cotton yarn gives the crispest stitch definition, which matters a lot for those pumpkin ridges.
- Whipstitch through the “V” of each stitch when assembling, it makes for nearly invisible seams.
- Pull the ridge-shaping yarn slowly in short, controlled tugs rather than one big pull, so the grooves stay even.
How big is the finished pumpkin?
It depends entirely on your yarn weight, hook size, and tension. This pattern is written for DK weight cotton on a 2 mm hook, but the stitch counts scale with whatever materials you choose.
Can I use a different yarn weight?
Yes. Thicker yarn will give you a larger pumpkin, thinner yarn a smaller one. Just keep your hook proportionally smaller than you might normally use with that yarn weight, since tight stitches are what keep the stuffing from peeking through.
How do I make the ridges look right?
Use the long tail left after stuffing to cinch through the front loops only, pulling gently one ridge at a time rather than tightening everything at once. Rushing this step is the easiest way to end up with uneven grooves.
Can I embroider the eyes instead of using safety eyes?
Absolutely. Embroidered eyes are a great substitute, and they are the safer choice if this pumpkin is headed for a very young child.
Give him a try. He is a genuinely quick make, most of an evening from magic ring to finished top hat, and he photographs beautifully next to a mug of cider. If you make your own version, I would love to hear how your ridge shaping turned out, that step trips people up more than anything else in this pattern. Drop a comment with your yarn colors, I am always curious what other crocheters do with the hat cord.