
Beige Textured Baby Romper Crochet Pattern
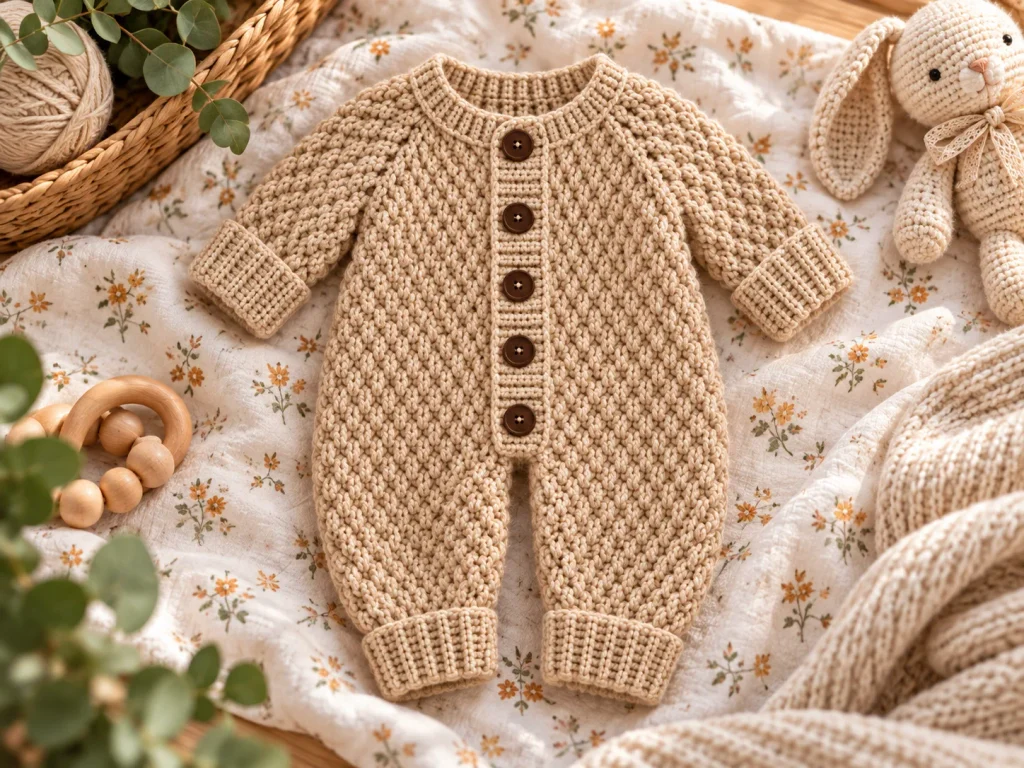
There is something especially lovely about crocheting baby clothes in soft neutral shades. This little textured romper has such a warm, timeless look, with its long sleeves, subtle raised stitch pattern, ribbed cuffs, rounded neckline, and five simple brown buttons down the front.
What I like most about this design is that it feels detailed without being overly fussy. The diagonal texture adds interest to the fabric, while the roomy diaper area and stretchier ribbed finishes make the romper practical as well as pretty.
This pattern is written for a 0–3 month size, with a finished chest of approximately 44.5 cm (17.5 in), a hip and diaper circumference of 50 cm (19.7 in), and a finished shoulder-to-ankle length of about 40 cm (15.7 in). It is an intermediate-level project and takes roughly 12–16 hours to complete.
A Note About Color
Although I made this version in a warm beige shade, you definitely do not need to stay with beige.
Cream, oatmeal, sage green, dusty blue, blush pink, soft gray, caramel, or any other solid color can work beautifully. The important thing is to keep the same yarn weight and match both the main and ribbing gauges. If you change the yarn brand or fiber blend, make a new swatch before starting.
Quick Pattern Details
| Detail | Information |
|---|---|
| Skill Level | Intermediate |
| Size | 0–3 months |
| Finished Chest | 44.5 cm / 17.5 in |
| Hip / Diaper Circumference | 50 cm / 19.7 in |
| Finished Length | 40 cm / 15.7 in |
| Shoulder to Crotch | 25 cm / 9.8 in |
| Leg Inseam | 15 cm / 5.9 in |
| Sleeve Underarm Length | 15 cm / 5.9 in |
| Estimated Time | 12–16 hours |
| Construction | Raglan yoke, open-front body, separate legs and sleeves, sewn ribbed bands |
| Terminology | US crochet terms |
Choose the size by the baby’s actual chest and shoulder-to-crotch measurement rather than age alone. A diaper adds extra bulk, so the romper should sit comfortably through the chest, bottom, and legs without pulling at the crotch.
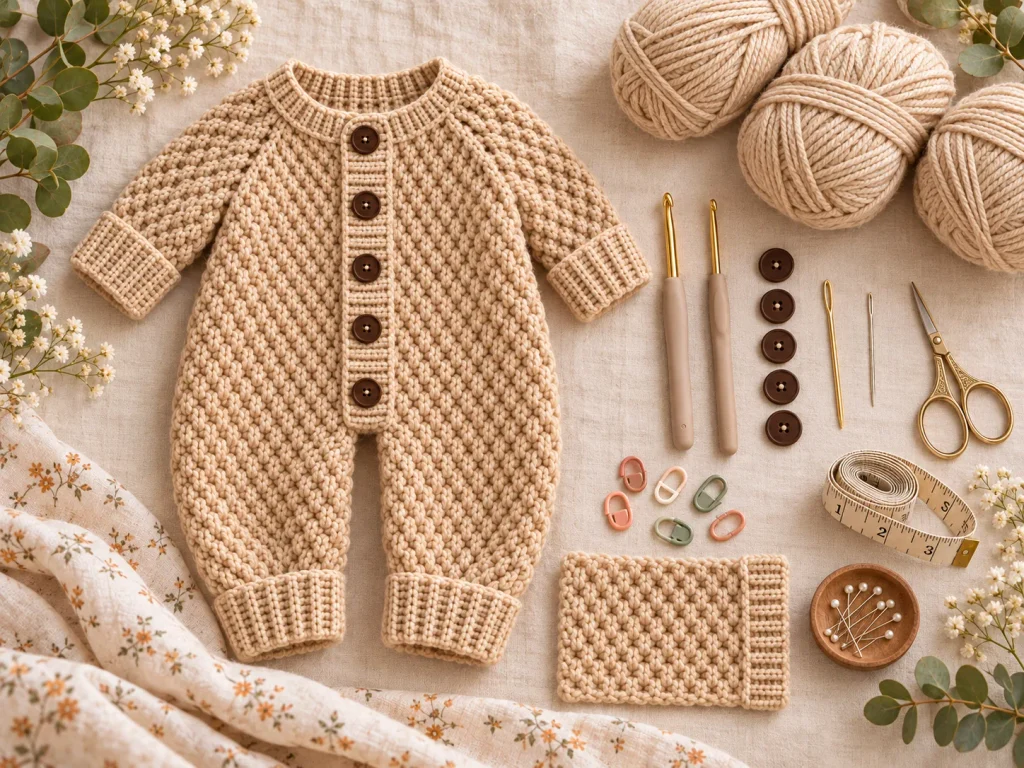
Materials You’ll Need
- Smooth DK / light weight 3 washable acrylic or soft cotton-acrylic blend
- Approximately 250 g / 625 m
- Buying 300 g / 750 m is recommended for swatching and tension differences
- 4 mm crochet hook for the main fabric
- 3.5 mm hook for ribbing
- 5 smooth brown buttons, 15 mm
- Yarn needle
- Scissors
- Measuring tape
- Removable stitch markers
- Sewing needle
- Strong matching sewing thread
- Flat blocking surface
- Rustproof pins
A smooth yarn works best here because it lets the raised FPdc texture show clearly without making the fabric too bulky.
Gauge
Gauge is important for this project because the neckline, sleeves, diaper area, cuffs, and front bands all need to work together.
Main gauge:
16 stitches and 12 rows/rounds = 10 × 10 cm (4 × 4 in) in textured hdc fabric.
Ribbing gauge:
22 sc and 20 rows = 10 × 10 cm (4 × 4 in) in sc BLO.
Wash and dry your swatches flat before measuring them.
Abbreviations
- ch – Chain
- sc – Single crochet
- hdc – Half double crochet
- FPdc – Front-post double crochet
- sl st – Slip stitch
- BLO – Back loop only
- inc – 2 hdc in one stitch
- hdc2tog – Work 2 hdc together
- st(s) – Stitch(es)
- sp – Space
- RS / WS – Right side / wrong side
- FO – Fasten off
Working Notes and Textured Stitch
Ch 1 to turn hdc and sc rows. The turning chain does not count as a stitch, so always work into the first actual stitch.
When working joined rounds, sl st into the first stitch, ch 1, and turn after every round.
The raised texture is created with occasional FPdc stitches worked in place of hdc. They replace the stitch rather than adding an extra one.
Eight-Row Texture Cycle
- Row 1: hdc across
- Row 2: hdc across
- Row 3: FPdc at positions 3, 7, 11, 15 and every fourth stitch after that
- Row 4: hdc across
- Row 5: FPdc at positions 4, 8, 12, 16 and every fourth stitch after that
- Row 6: hdc across
- Row 7: FPdc at positions 5, 9, 13, 17 and every fourth stitch after that
- Row 8: hdc across
Repeat the cycle throughout the pattern. At increases, decreases, and raglan corners, work the required shaping stitch instead of FPdc.
Piece 1: Neckline Foundation and Raglan Yoke
Using the main hook:
- Foundation: ch 49
- Foundation row: sc in the second chain from hook and across (48)
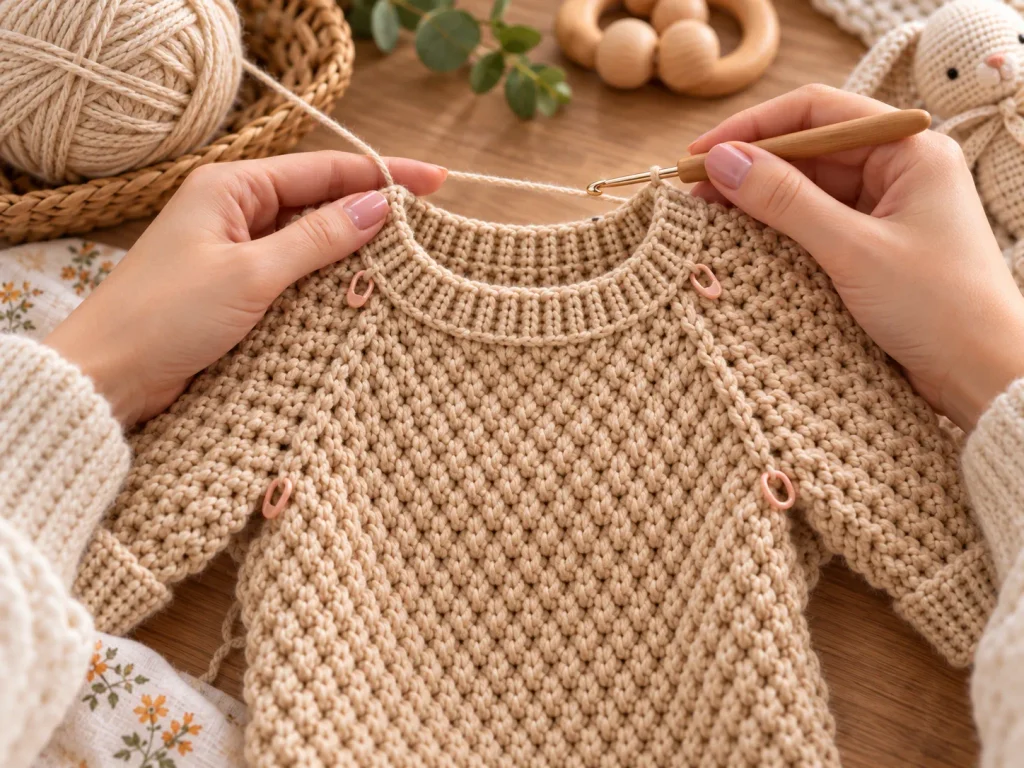
Yoke Row 1
Ch 1, turn and work:
6 hdc, ch 2 and skip 2, 6 hdc, ch 2 and skip 2, 16 hdc, ch 2 and skip 2, 6 hdc, ch 2 and skip 2, 6 hdc
You now have 40 hdc and four ch-2 corner spaces.
Place a marker in each corner.
The five sections are:
6 front / 6 sleeve / 16 back / 6 sleeve / 6 front
For Rows 2–9, follow the texture cycle and work:
(hdc, ch 2, hdc)
in every corner space.
Each row adds 8 stitches.
By the end of Row 9, your section counts should be:
14 / 22 / 32 / 22 / 14 = 104 stitches
For Rows 10–12, continue the texture without adding stitches at the corners. Simply ch 2 over each corner space.
The finished yoke should measure approximately 10 cm / 3.9 in deep.
Piece 2: Body and Diaper Shaping
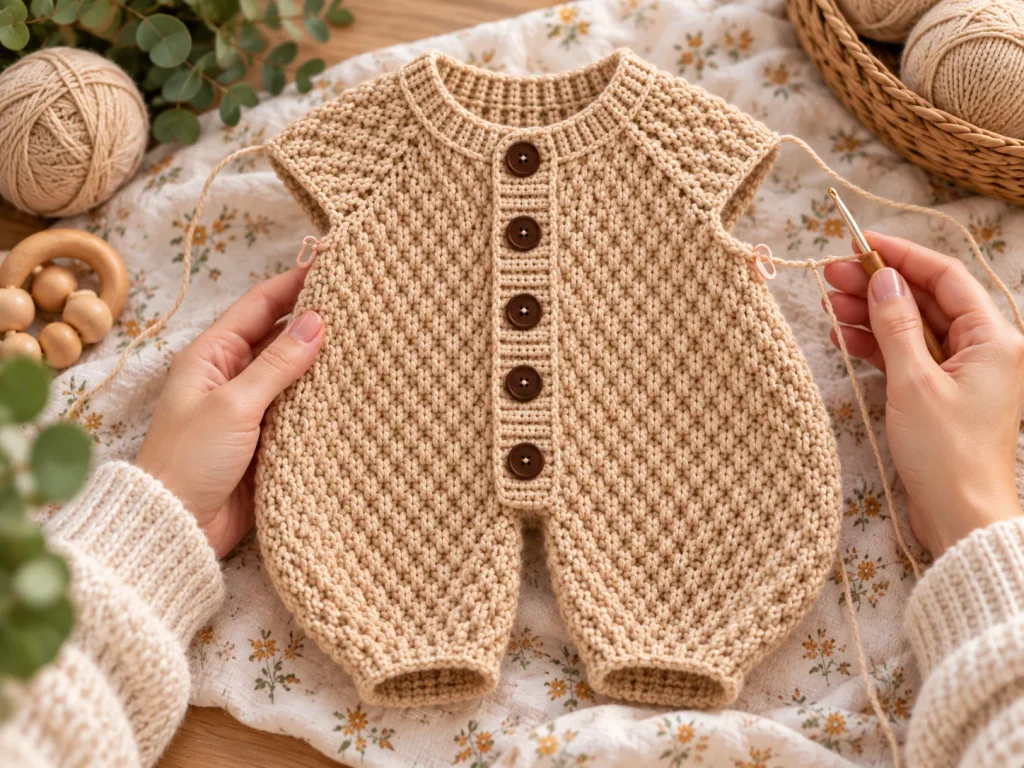
Divide for the Sleeves
Start a new body row count.
Body Row 1
Work:
- 14 hdc across first front
- ch 4, skipping the first sleeve and both adjacent corner spaces
- 32 hdc across the back
- ch 4, skipping the second sleeve
- 14 hdc across final front
You will have 68 positions.
Body Row 2
Hdc across, working into each underarm chain (68).
Body Row 3
Work texture cycle Row 3.
Shape the Diaper Area
Divide the 68 stitches into four groups of 17.
Body Row 4
Increase once in each group (72).
Rows 5–7
Work without shaping.
Divide the 72 stitches into four groups of 18.
Body Row 8
Increase once in each group (76).
Rows 9–18
Continue in pattern with 76 stitches.
The body should measure about 15 cm from underarm to crotch and 25 cm from shoulder to crotch.
If the baby needs extra diaper room, add the same number of plain rows while keeping 76 stitches.
Lower Front Join
At the end of the final body row:
ch 4 and sl st to the first stitch
to turn the lower body into a ring.
You now have:
76 body stitches + 4 bridge chains = 80 positions
Mark center front and center back.
Each half of the ring contains 40 positions.
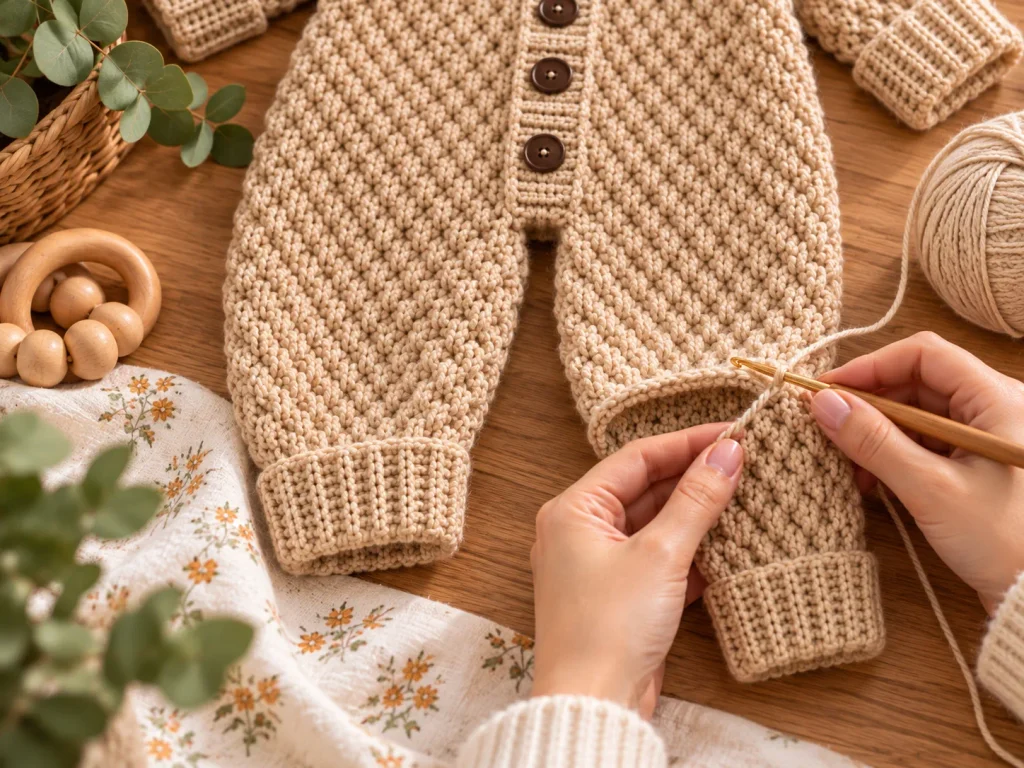
Piece 3: Legs — Make 2
First Leg
Join yarn at center front.
Round 1
Work 40 hdc along one half of the ring, then ch 4 and join to the first hdc.
You now have 44 positions.
Round 2
Work hdc around, including one hdc in each crotch chain (44).
Round 3
Work texture cycle Row 3.
Place one decrease marker at the inner leg and another at the outer leg.
Continue shaping:
- Round 4: 42
- Round 5: 42
- Round 6: 40
- Round 7: 40
- Round 8: 38
- Round 9: 38
- Round 10: 36
- Round 11: 36
- Round 12: 34
- Round 13: 34
- Round 14: 32
On every decrease round, work one hdc2tog at each marker.
Fasten off.
The crochet leg fabric should measure about 11.7 cm before adding the cuff.
Second Leg
Work the remaining half-ring in the same way.
Use the unused loops of the first leg’s crotch bridge rather than making another bridge.
Finish with 32 stitches.
Check that both legs are the same length before moving on.
Piece 4: Sleeves — Make 2
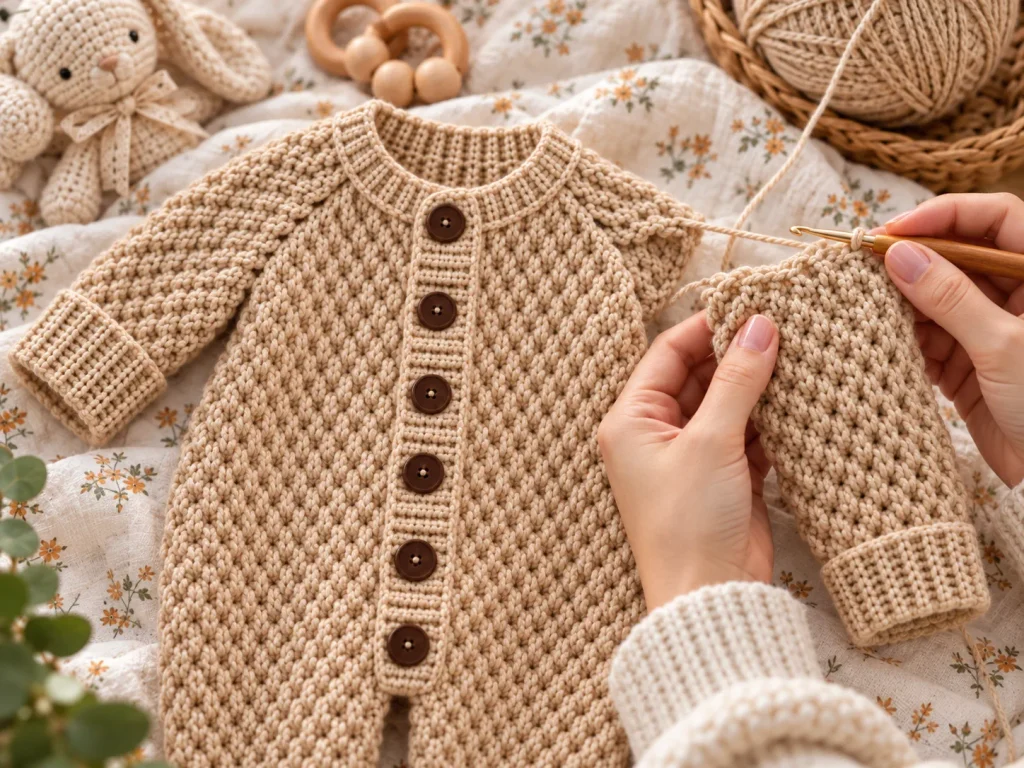
Join yarn at the underarm.
Work across the 22 held sleeve stitches plus the underside loops of the 4 underarm chains.
Sleeve Round 1
Work 26 hdc.
Rounds 2–5
Continue the texture cycle (26).
Round 6
Work two hdc2tog decreases around the underarm area (24).
Rounds 7–11
Continue the texture (24).
Round 12
Repeat the two decreases (22).
Rounds 13–14
Continue the texture cycle (22).
Fasten off.
The sleeve fabric measures approximately 11.7 cm before the cuff.
Piece 5: Ribbed Wrist Cuffs — Make 2
Using the smaller hook:
- Foundation: ch 8
- Row 1: 7 sc
- Rows 2–24: sc BLO across
Join the short ends to make a ring.
Each cuff should measure approximately 3.2 cm deep × 12 cm long.
Sew one long edge evenly around the sleeve wrist.
Piece 6: Ribbed Ankle Cuffs — Make 2
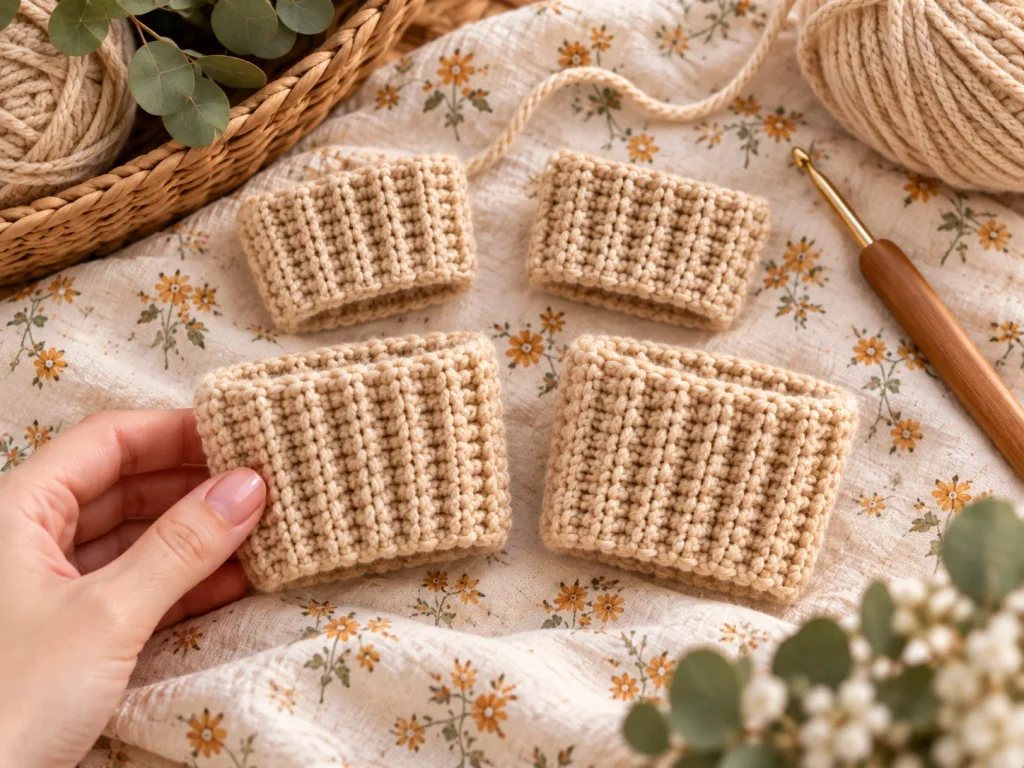
Using the smaller hook:
- Foundation: ch 8
- Row 1: 7 sc
- Rows 2–32: sc BLO across
Join the short ends.
Each cuff should measure around 3.2 cm deep × 16 cm long.
Sew one edge evenly around the 32-stitch leg opening, keeping the seam flexible enough to stretch over the baby’s foot.
Piece 7: Ribbed Neckband
Using the smaller hook:
- Foundation: ch 5
- Row 1: 4 sc
- Rows 2–60: sc BLO across
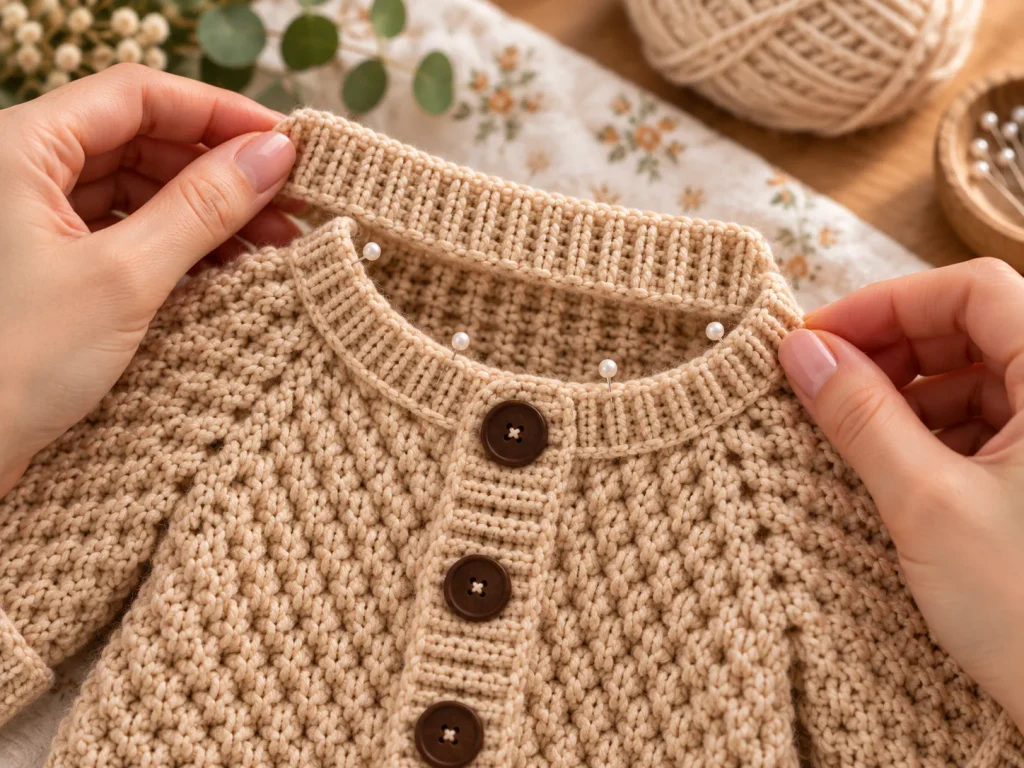
The finished strip measures about 1.8 cm × 30 cm.
Keep the short ends open.
Pin and sew one long edge evenly around the neckline, making sure the front edges remain aligned with the opening.
Piece 8: Front Button Bands
Each finished band should measure approximately 1.8 cm wide × 27 cm long.
Plain Button Band
- ch 5
- Row 1: 4 sc
- Rows 2–54: sc BLO across
Buttonhole Band
Use the same foundation.
Work ordinary sc BLO rows, except for:
Rows 4, 15, 26, 37 and 48
On each buttonhole row:
sc BLO in first stitch, ch 2, skip 2, sc BLO in last stitch
On the following row:
sc, 2 sc into ch-2 space, sc
Continue through Row 54.
Test the first opening with your 15 mm button before completing all five.
Sew both bands to the front edges and overlap the buttonhole band over the plain band.
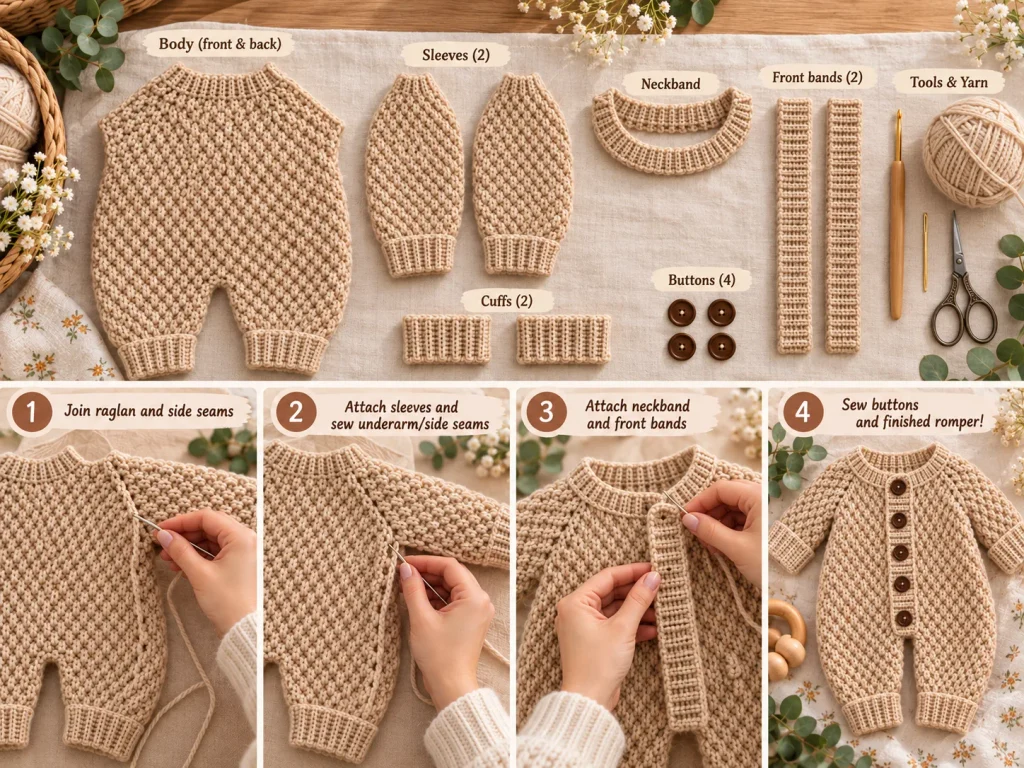
Assembly and Finishing
Wash and dry the romper flat according to the yarn label.
Once dry:
- smooth the neckline and bands
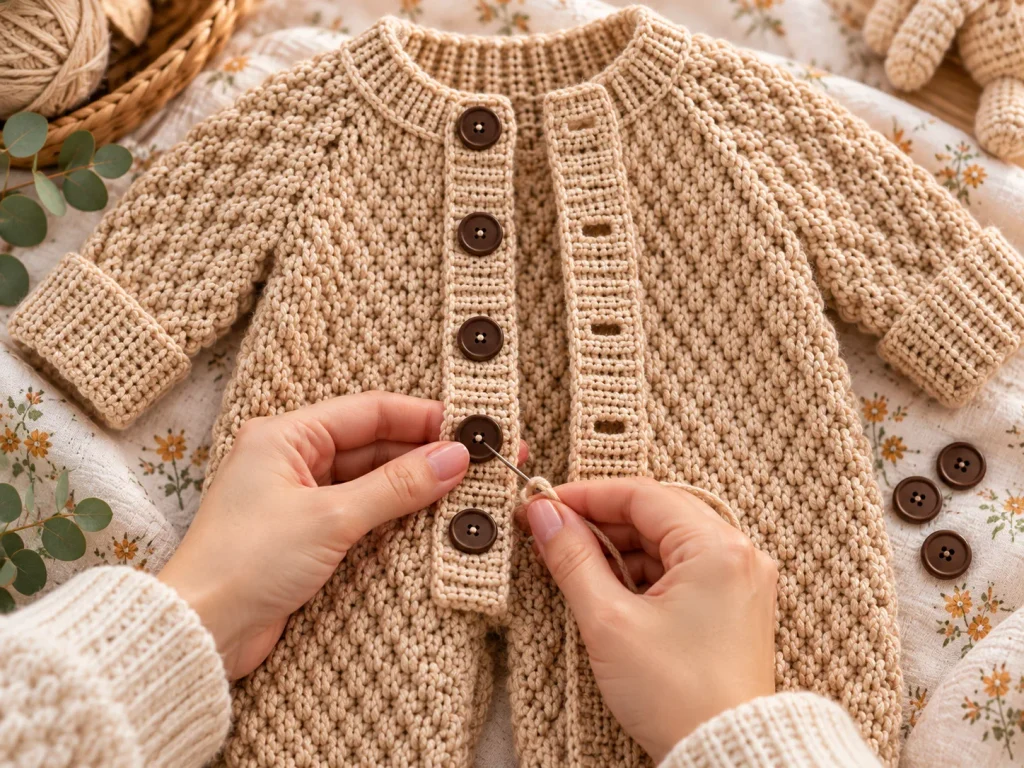
- overlap the front bands
- mark the five button positions
- sew the buttons securely with strong thread
- weave in all yarn ends
- check the underarms and crotch for gaps
Final measurements should be close to:
- Chest: 44.5 cm
- Diaper area: 50 cm
- Shoulder to crotch: 25 cm
- Shoulder to ankle: 40 cm
Make sure the cuffs stretch comfortably over the baby’s hands and feet, and always check the button attachments before wear.
Final Thoughts
This is one of those baby crochet projects that looks especially polished once all the finishing pieces are added.
The textured body gives it just enough detail, while the little ribbed cuffs, neckband, and button bands make the whole romper feel neat and thoughtfully finished.
I also love how easy it is to change the personality of this design simply by choosing another yarn color. Beige gives it a soft, natural feel, but the same romper could look completely different in cream, sage, dusty blue, soft pink, or caramel.
Video Tutorial
Take your time with the gauge and shaping, especially around the diaper area and cuffs. Once everything is assembled, you end up with a sweet little handmade romper that feels both cozy and beautifully finished.