
Crochet Reindeer Mug Pattern (Christmas Amigurumi)
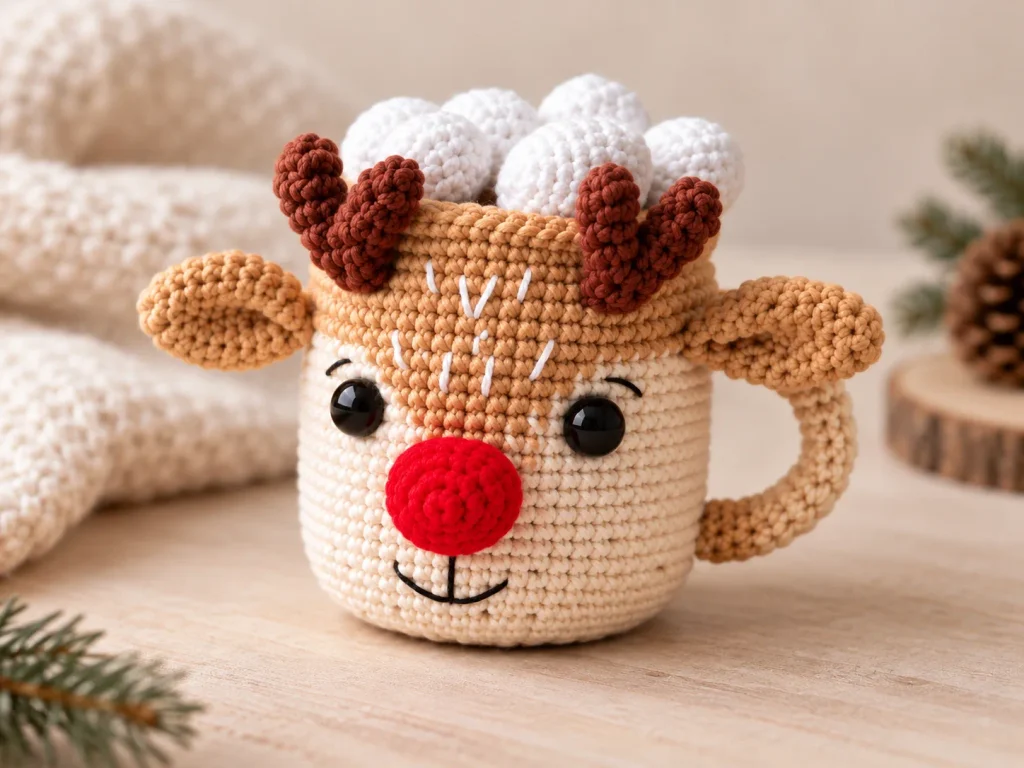
I have such a soft spot for Christmas crochet, especially projects that feel a little playful without being too fussy. This reindeer mug is exactly that kind of make. It starts with a simple stuffed mug shape, then turns into the sweetest little Christmas character once the sand-colored face, red nose, ears, antlers, cocoa top, and marshmallows are added.
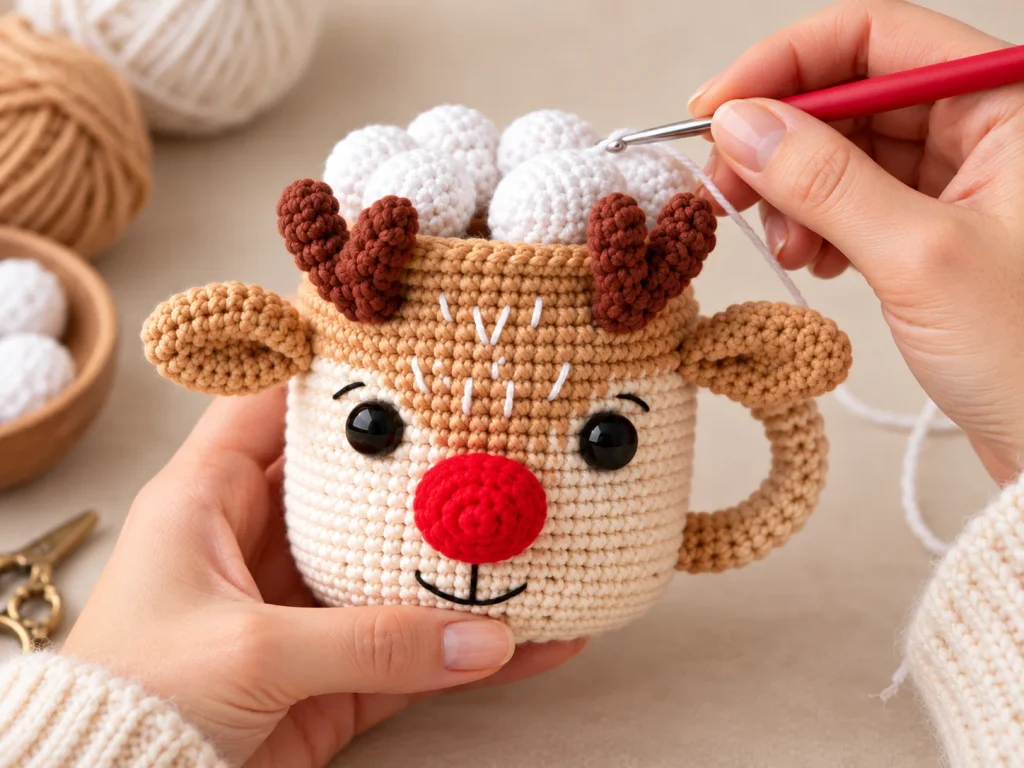
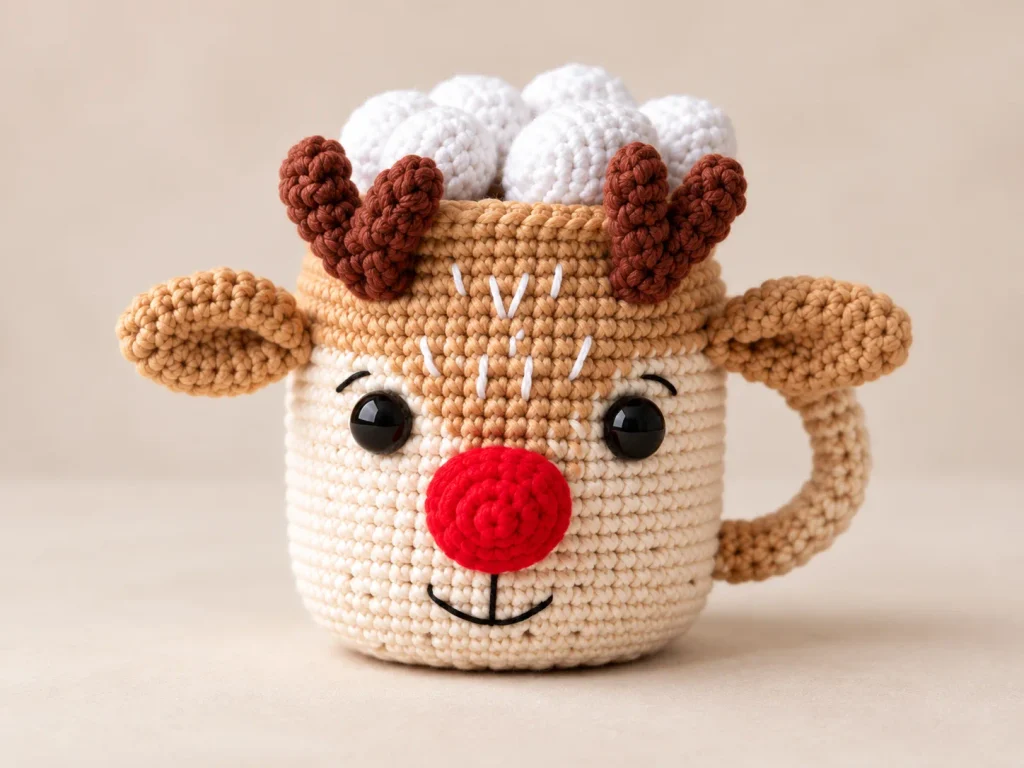
The finished reindeer mug has all the little Christmas details I love: antlers, a bright red nose, cocoa, and marshmallows.
This is an intermediate project with shaping, color changes, stuffing, sewing, and embroidery. The finished mug measures about 10 to 14 cm (3.94 to 5.51 in), and I would give myself around 5 to 7 hours to complete it.
Quick Pattern Details
| Detail | Value |
| Skill Level | Intermediate |
| Finished Size | Approx. 10 to 14 cm (3.94 to 5.51 in) |
| Time to Complete | About 5 to 7 hours |
| Construction | Mug worked from the base upward, with separately crocheted features added afterward |
| Main Techniques | Single crochet, increases, decreases, BLO, FLO, color changes, stuffing, sewing, embroidery |
| Terminology | US crochet terms |
| Main Colors | Milky, sand, brown, red, and white |
Materials Needed
- YarnArt Jeans in sand 07 and red 26
- Alize Cotton Gold in white 55 and brown 493
- Alize Cotton Gold Tweed in milky 62
- 1.75 mm crochet hook
- Stuffing
- Cardboard or plastic for the mug base support
- Hot glue for securing the base insert
- Blunt-end yarn or sewing needle
- Black thread for facial embroidery
- Semi-beads for the eyes
- Glue suitable for attaching the semi-beads
- Scissors
- Stitch marker
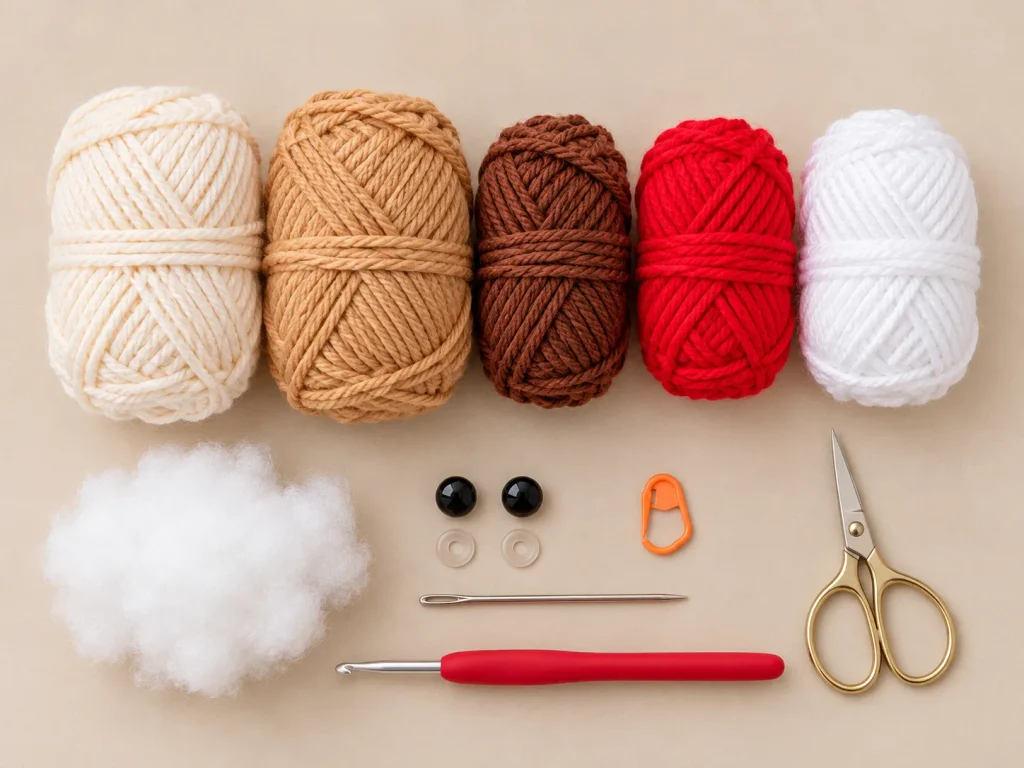
There are a few colors involved, but each one has a very clear job in the finished design.
Stitches & Abbreviations Used
- MR – Magic Ring
- ch – Chain
- sc – Single Crochet
- sl st – Slip Stitch
- inc – Increase, 2 sc in the same stitch
- dec – Decrease, work 2 stitches together
- BLO – Back Loops Only
- FLO – Front Loops Only
- st(s) – Stitch(es)
- Rnd(s) – Round(s)
- FO – Fasten Off
- (n) – Stitch count at the end of a round or row
- (sequence) xN – Repeat the sequence N times
Instructions
Piece 1: Mug Base and Body (make 1)
Work from the bottom upward, beginning in milky yarn.
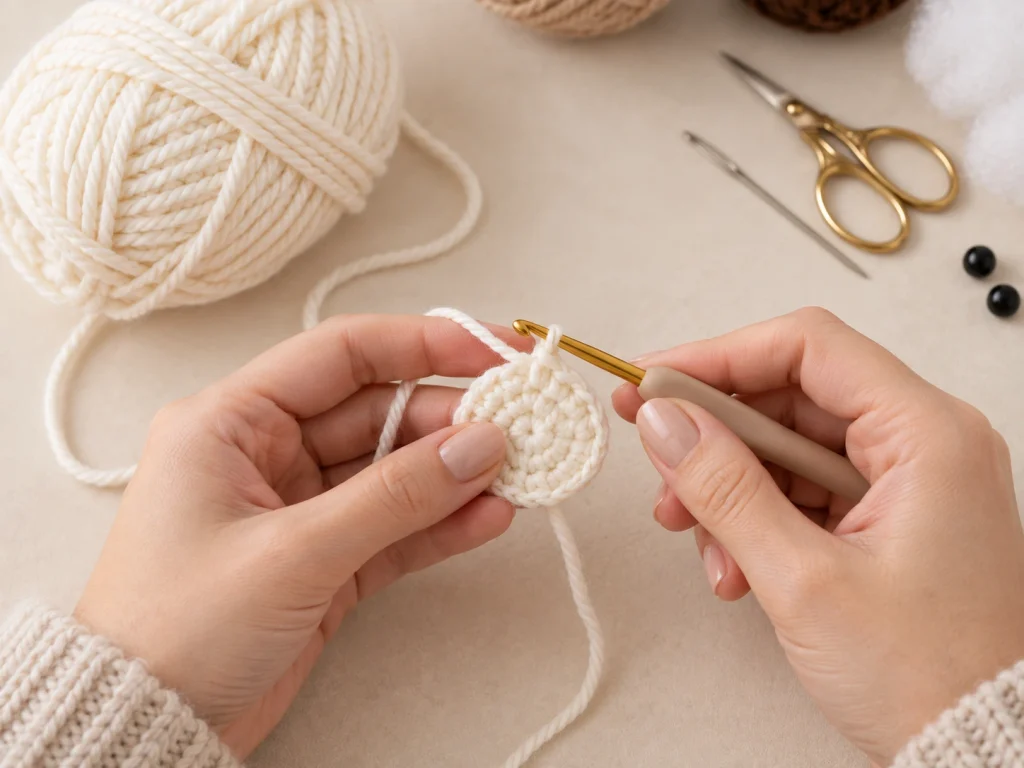
- Rnd 1: 8 sc in MR (8)
- Rnd 2: inc x8 (16)
- Rnd 3: (sc, inc) x8 (24)
- Rnd 4: (2 sc, inc) x8 (32)
- Rnd 5: (3 sc, inc) x8 (40)
- Rnd 6: 2 sc, inc, (4 sc, inc) x7, 2 sc (48)
- Rnd 7: (5 sc, inc) x8 (56)
- Rnd 8: 3 sc, inc, (6 sc, inc) x7, 3 sc (64)
Trace the crocheted base onto cardboard or plastic, cut out the insert, and check the fit.
- Rnd 9: BLO, 64 sc (64)
After working another 3 to 4 rounds above the base, secure the insert inside with hot glue.
- Rnds 10–18: 64 sc per round in milky (9 rounds; 64)
- Rnd 19: 31 sc in milky, change to sand and work 2 sc, change to milky and work 31 sc (64)
- Rnd 20: 30 sc in milky, change to sand and work 4 sc, change to milky and work 30 sc (64)
- Rnd 21: 29 sc in milky, change to sand and work 6 sc, change to milky and work 29 sc (64)
- Rnd 22: 28 sc in milky, change to sand and work 8 sc, change to milky and work 28 sc (64)
- Rnd 23: 27 sc in milky, change to sand and work 10 sc, change to milky and work 27 sc (64)
- Rnd 24: 26 sc in milky, change to sand and work 12 sc, change to milky and work 26 sc (64)
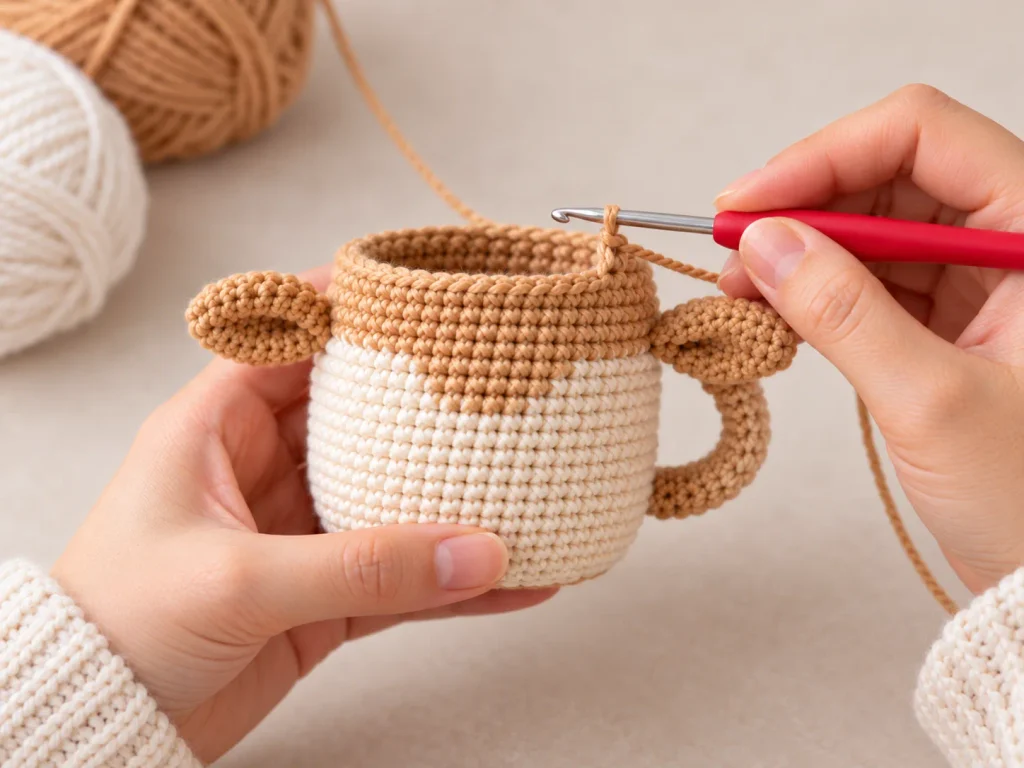
- Rnds 25–29: change to sand; 64 sc per round (5 rounds; 64)
- Rnd 30: FLO, 64 sc (64)
- Rnd 31: 64 sc (64)
Fasten off, cut the yarn, and hide the end.
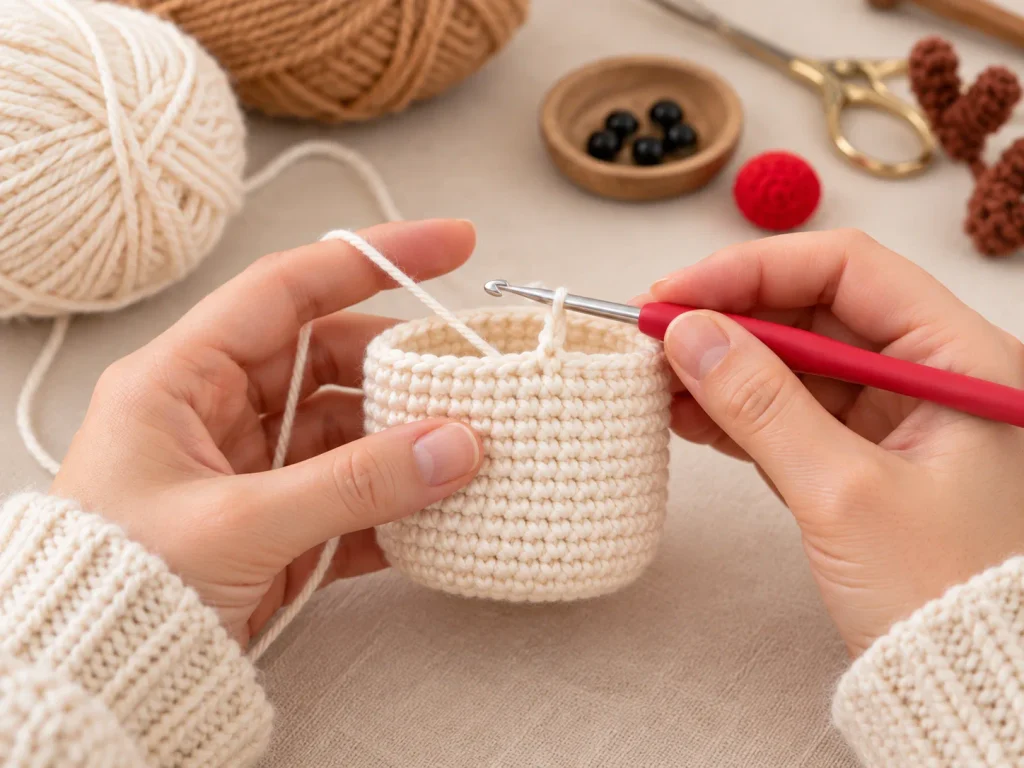
The sand section grows wider on each round before taking over the upper part of the mug.
Piece 2: Handle (make 1)
Work in milky yarn.
- Foundation: ch 8, leaving a 30 to 40 cm (11.81 to 15.75 in) tail for sewing. Close into a ring.
- Rnds 2–17: 30 sc per round, as written in the pattern (16 rounds).
Fasten off and leave another 30 to 40 cm sewing tail.
The pattern moves from an 8-chain ring directly to 30 sc per round without explaining the increase, so I would test the handle before completing all 16 rounds.
Piece 3: Cocoa Top (make 1)
Attach brown yarn to the remaining back loops of mug-body round 29.
- Rnd 1: 3 sc, dec, (6 sc, dec) x7, 3 sc (56)
- Rnd 2: (5 sc, dec) x8 (48)
- Rnd 3: 2 sc, dec, (4 sc, dec) x7, 2 sc (40)
- Rnd 4: (3 sc, dec) x8 (32)
Begin stuffing the mug.
- Rnd 5: (2 sc, dec) x8 (24)
- Rnd 6: (sc, dec) x8 (16)
- Rnd 7: dec x8 (8)
Finish stuffing, draw the opening closed, fasten off, and hide the end.
Piece 4: Marshmallows
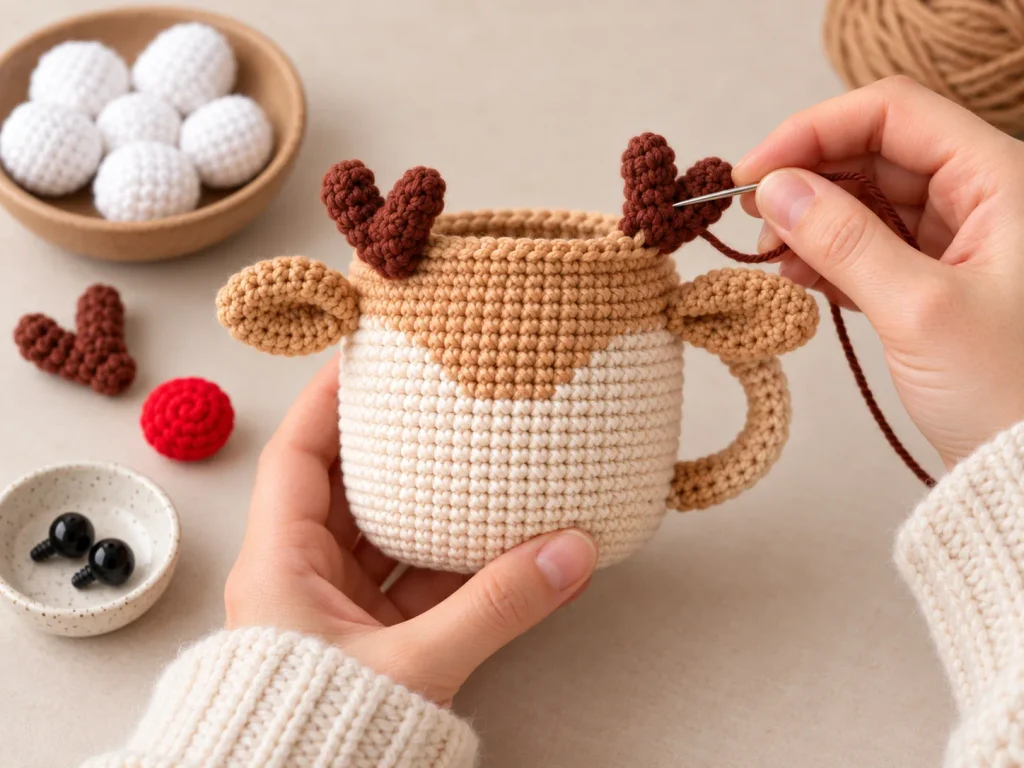
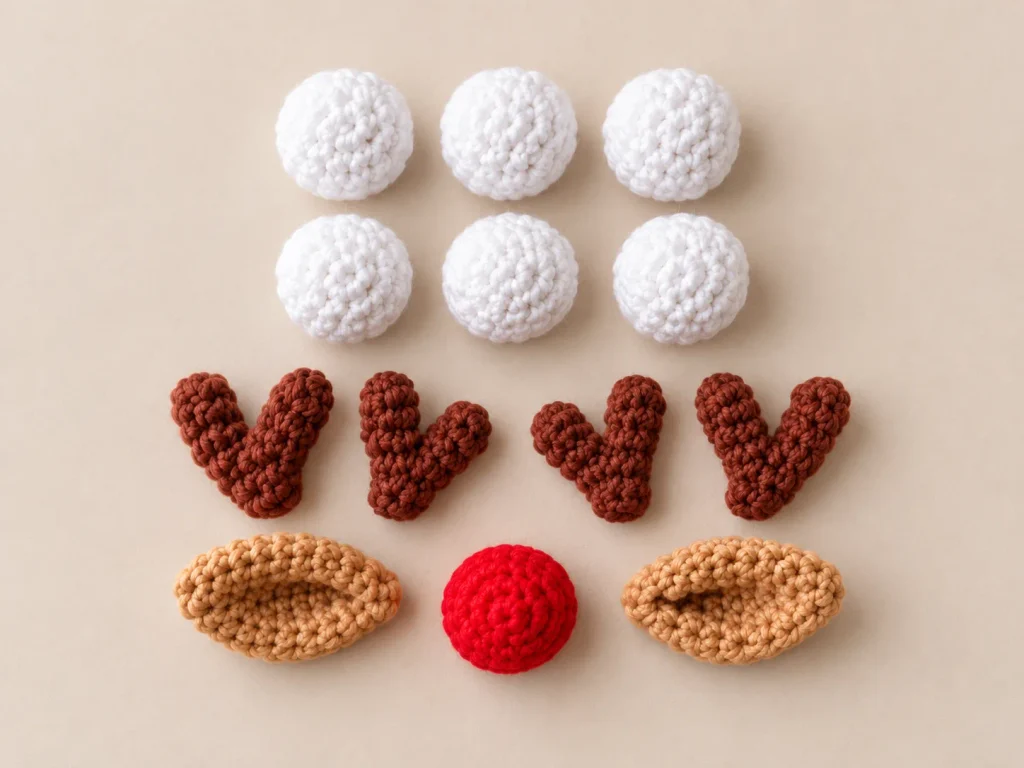
Work each marshmallow in white. There is no fixed quantity, so make enough to fill the cocoa top nicely.
- Rnd 1: 6 sc in MR (6)
- Rnd 2: inc x6 (12)
- Rnd 3: BLO, 12 sc (12)
- Rnds 4–8: 12 sc per round (5 rounds; 12)
- Rnd 9: BLO, dec x6 (6)
Stuff, draw the opening closed, fasten off, and hide the end.
Make the marshmallows first, then arrange them before sewing them down.
Piece 5: Ears (make 2)
Work in sand yarn.
- Rnd 1: 6 sc in MR (6)
- Rnd 2: (sc, inc) x3 (9)
- Rnd 3: 9 sc (9)
- Rnd 4: (2 sc, inc) x3 (12)
- Rnd 5: 12 sc (12)
- Rnd 6: (3 sc, inc) x3 (15)
- Rnds 7–8: 15 sc per round (2 rounds; 15)
- Rnd 9: (3 sc, dec) x3 (12)
- Rnd 10: 12 sc (12)
Do not stuff. Fold each ear in half and crochet through both layers to close with 6 sc. Fasten off and leave a long sewing tail.
Piece 6: Nose (make 1)
Work in red yarn.
- Rnd 1: 6 sc in MR (6)
- Rnd 2: inc x6 (12)
- Rnd 3: (sc, inc) x6 (18)
- Rnd 4: 18 sc (18)
Fasten off and leave a long sewing tail. Stuff the nose as you sew it onto the mug.
Piece 7: Antlers (make 2)
Work in brown yarn.
For each antler, make two small branches using rounds 1 to 3. Cut the yarn after the first branch and continue with the second branch to join them.
- Rnd 1, each branch: 6 sc in MR (6)
- Rnds 2–3, each branch: 6 sc per round (2 rounds; 6)
- Rnd 4, join: 3 sc on the second branch, 6 sc on the first branch, 3 sc on the second branch (12)
- Rnd 5: dec x6 (6)
- Rnd 6: 6 sc (6)
Do not stuff. Fold the base in half and close through both layers with 3 sc. Fasten off and leave a long sewing tail.
The small face pieces are what really bring the reindeer to life.
Assembly and Finishing
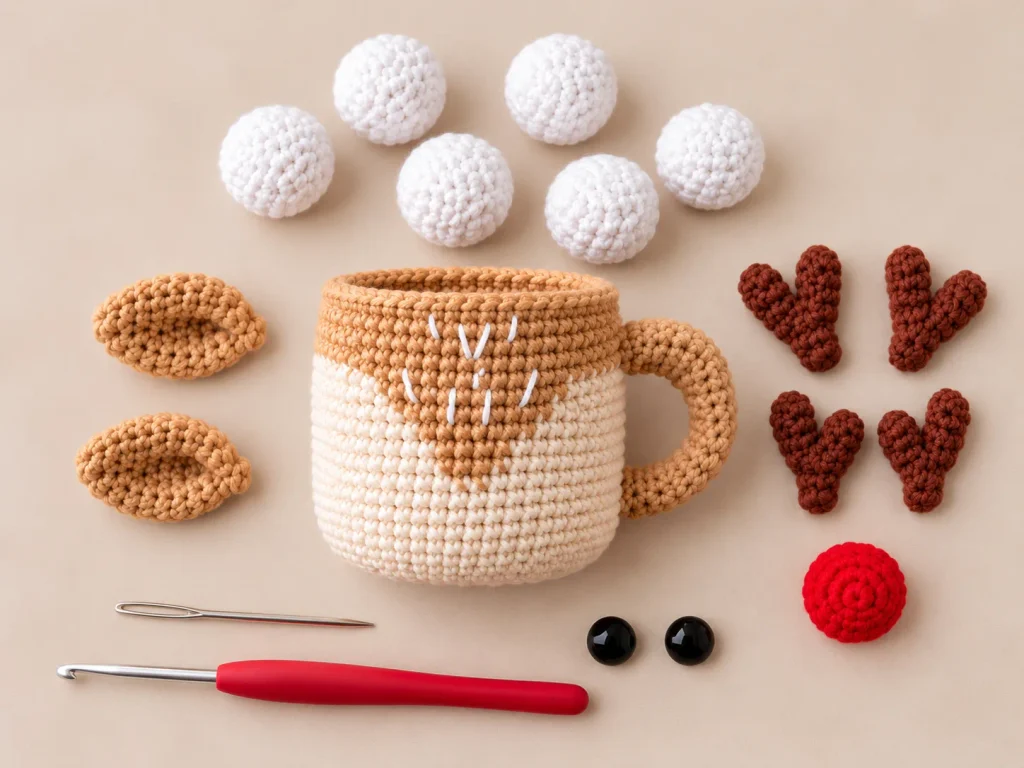
- Attach the semi-bead eyes.
- Sew on the red nose, adding stuffing as you sew.
- Sew the antlers and ears in place.
- Embroider the eyebrows and mouth with black thread.
- Embroider the forehead markings with white yarn.
- Sew the milky-colored handle onto the side of the mug.
- Arrange and sew the marshmallows onto the cocoa top.
- Weave in and secure the remaining ends.
Pin the face pieces in place before sewing them permanently so you can adjust the expression.
Once the face and marshmallows are attached, the whole little reindeer personality comes together.
Tips for This Pattern
- Keep the base insert slightly smaller than the crocheted bottom so it sits flat.
- Use a stitch marker through the long body rounds.
- Keep the sand-colored forehead section centered during the color changes.
- Do not overstuff the mug or the stitches may stretch open.
- Test the handle construction before completing all 16 rounds.
- Arrange the face pieces before sewing so you can adjust the expression.
- Place the marshmallows loosely on top before deciding how many to attach.
The red nose, antlers, cocoa, and marshmallows give this little mug plenty of Christmas personality, making it a sweet seasonal decoration or handmade gift.
Browse more Christmas and amigurumi patterns on Learn Crochet Daily, and if you make your own reindeer mug, I would love to see how yours turns out.