
Twelve-Petal Crochet Flower Motif Pattern
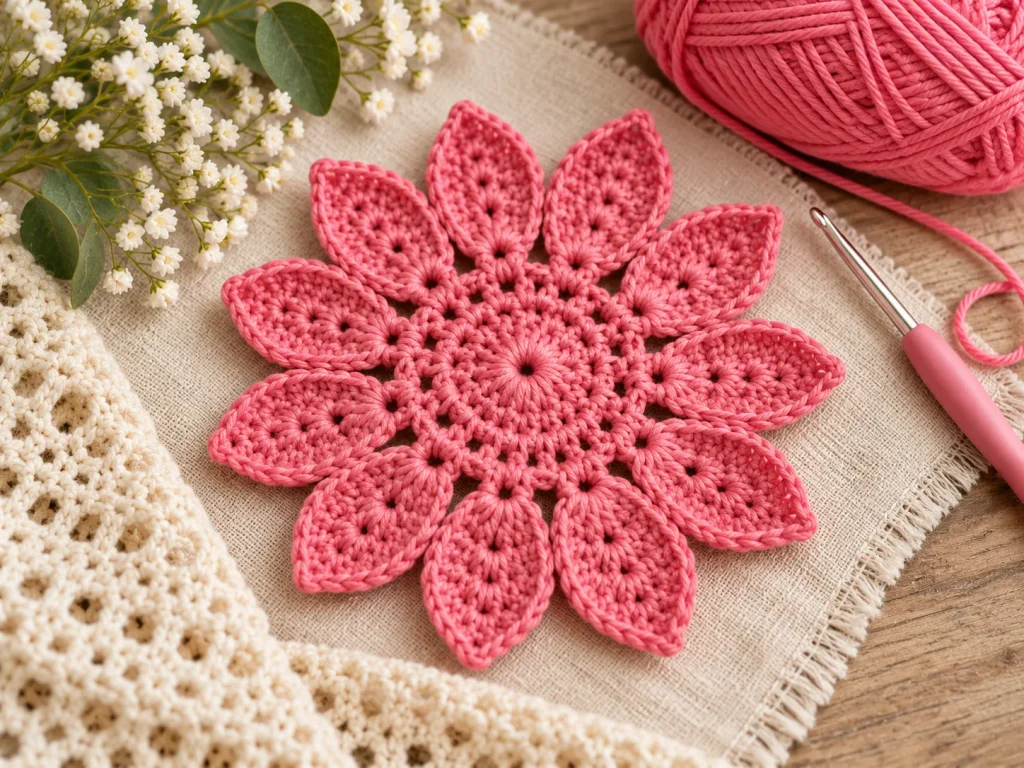
There is something so satisfying about crocheting a flower motif when each round slowly turns into a completely different shape.
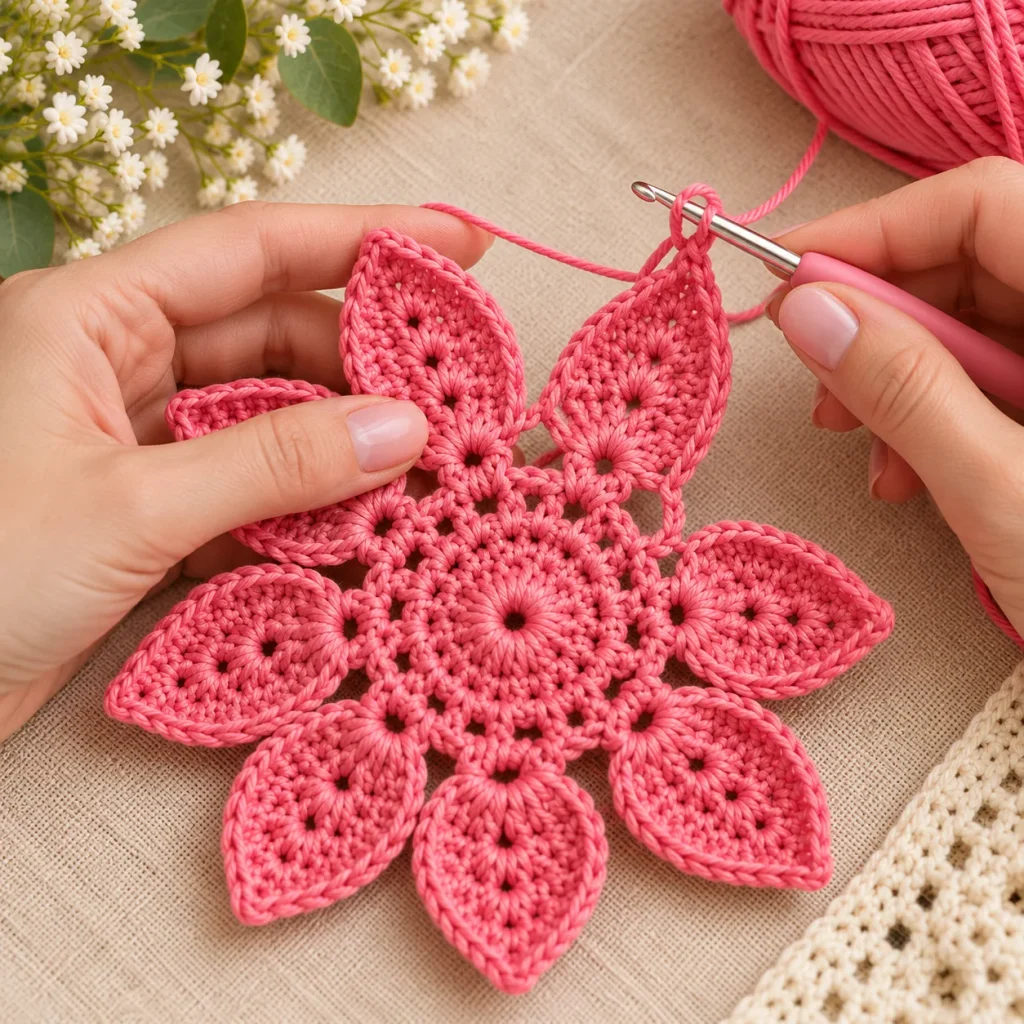
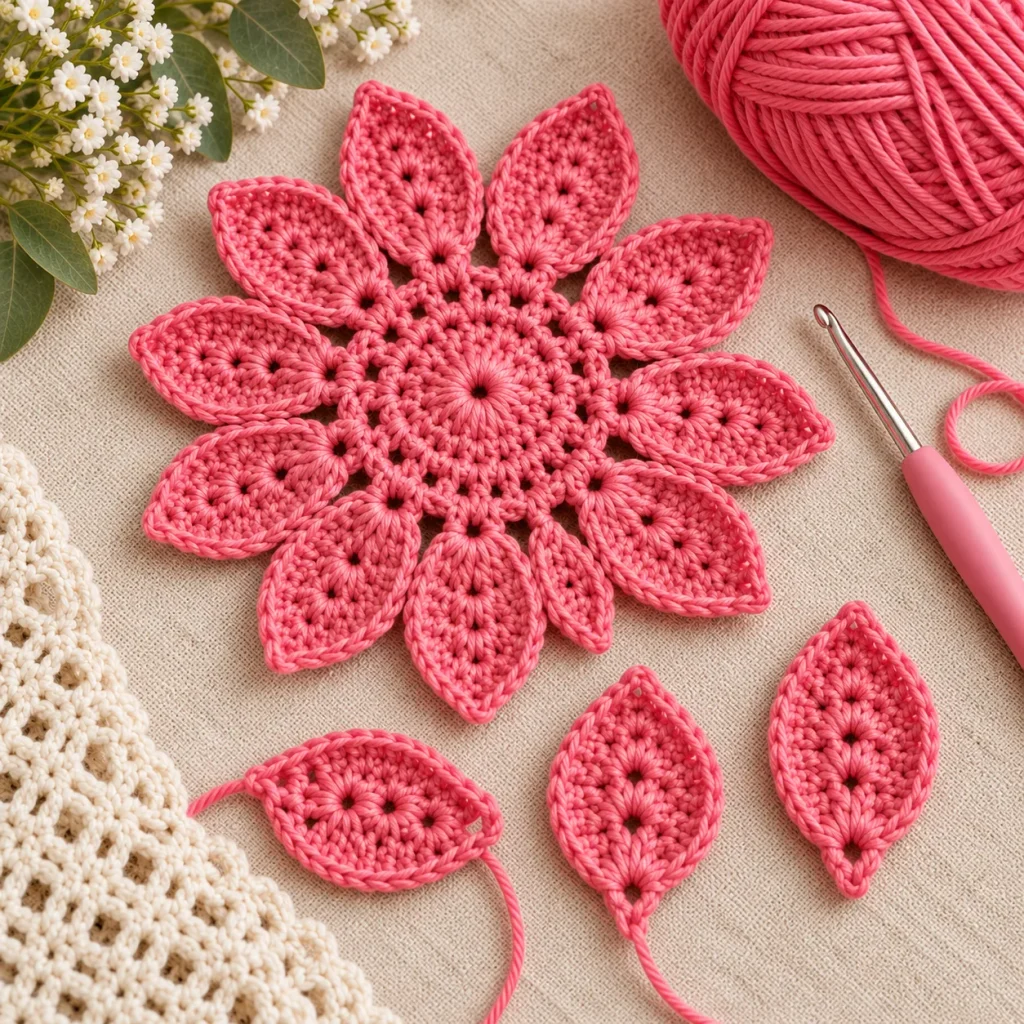
This Twelve-Petal Blossom starts with a simple lacy circular center, then builds 12 pointed petals around the outside. Each petal is worked separately from the center and tapered toward the tip, which gives the finished flower that crisp, layered look.
I especially like this motif because it can be used in so many ways. Make one as a decorative coaster or nursery appliqué, sew it onto a blanket, or crochet several and join them together for a larger floral project.
The finished motif measures approximately 7 in / 18 cm across and takes around 1–1.5 hours to complete. The pattern is written at an intermediate level.
Make It in Any Color You Love
The rose pink version has a soft, cheerful look, but this flower would work beautifully in almost any solid color.
Try cream for a neutral nursery, dusty blue for a softer look, sage green for something botanical, or mix several pastel shades if you are making multiple motifs for a blanket.
For the cleanest petal definition, use a smooth yarn that shows the stitches clearly.
Quick Pattern Details
| Detail | Information |
| Pattern | Twelve-Petal Blossom Motif |
| Skill Level | Intermediate |
| Finished Size | Approx. 7 in / 18 cm |
| Estimated Time | 1–1.5 hours |
| Yarn Weight | DK / sport, weight 3 |
| Hook | 3.5 mm |
| Construction | Center disc + 12 individually worked petals |
| Terminology | US crochet terms |
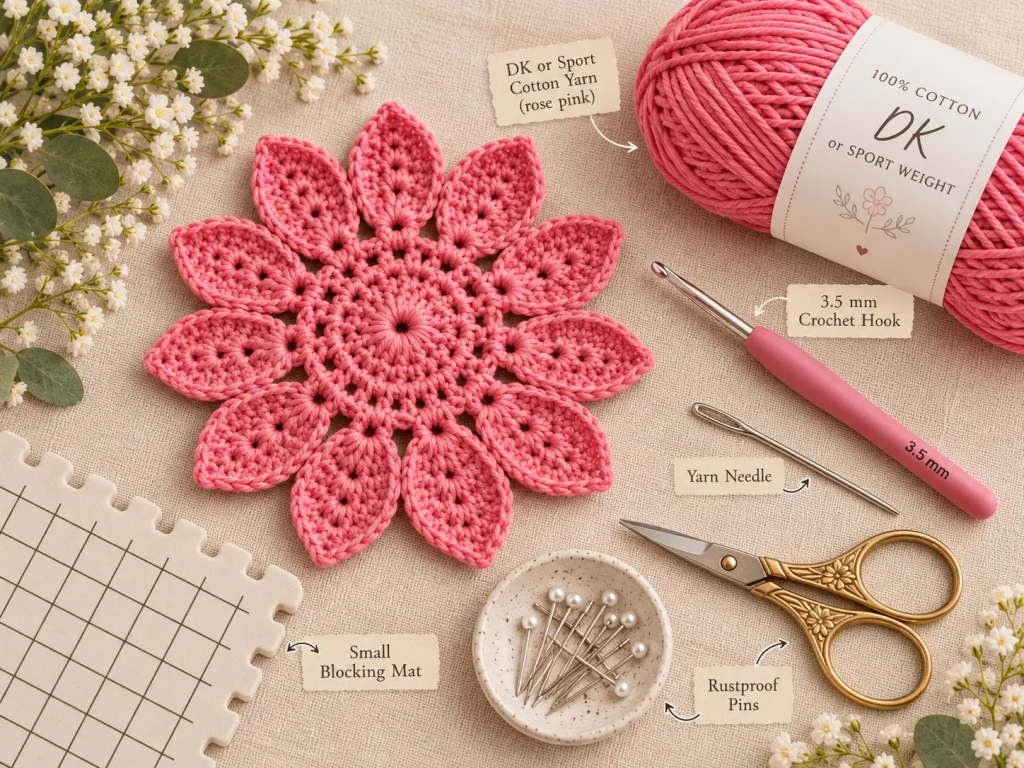
Materials
- DK or sport weight 3 soft cotton yarn
- Approx. 25–30 g rose pink per motif
- 3.5 mm crochet hook
- Yarn needle
- Scissors
- Blocking mat
- Rustproof pins
Cotton is especially nice for this project because it helps the pointed petals hold their shape after blocking.
Abbreviations
- MR – Magic ring
- ch – Chain
- sc – Single crochet
- dc – Double crochet
- dc2tog – Double crochet 2 together
- dc4tog – Double crochet 4 together
- sp – Space
- sl st – Slip stitch
- st(s) – Stitch(es)
- FO – Fasten off
Piece 1: Center Disc
Using rose pink yarn:
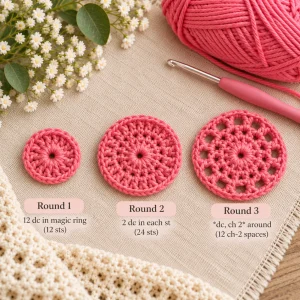
Round 1
Make a magic ring.
Ch 3, which counts as the first dc.
Work 11 dc into the MR.
Join with a sl st to the top of the beginning ch 3.
You should have:
12 dc
Round 2
Ch 3.
Work 1 dc in the same stitch, then 2 dc in every stitch around.
Join with a sl st.
You should now have:
24 dc
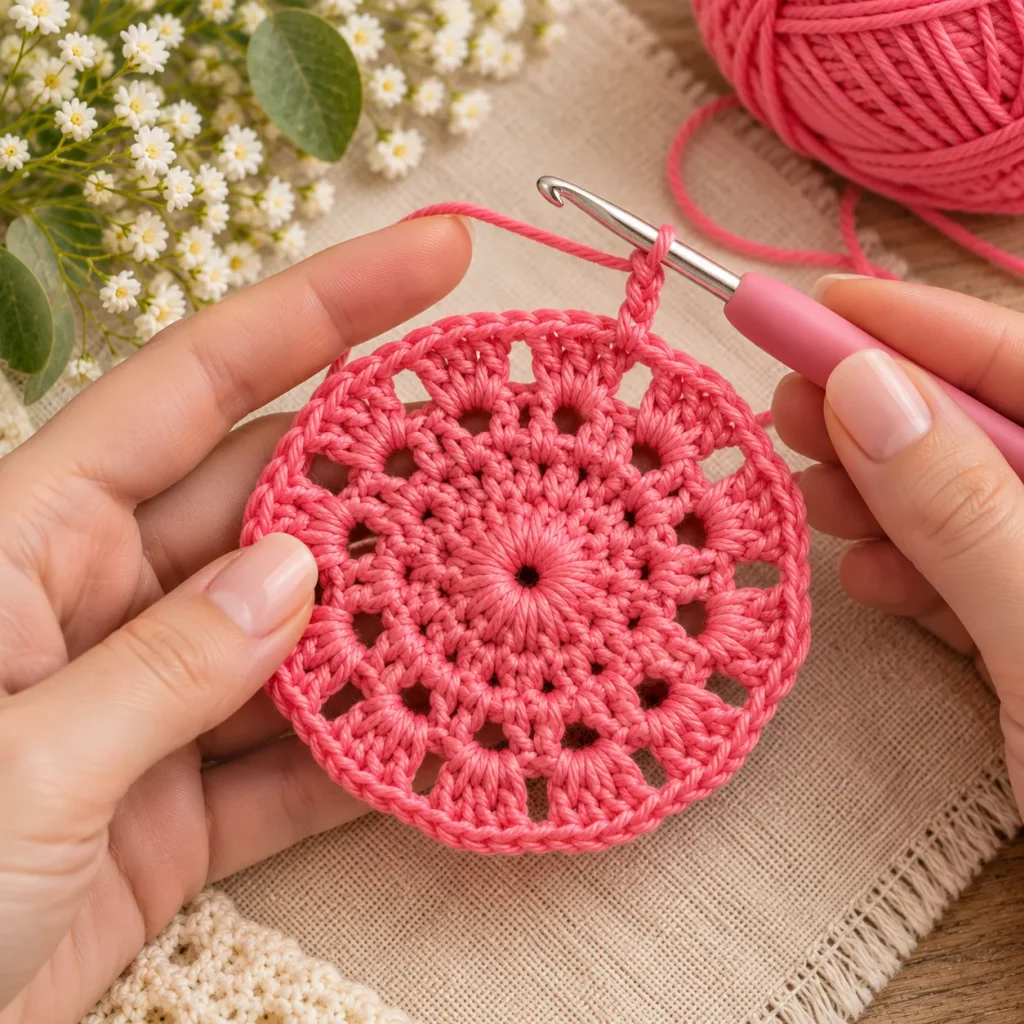
Round 3
Ch 3, then ch 2 and skip the next stitch.
Repeat:
dc in next stitch, ch 2, skip 1
around.
Join with a sl st.
You should finish with:
12 dc + 12 ch-2 spaces
These 12 spaces are where the petals will be worked.
Take a moment here to make sure all 12 spaces are clearly visible and evenly distributed. That will make the flower much easier to keep symmetrical.
Piece 2: Pointed Petals — Make 12
Each petal is worked separately into one ch-2 space.
Join yarn with a sl st in the next ch-2 space.
Petal Row 1
Ch 3.
Work 4 dc in the same ch-2 space.
Turn.
You have:
5 dc
Petal Row 2
Ch 3, then work 1 dc in the same stitch.
Work 1 dc in each of the next 3 stitches.
Work 2 dc in the final stitch.
Turn.
You have:
7 dc
This row widens the base of the petal.
Petal Row 3
Ch 3 and turn.
Dc across.
Keep:
7 dc
Petal Row 4
Ch 3 and turn.
Dc in the next stitch, dc in the next 3 stitches, then work dc2tog over the final 2 stitches.
You now have:
6 dc
Petal Row 5
Ch 2 and turn. The turning chain does not count as a stitch.
Work:
dc2tog, dc in next 2 stitches, dc2tog
You now have:
4 dc
Petal Row 6
Ch 2 and turn.
Work dc4tog across the remaining 4 stitches.
You are left with:
1 stitch
Fasten off.
This corrected taper replaces the original Row 5–6 count, which did not mathematically reduce to the stated 3 stitches before the final point.
Repeat the same six rows in every remaining ch-2 space until you have 12 pointed petals around the center.
Piece 3: Petal Edging
Once all 12 petals are complete, join rose pink yarn at the tip of one petal.
Work sc evenly down one side of the petal.
The pattern suggests approximately:
8 sc down the side
At the point work:
3 sc in the tip
Then work approximately:
8 sc down the opposite side
Slip stitch into the space between petals.
Continue around the next petal in the same way.
The goal is approximately 19 sc around each petal, but even spacing is more important than forcing an exact count.
If the edging begins to ruffle, use fewer stitches.
If the petal pulls inward, add one or two stitches along the side.
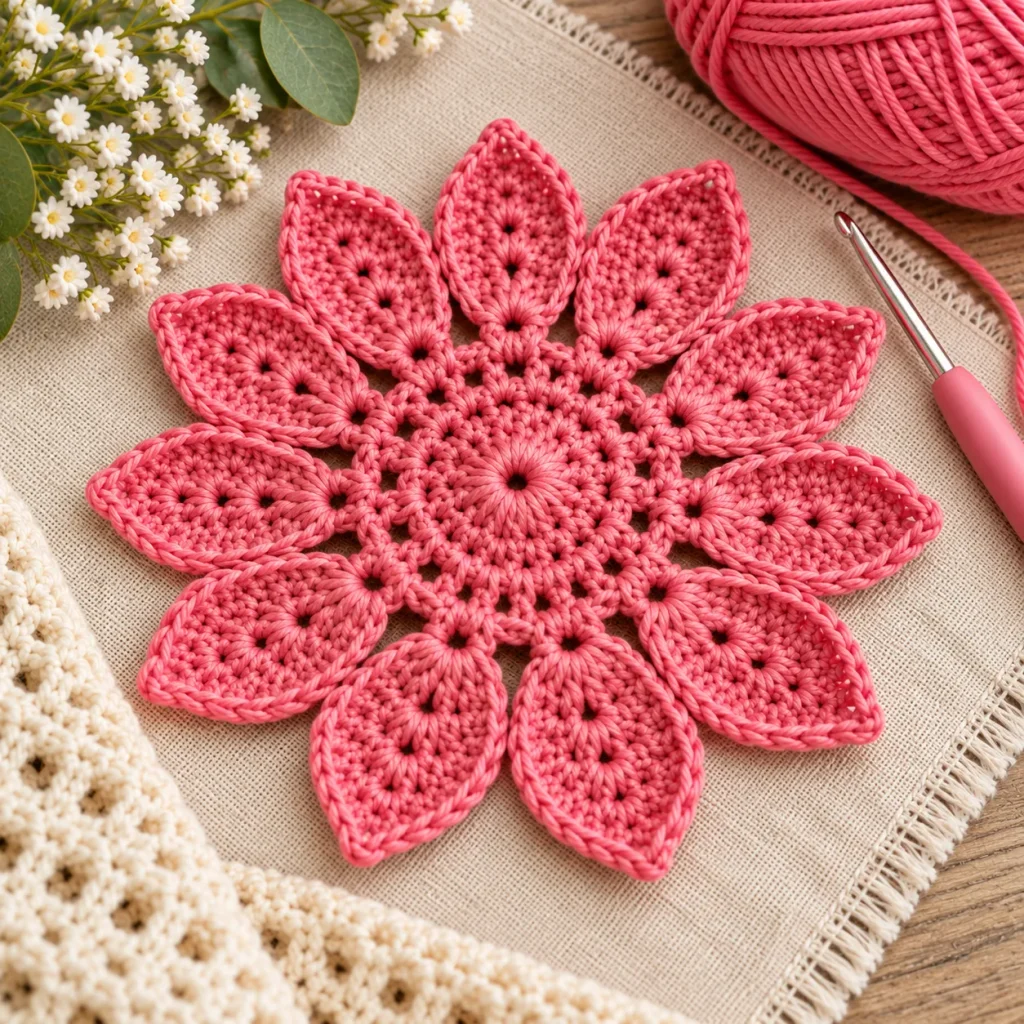
Continue around all 12 petals, join with a sl st, and fasten off.
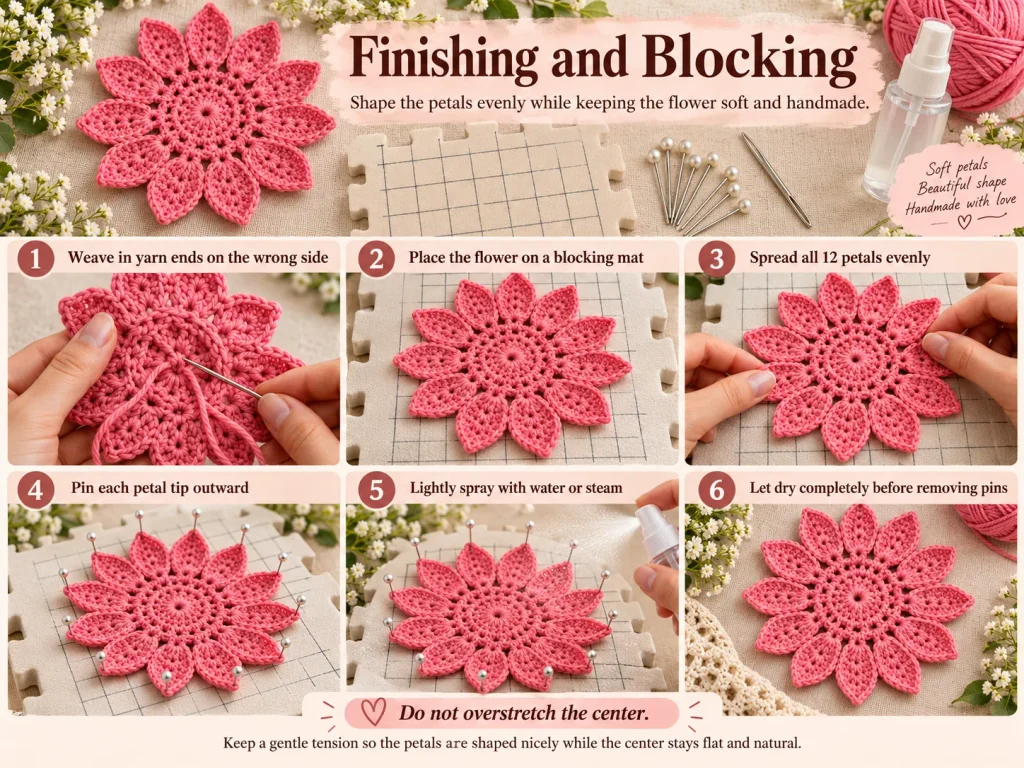
Finishing and Blocking
Blocking makes a big difference with this motif because it helps all 12 petals open evenly and sharpens the pointed tips.
- Weave in every yarn end neatly on the wrong side.
- Place the flower on a blocking mat.
- Gently spread the 12 petals so the spacing looks even.
- Pin each petal tip outward.
- Lightly spray with water or steam according to your yarn instructions.
- Allow the motif to dry completely before removing the pins.
Do not overstretch the center. The goal is to flatten and shape the petals while keeping the flower looking soft and handmade.
Ways to Use the Finished Flower
One motif works beautifully as:
- a crochet coaster
- nursery wall décor
- a blanket appliqué
- a decorative accent on a bag or cushion
For a larger project, make several motifs and join them with single crochet or whip stitch along selected petal edges.
You can also sew the completed flowers onto a plain crochet baby blanket for a raised floral effect.
If you are using them on a baby item, make sure every motif is sewn securely and use a soft, washable, non-shedding yarn.
Final Thoughts
This is the kind of crochet motif that looks much more detailed than the basic construction suggests.
The center is quick to make, and once you understand the first petal, the remaining eleven become a relaxing repeat.
The final edging and blocking are what really bring the flower to life, so I would not skip either step. Taking a few extra minutes to shape every petal evenly gives the finished motif a much more polished look.
Whether you make one or a whole collection, it is a pretty little project that is easy to customize with your favorite yarn colors.