
This little bunny has quickly become one of my favorites to make. There is something about the tiny rust colored sweater and the long two tone ears that gives it so much personality, and the seated pose means it works just as well as a shelf sitter as it does a nursery gift.
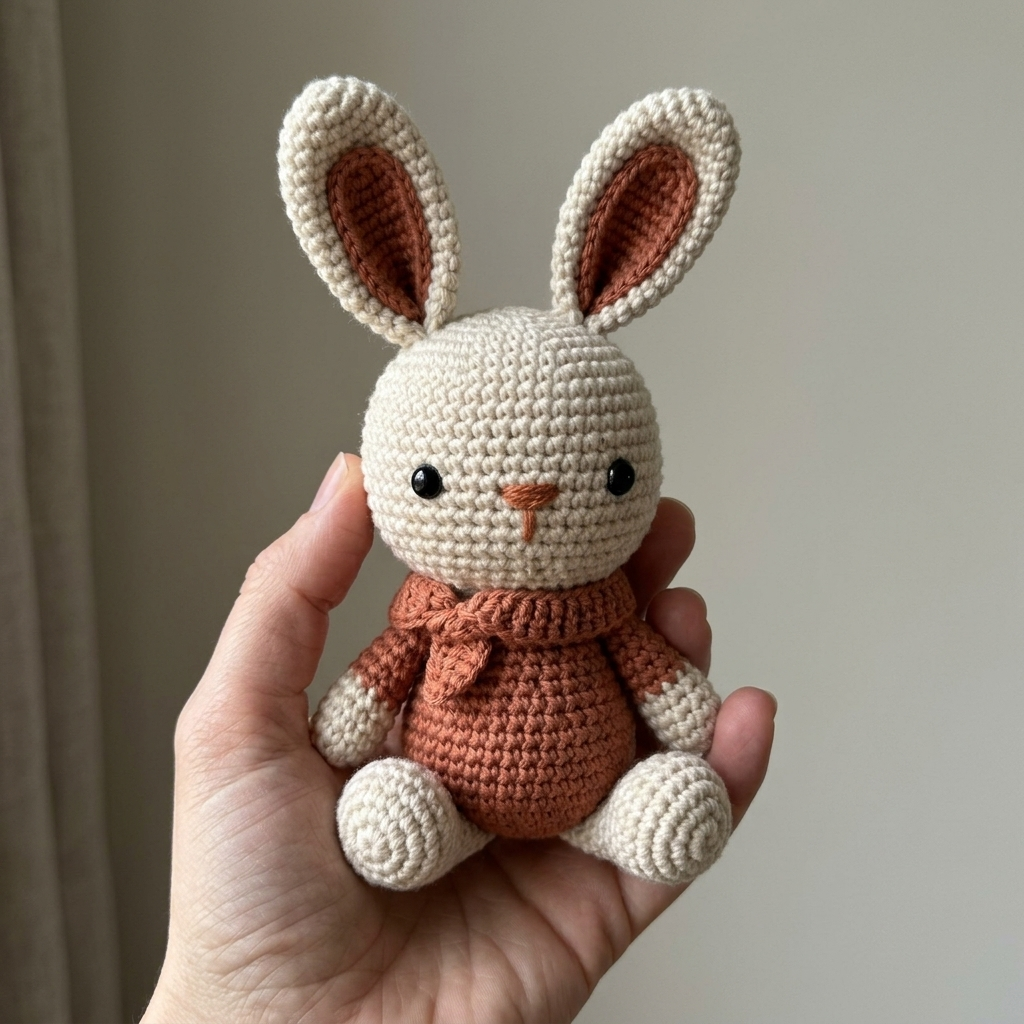
with a rust sweater and matching tied scarf.
This pattern sits at an intermediate level, mainly because of the color change at the neckline and the two tone ears, which ask for a bit more piecing together than a single color amigurumi would. If you have handled a color change or two before, you will pick this up quickly.
Finished and seated, the bunny stands about 5 inches tall. The head and body are worked as one continuous piece, starting with the rust colored sweater body and switching to cream partway up for the head, so there is no seam at the neck. From there you will make the ears, arms, legs, and a simple scarf separately, then sew everything together. Safety eyes go in while working the head, and the nose is embroidered afterward, so save a little rust or orange yarn for that step.
Quick Pattern Details
| Details | Value |
| Skill Level | Intermediate |
| Finished Size | Approx. 5 in (13 cm) tall, seated |
| Time to Complete | 4 to 6 hours |
| Construction | Head and body worked as one piece, no neck seam |
| Pieces Made Separately | Ears (outer and inner), arms, legs and feet, scarf |
| Eyes | 8 to 9mm black safety eyes, added while working the head |
| Nose | Embroidered after assembly, orange or rust yarn |
| Colors Needed | Cream and rust or terracotta |
Materials Needed
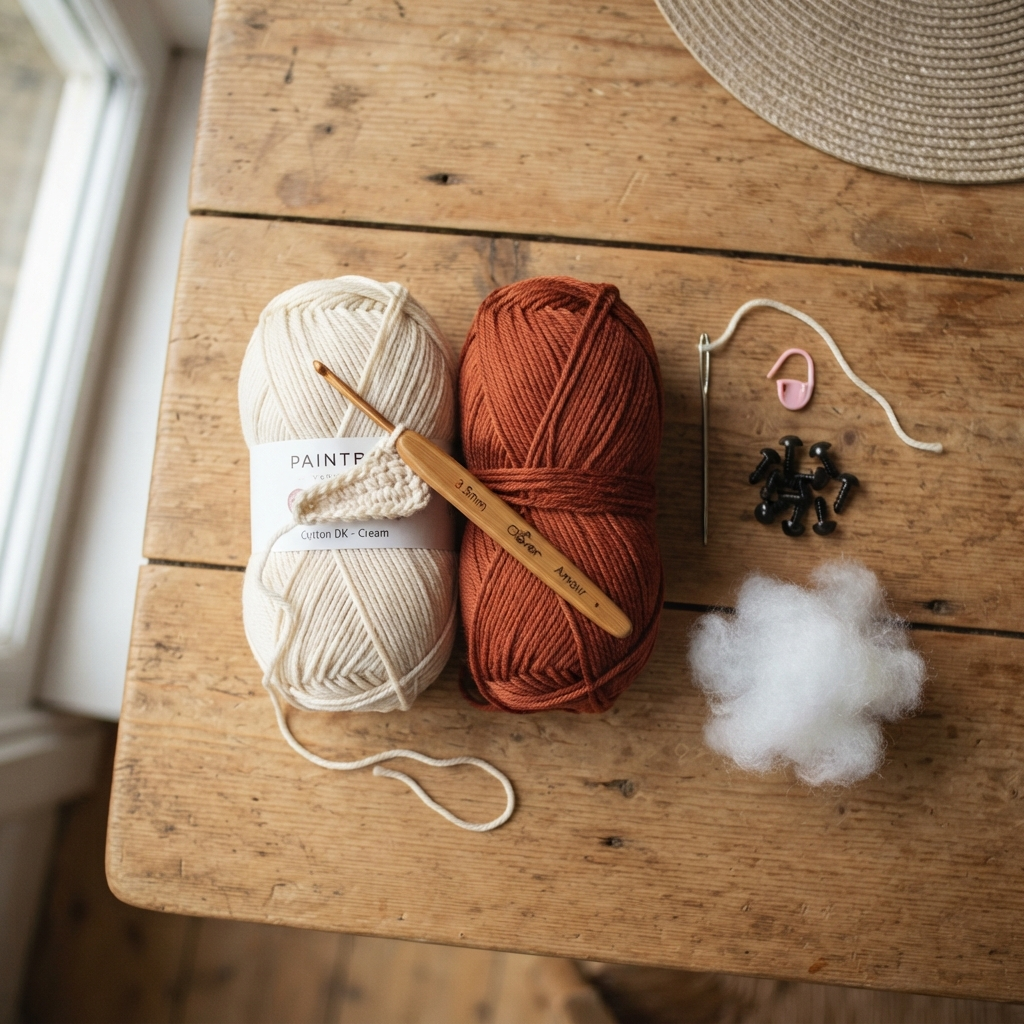
- Medium weight (worsted, weight 4) yarn in cream — approx. 60 to 70g, used for the head, ear outer pieces, arms, and legs and feet
- Medium weight yarn in rust or terracotta — approx. 40 to 50g, used for the body sweater, ear inner pieces, and scarf
- Small amount of orange or rust yarn or embroidery floss for the nose
- Crochet hook, size 3.5mm (US E/4)
- 8 to 9mm black safety eyes, 1 pair
- Polyester fiberfill stuffing
- Stitch marker
- Yarn needle
Stitches & Abbreviations Used
- MR – Magic Ring
- ch – Chain
- sc – Single Crochet
- inc – Increase (2 sc in same stitch)
- dec – Invisible Decrease
- FLO/BLO – Front/Back Loop Only
- sl st – Slip Stitch
- st(s) – Stitch(es)
- FO – Fasten Off
- CC – Color Change
- ( ) – Stitch count at end of round
Instructions
Piece 1: Head & Body (make 1, color change at neckline)
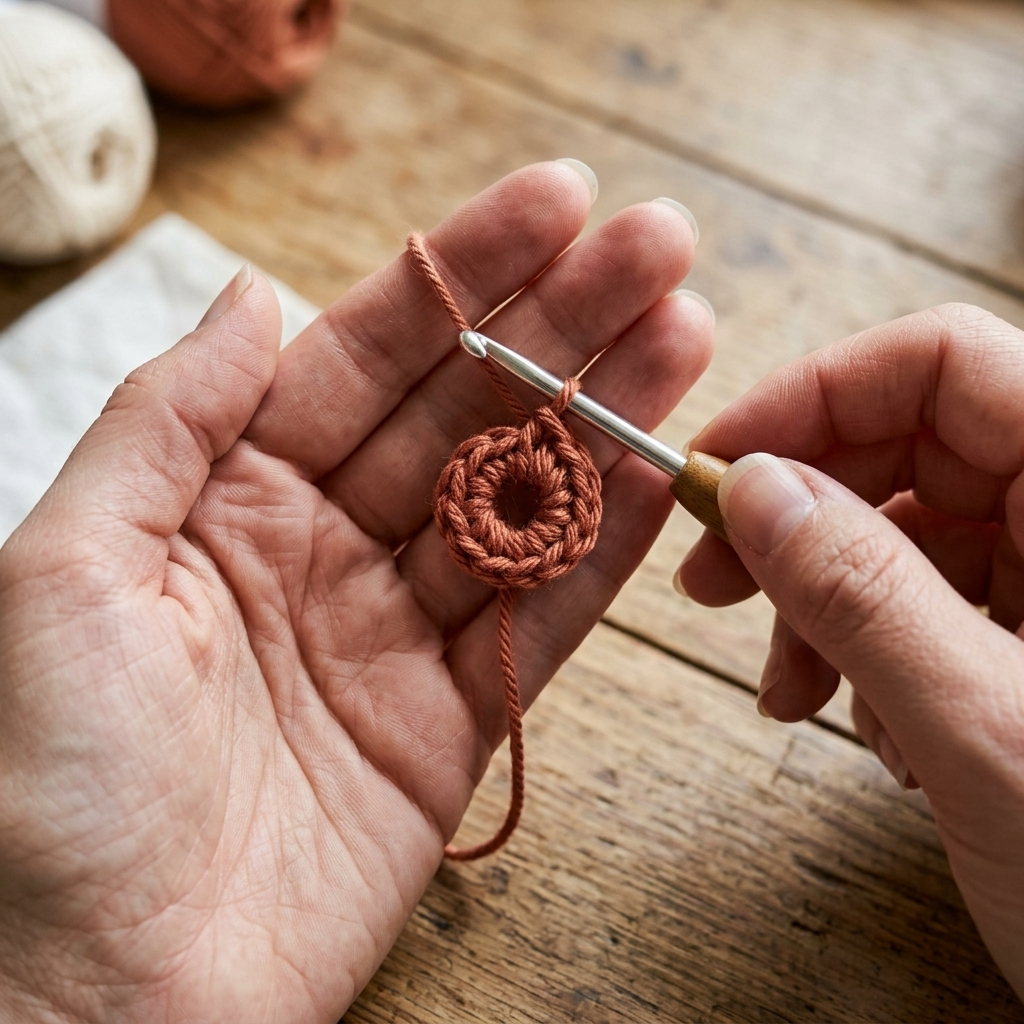
Worked in a continuous spiral from the base upward. Use a stitch marker to track the start of each round.
Body (rust):
- Rnd 1: 6 sc in MR (6)
- Rnd 2: inc x6 (12)
- Rnd 3: (sc, inc) x6 (18)
- Rnd 4: (sc 2, inc) x6 (24)
- Rnd 5: (sc 3, inc) x6 (30)
- Rnds 6 to 13: sc around, no shaping (30)
- Rnd 14: (sc 3, dec) x6 (24)
- Rnd 15: (sc 2, dec) x6 (18)
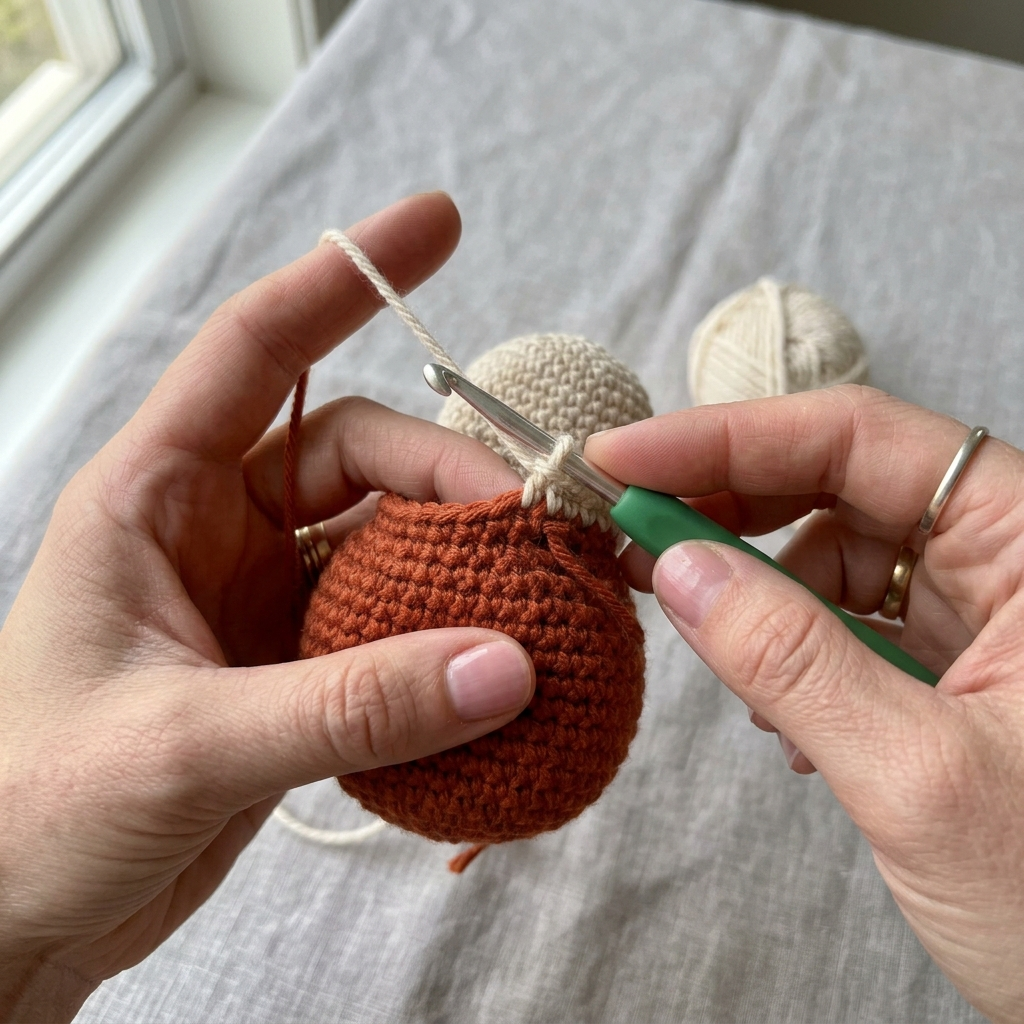
Head (switch to cream, CC):
- Rnd 16: (sc, inc) x6, CC to cream at start of round (24)
- Rnd 17: (sc 3, inc) x6 (30)
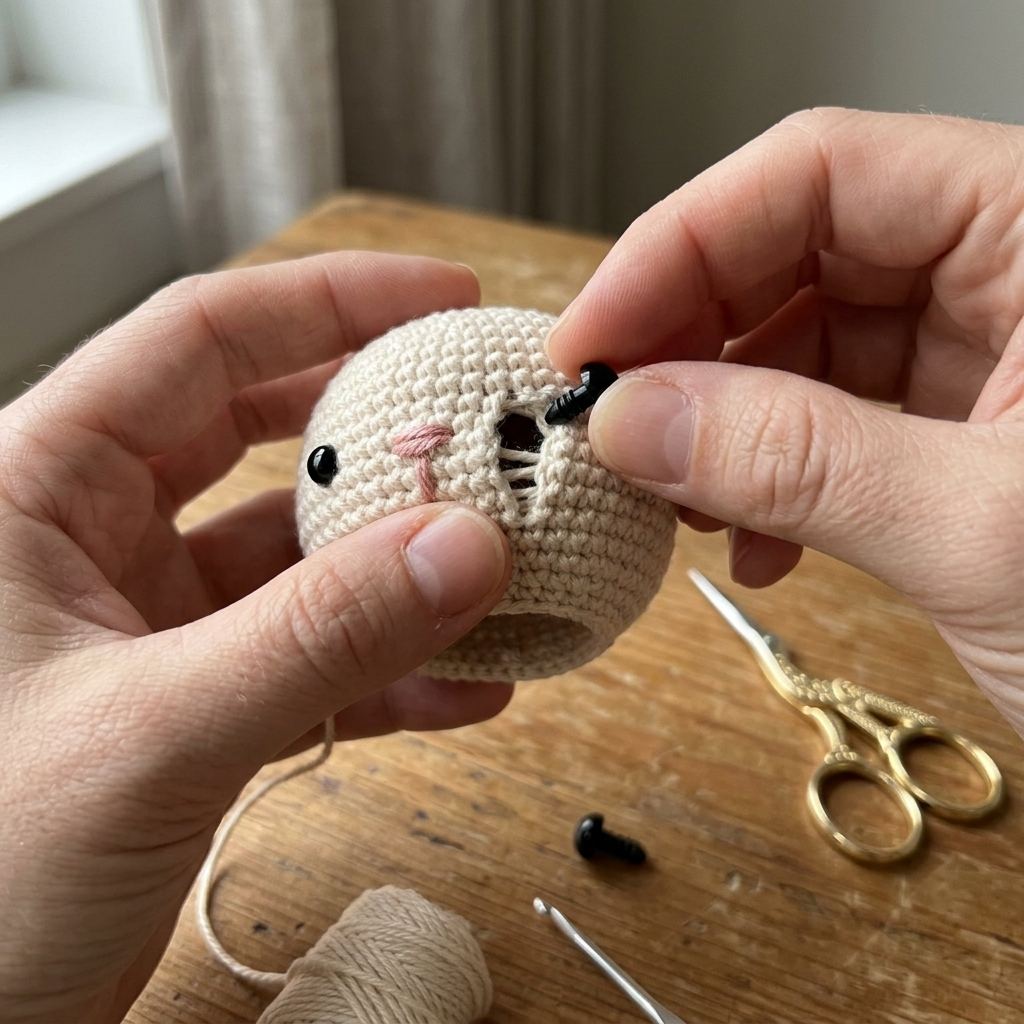
- Rnds 18 to 24: sc around, no shaping (30). Insert safety eyes around round 20 to 21, spaced approximately 6 to 7 stitches apart.
- Rnd 25: (sc 3, dec) x6 (24)
- Rnd 26: (sc 2, dec) x6 (18)
- Rnd 27: (sc 1, dec) x6 (12)
- Stuff the head and body firmly before closing.
- Rnd 28: dec x6 (6)
- FO, cinch closed, weave in end.
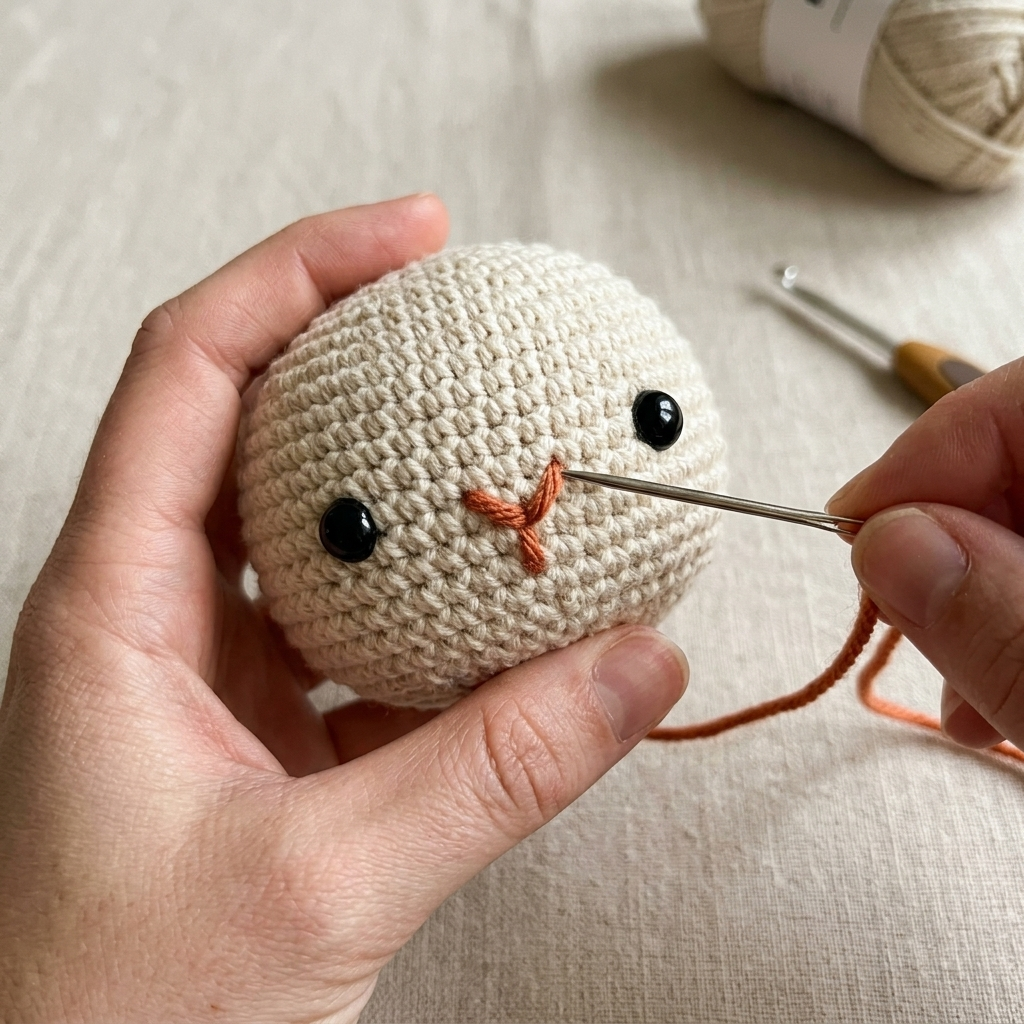
Embroider a small V shaped or triangle nose in orange or rust between and just below the eyes.
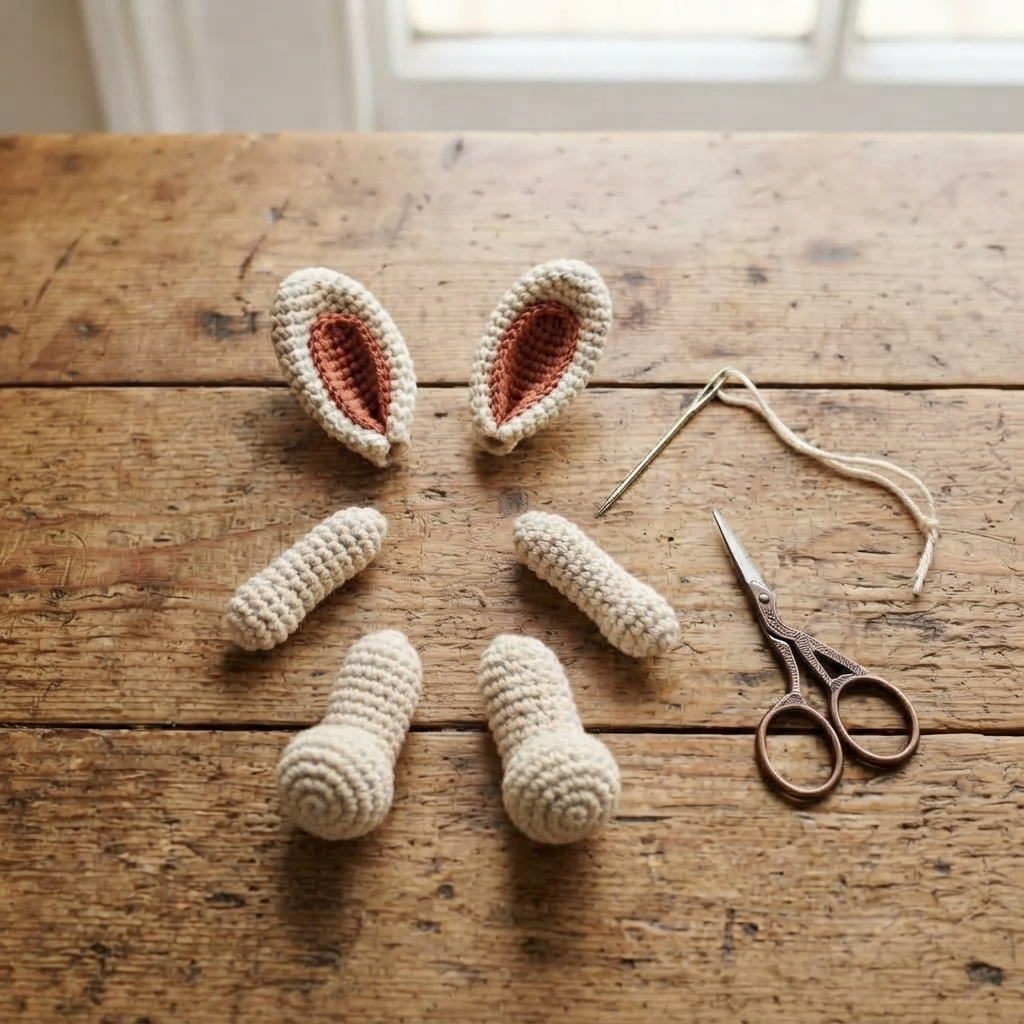
Piece 2: Ears (make 2 outer, 2 inner)
Ear outer (cream, make 2):
- Rnd 1: 6 sc in MR (6)
- Rnd 2: inc x6 (12)
- Rnd 3: (sc, inc) x6 (18)
- Rnds 4 to 5: sc around, no shaping (18)
- Rnd 6: (sc 4, dec) x3 (15)
- Rnds 7 to 9: sc around, no shaping (15)
- Rnd 10: (sc 3, dec) x3 (12)
- Flatten the piece and sc across the opening to close flat, or fold and sl st closed. FO, leaving a long tail for sewing.
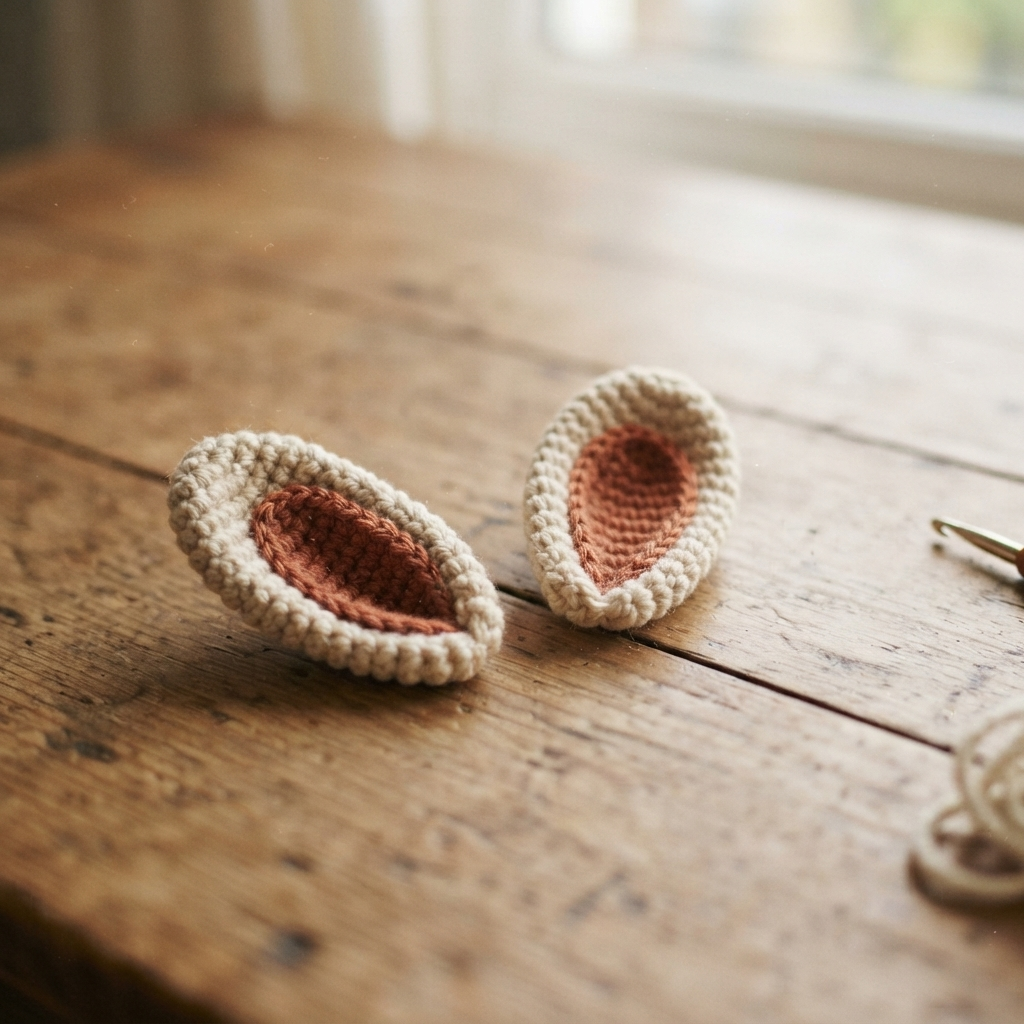
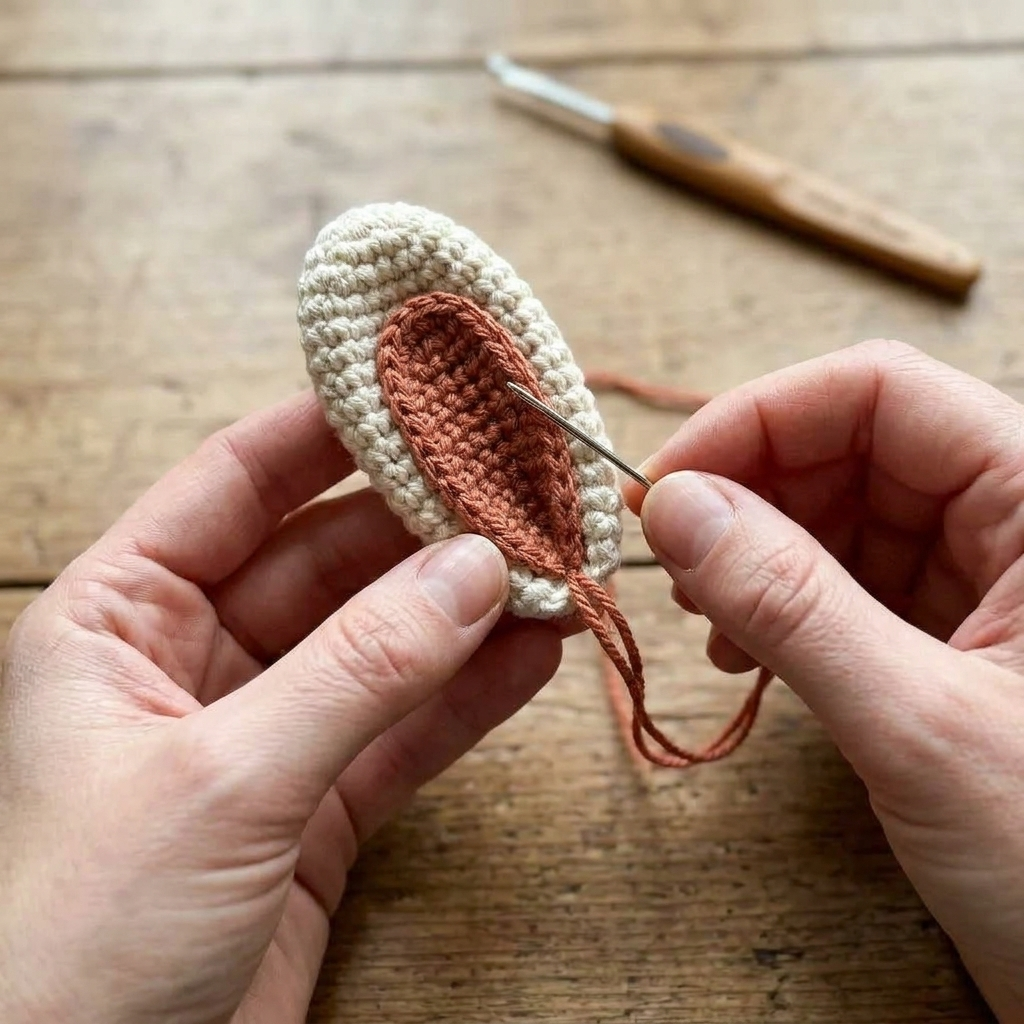
Ear inner (rust, make 2, small flat oval for contrast panel):
- Ch 4, work a flat oval: 2 sc in 2nd ch from hook, sc 1, 3 sc in last ch, continue along the other side with sc 1, join with sl st (approx. 8 to 9 sts total)
- Row 2: inc evenly around the flat oval to enlarge slightly (approx. 12 to 14 sts)
- FO, leaving a tail. Sew centered onto the front, inner side of each ear outer piece.
Fold the bottom edge of each completed ear slightly inward before attaching, to give a natural curved shape, then sew the ears to the top of the head, angled outward.
Piece 3: Arms (make 2, cream)
- Rnd 1: 6 sc in MR (6)
- Rnd 2: inc x6 (12)
- Rnd 3: sc around (12)
- Rnd 4: (sc 2, dec) x3 (9)
- Rnds 5 to 8: sc around, no shaping (9)
- Stuff lightly. FO, leaving a long tail. Flatten the opening and sew closed, then attach to the upper sides of the body at the sweater line.
Piece 4: Legs & Feet (make 2, cream)
- Rnd 1: 6 sc in MR (6)
- Rnd 2: inc x6 (12)
- Rnd 3: (sc, inc) x6 (18)
- Rnd 4: sc around (18)
- Rnd 5: (sc 1, dec) x6 (12)
- Rnds 6 to 8: sc around, no shaping (12)
- Stuff the foot firmly, leaving the leg more lightly stuffed for a seated pose. FO, leaving a long tail. Sew the top of each leg to the lower front and sides of the body so the bunny sits upright with feet facing forward.
Piece 5: Scarf (make 1, rust)
- Ch 26 to 30
- Row 1: sc in 2nd ch from hook and each ch across
- Row 2: ch 1, turn, sc across
- FO, leaving long tails on both ends for tying.
Assembly
- Weave in all loose ends before assembly.
- Sew the ears to the top of the head, angled outward and slightly forward.
- Attach the arms to the upper sides of the body, just below the neckline color change.
- Attach the legs to the lower front of the body so the bunny sits flat and stable, feet pointing forward.
- Wrap the scarf strip around the neck and tie in a simple knot or bow at the front, tacking in place with a few small stitches if needed to hold its shape.
- Embroider the nose and check eye placement for symmetry before doing a final fluff and shape of the stuffing.
Tips for This Pattern
- Stuff the head and neck area firmly before closing, this is what keeps the head from flopping once the body is finished.
- If your color change at the neckline looks uneven, try changing colors on the last yarn over of the final stitch in the round before the switch, rather than mid stitch.
- Folding the bottom of each ear slightly inward before sewing gives a softer, more natural curve than sewing it on completely flat.
Loved this pattern? Browse more Amigurumi patterns on Learn Crochet Daily, and tag us if you make your own bunny, we would love to see it.