
Crochet Bunny Amigurumi Pattern: A Cozy Sweater Bunny to Fall in Love With
There’s something about a ghost in a witch hat that just says Halloween better than almost anything else you could put on a shelf. This little guy came together as one of those projects where every piece adds a bit more personality, the bell shaped body, the tilted hat, the tiny pumpkin tucked between his arms. If you’re looking for a ghost amigurumi pattern that feels festive without being complicated, this one’s for you. It’s a great pick whether you’re making it for your own mantel or as a handmade gift for someone who loves all things spooky and cute.
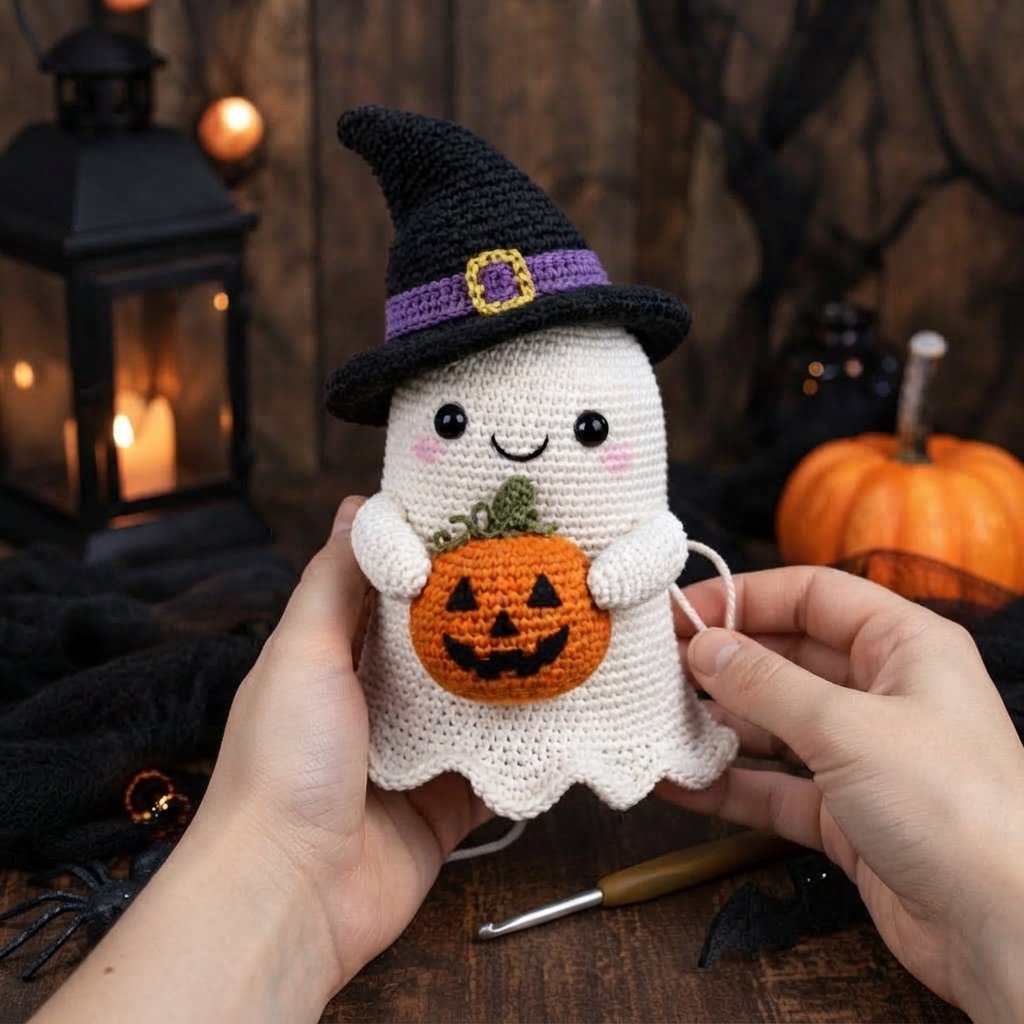
The Details
This pattern makes a finished piece about 16 to 18 cm (6.5 to 7 inches) tall, hat included, and it’s rated intermediate. That mostly comes down to the number of pieces involved rather than any single technique being hard. You’ll be working the ghost body top down in continuous rounds, then building the witch hat as two separate parts (a cone and a brim) that get joined together, plus a small jack-o’-lantern that the ghost holds against its chest. Give yourself somewhere around 6 to 8 hours from start to finish, though that really depends on how fast you work and how many coffee breaks you take along the way.
Quick Pattern Details
| Skill Level | Intermediate |
| Finished Size | Approx. 6.5 to 7 in (16-18 cm) tall, including hat |
| Time to Complete | 6 to 8 hours |
| Construction | Body worked top-down in continuous rounds, single piece with scalloped hem |
| Pieces Made Separately | Arms (x2), hat cone, hat brim, hat band and buckle, jack-o'-lantern, pumpkin stem and vine |
| Eyes | 2x 9-10mm black safety eyes, added between body rounds 13-14 |
| Face Details | Embroidered smile added after assembly, black yarn or floss; pink blush added below outer edge of each eye |
| Colors Needed | Cream (body/arms), black (hat, pumpkin face), purple (hat band), mustard/gold (buckle), orange (pumpkin), green (stem/vine), pink (blush) |
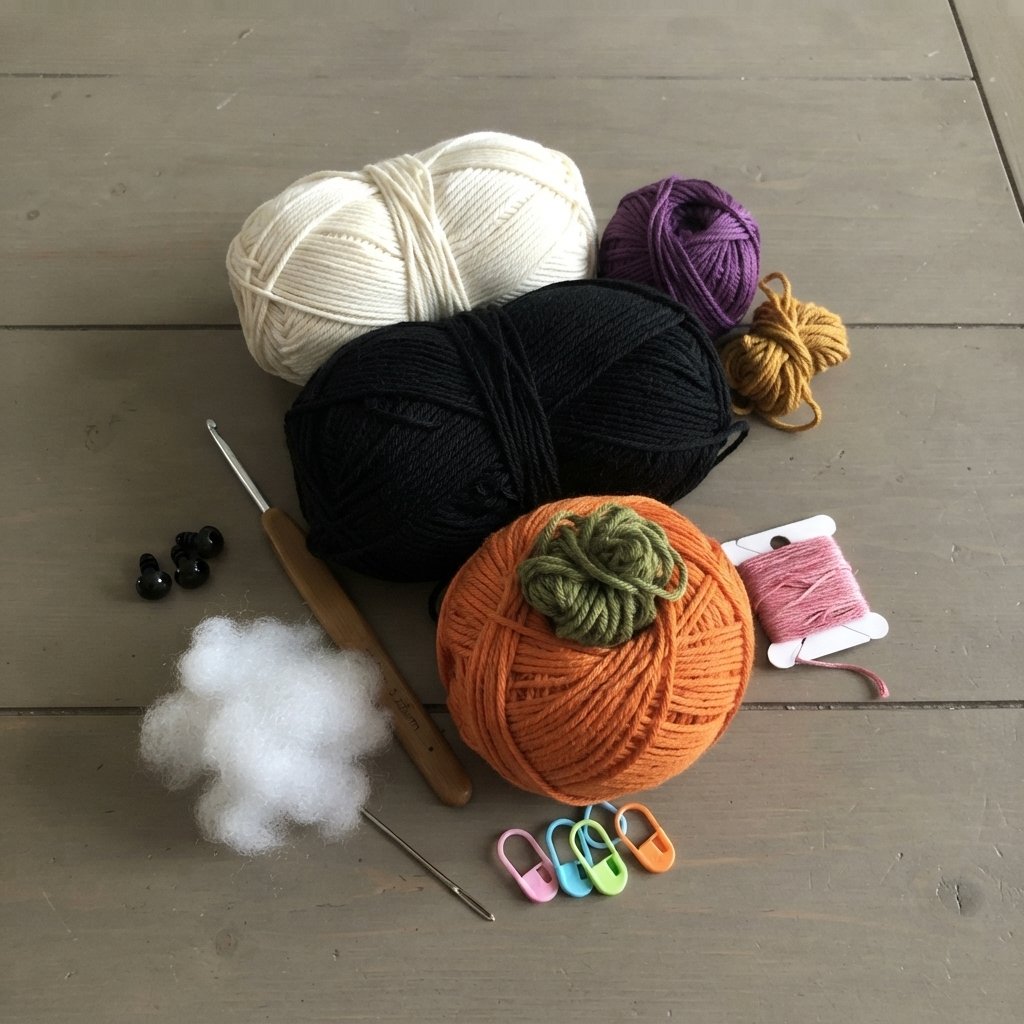
Materials
- Worsted weight (US #4) cotton or cotton blend yarn in:
- Off white or cream, about 60 to 70 g, for the ghost body and arms
- Black, about 25 to 30 g, for the witch hat
- Purple, under 5 g, for the hat band
- Mustard or gold, a small amount, for the hat buckle
- Orange, about 15 g, for the pumpkin
- Black, a small amount, for pumpkin face details
- Green, a small amount, for the stem and vine
- Pink embroidery thread or yarn for the cheek blush
- 3.0 to 3.5 mm crochet hook (sized down for tight amigurumi tension)
- 2x 9 to 10 mm black safety eyes
- Polyester fiberfill stuffing
- Stitch markers
- Yarn needle
- Small amount of pink felt (optional alternative to embroidered blush)
- Craft glue (optional, for securing the hat)
Stitches & Abbreviations
- MR – Magic Ring
- ch – chain
- sc – single crochet
- inc – increase (2 sc in same stitch)
- dec / sc2tog – invisible decrease
- st(s) – stitch(es)
- BLO – back loop only
- FLO – front loop only
- sl st – slip stitch
- FO – fasten off
- fpsc – front post single crochet
The Pattern
This crochet jack-o-lantern pattern and ghost come together in nine pieces. Work in continuous rounds (no joining, no chaining up) unless a step says otherwise, and use a stitch marker to track the start of each round.
Ghost Body (Cream)
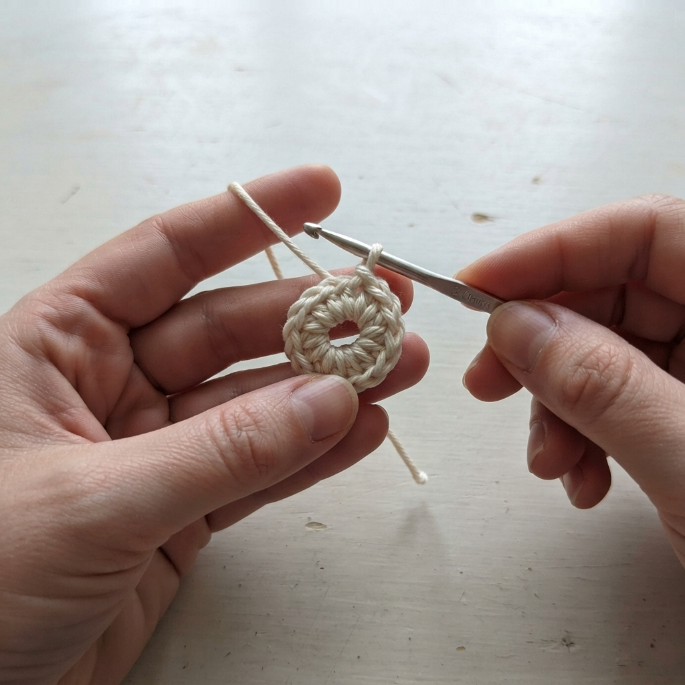
Rnd 1: 6 sc in MR (6)
Rnd 2: inc x6 (12)
Rnd 3: (sc, inc) x6 (18)
Rnd 4: (sc 2, inc) x6 (24)
Rnd 5: (sc 3, inc) x6 (30)
Rnd 6: (sc 4, inc) x6 (36)
Rnd 7: (sc 5, inc) x6 (42)
Rnd 8: (sc 6, inc) x6 (48)
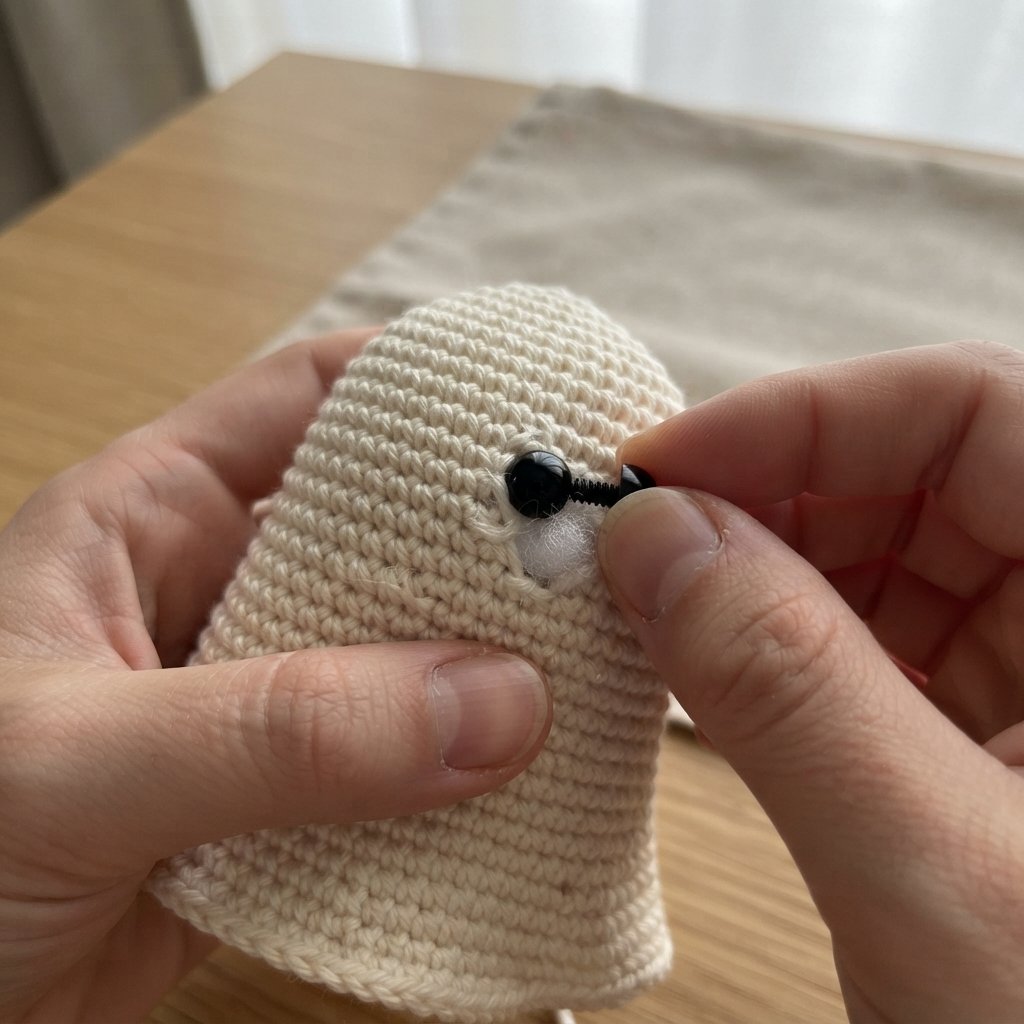
Rnds 9-19: sc even (48). Insert your safety eyes between rounds 13 and 14, centered and spaced about 8 to 9 stitches apart, before you stuff too far up.
Rnd 20: sc even (48)
Rnd 21: (sc 5, inc) x8 (56)
Rnd 22: (sc 6, inc) x8 (64)
Rnd 23: sc even (64)
Stuff firmly as you go rather than waiting until the end, this keeps the shape even.
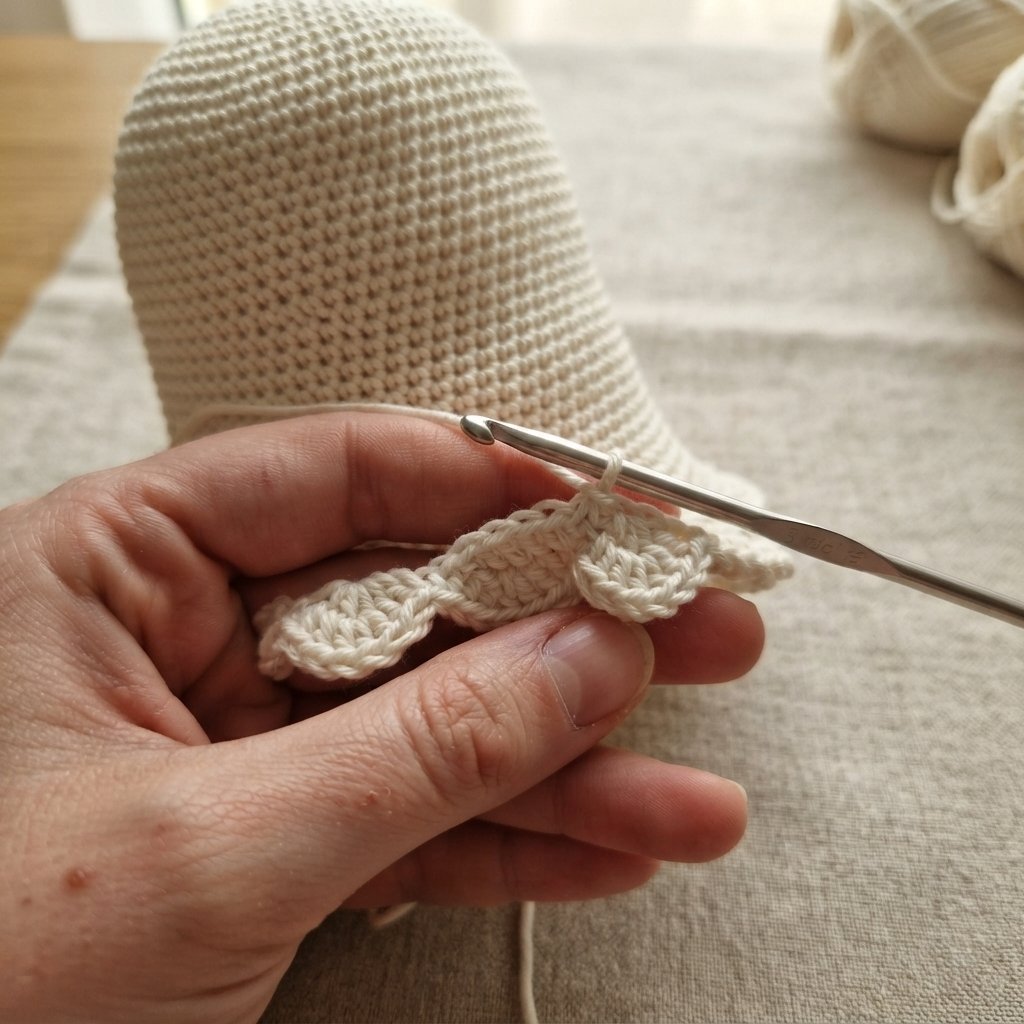
Scalloped hem: Divide the 64 stitches from round 23 into 8 groups of 8. For each scallop, sl st into the first stitch, ch 1, work (hdc, 3 dc, hdc) across the next 6 stitches, sl st into the 8th stitch, then sl st into the next stitch to start the following scallop. FO and weave in the end.
Arms (make 2, cream)
Rnd 1: 6 sc in MR (6)
Rnd 2: inc x6 (12)
Rnd 3: sc even (12)
Rnds 4-6: sc even (12)
Rnd 7: (sc, dec) x4 (9)
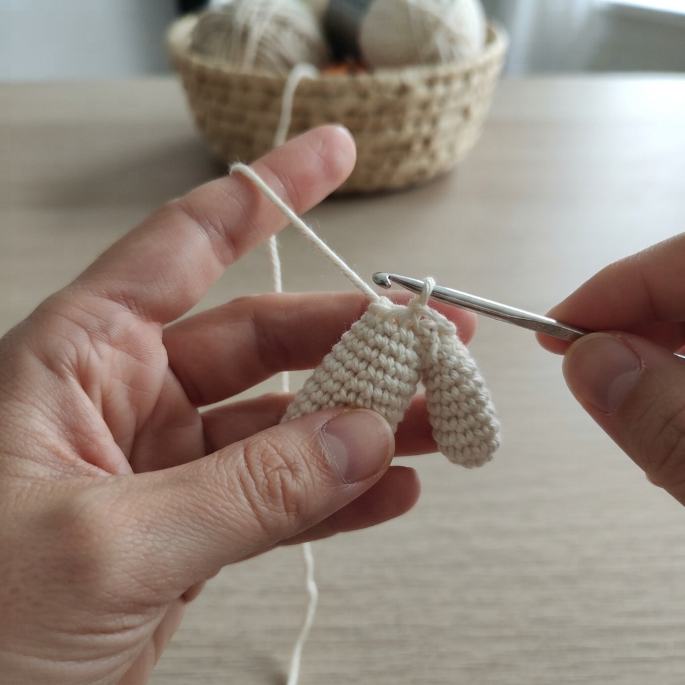
Stuff lightly, or leave unstuffed for a softer, flatter arm. FO, leaving a long tail to sew each arm to the body at chest height, angled slightly inward toward where the pumpkin will sit.
Witch Hat Cone (Black)
Rnd 1: 6 sc in MR (6)
Rnd 2: inc x6 (12)
Rnd 3: (sc, inc) x6 (18)
Rnd 4: sc even (18)
Rnd 5: (sc 2, inc) x6 (24)
Rnd 6: sc even (24)
Rnds 7-9: sc even (24)
Rnd 10: (sc 2, dec) x6 (18)
Rnds 11-12: sc even (18)
Rnd 13: (sc, dec) x6 (12)
Rnds 14-15: sc even (12)
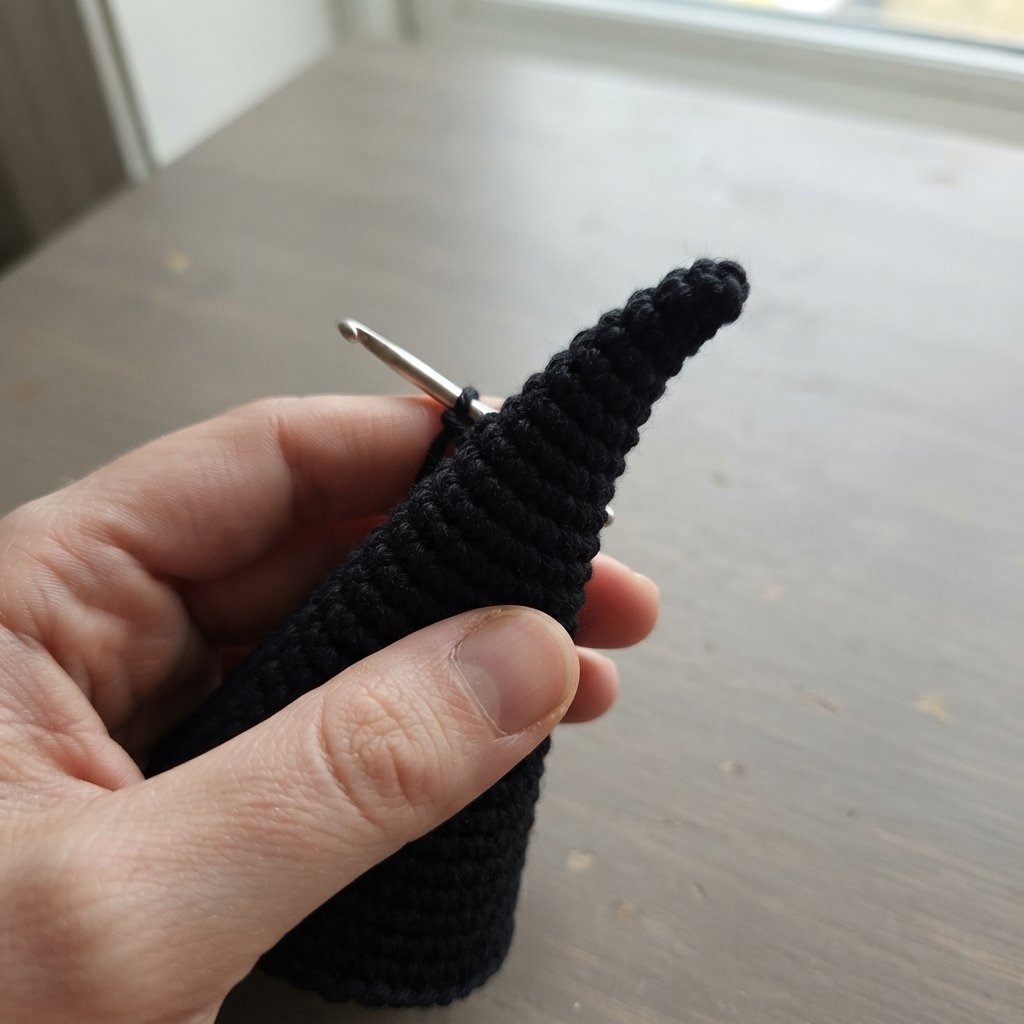
Stuff just the top third lightly, this gives the point a slight curved bend, very witchy. Leave the base open and unstuffed so it fits over the ghost’s head. FO with a long tail for attaching to the brim.
Witch Hat Brim (Black)
Rnd 1: 6 sc in MR (6)
Rnd 2: inc x6 (12)
Rnd 3: (sc, inc) x6 (18)
Rnd 4: (sc 2, inc) x6 (24)
Rnd 5: (sc 3, inc) x6 (30)
Rnd 6: (sc 4, inc) x6 (36)
Rnd 7: (sc 5, inc) x6 (42)
Rnd 8: BLO sc even (42), this creates a defined lip for the cone to sit into. FO.
Hat Band & Buckle (Purple, gold accent)
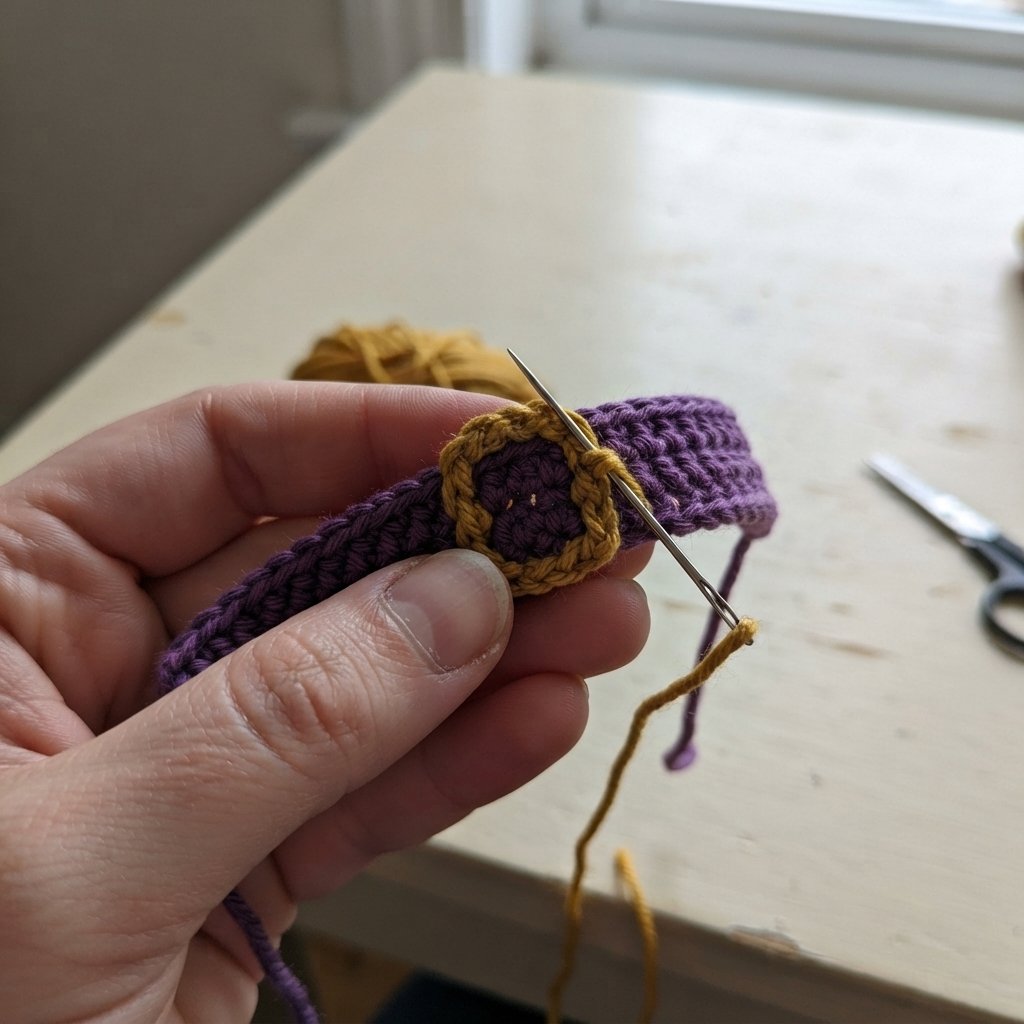
Chain a foundation to fit around the base of the cone, about 24 stitches. Row 1: sc in each chain across, then sl st to join into a ring. Row 2: sc even, FO. Embroider or crochet a small gold rectangle for the buckle and stitch it centered on the band. Sew the band around the base of the cone before joining the cone to the brim.
Jack-o’-Lantern (Orange)
Rnd 1: 6 sc in MR (6)
Rnd 2: inc x6 (12)
Rnd 3: (sc, inc) x6 (18)
Rnd 4: (sc 2, inc) x6 (24)
Rnd 5: (sc 3, inc) x6 (30)
Rnds 6-7: sc even (30)
Rnd 8: (sc 3, dec) x6 (24)
Rnd 9: (sc 2, dec) x6 (18)
Stuff firmly here, before the opening closes up too much.
Rnd 10: (sc, dec) x6 (12)
Rnd 11: dec x6 (6)
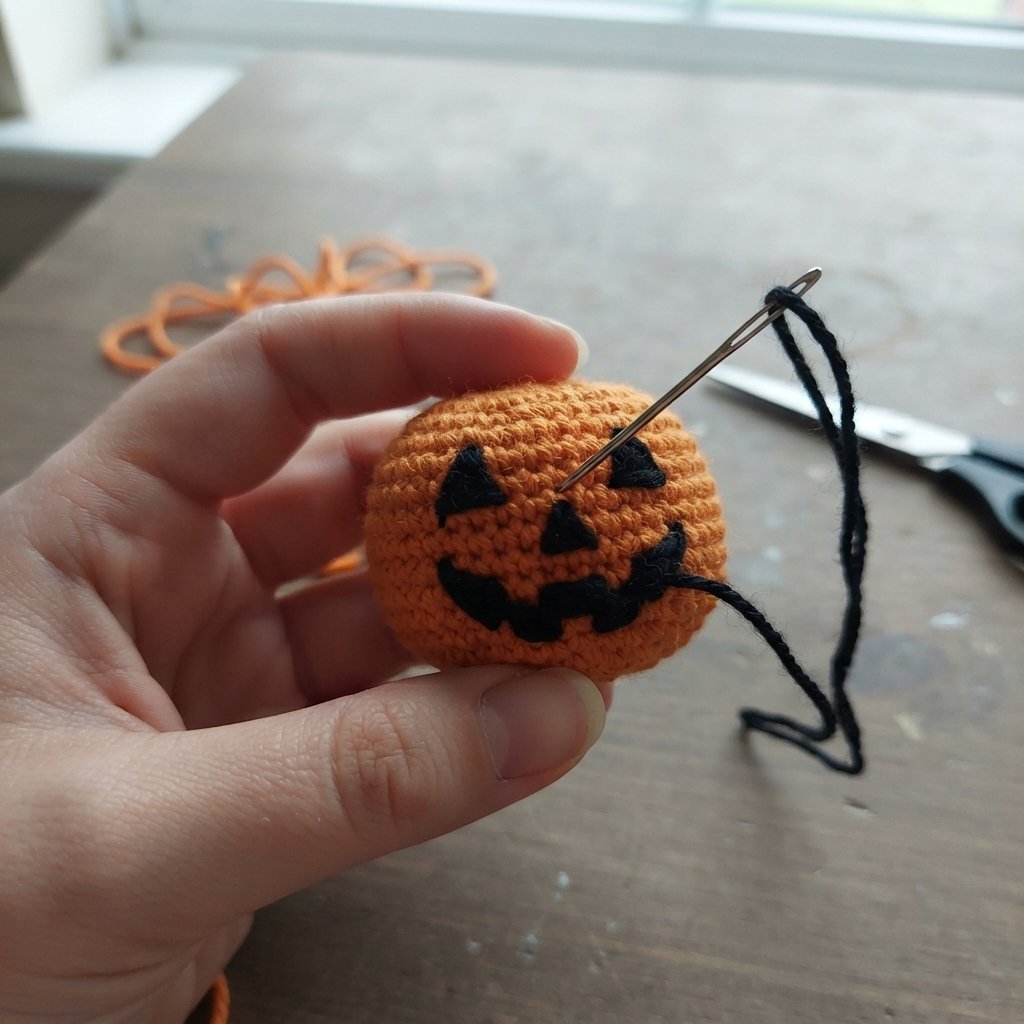
FO and cinch closed. If you’d like, work 4 to 5 vertical surface slip stitch lines from top to bottom for classic pumpkin ridges, then embroider triangle eyes, a nose, and a jagged mouth in black using satin or duplicate stitch.
Pumpkin Stem & Vine (Green)
Stem: ch 5, sc in the 2nd chain from hook and across (4 sc total), then sl st to the top of the pumpkin.
Vine: ch 10 to 12, then sl st back along the chain to curl it into a tendril. Tack the curl onto the pumpkin top near the stem.
Face Assembly & Embroidery
With the safety eyes already placed between rounds 13 and 14, embroider a gently curved smile beneath and between them in black yarn or floss, using backstitch or split stitch. Add two small pink blush circles below the outer edge of each eye, either embroidered in satin stitch or cut from felt and glued on.
Final Assembly
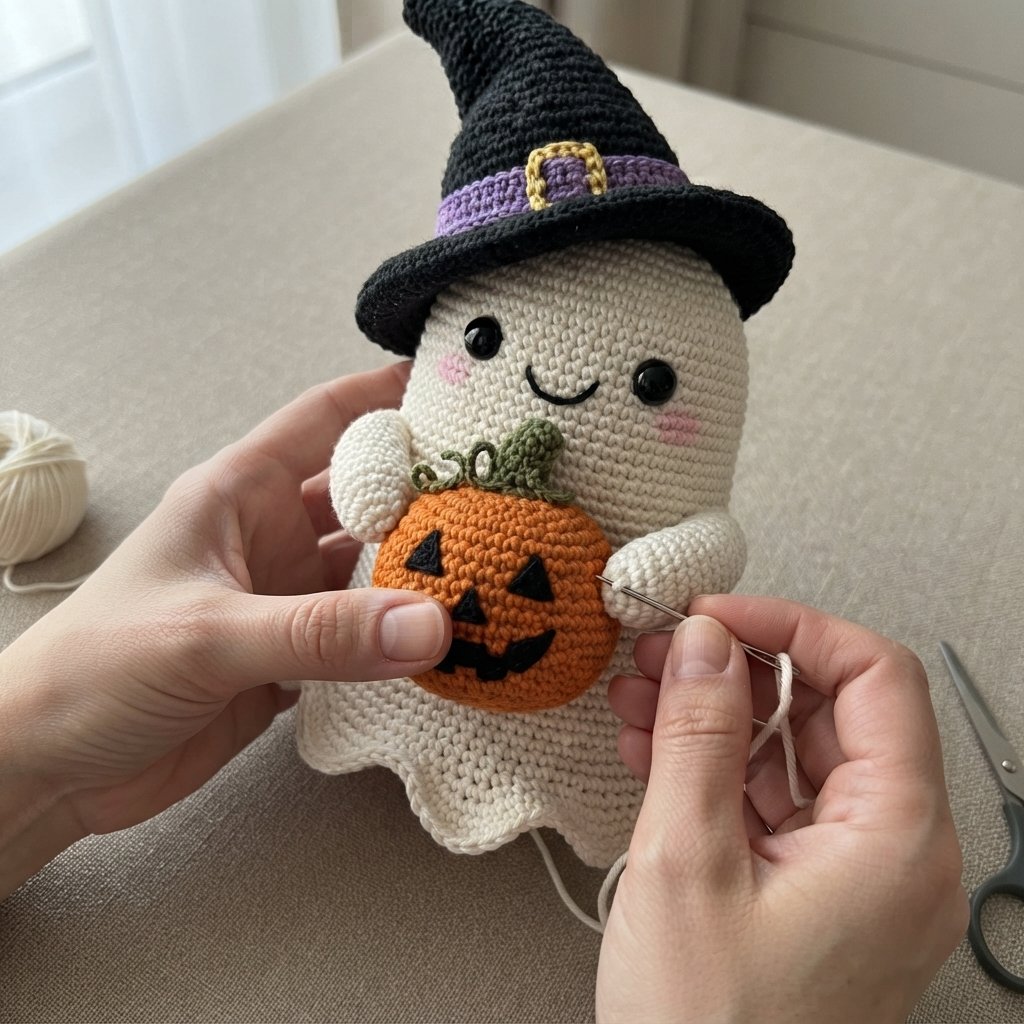
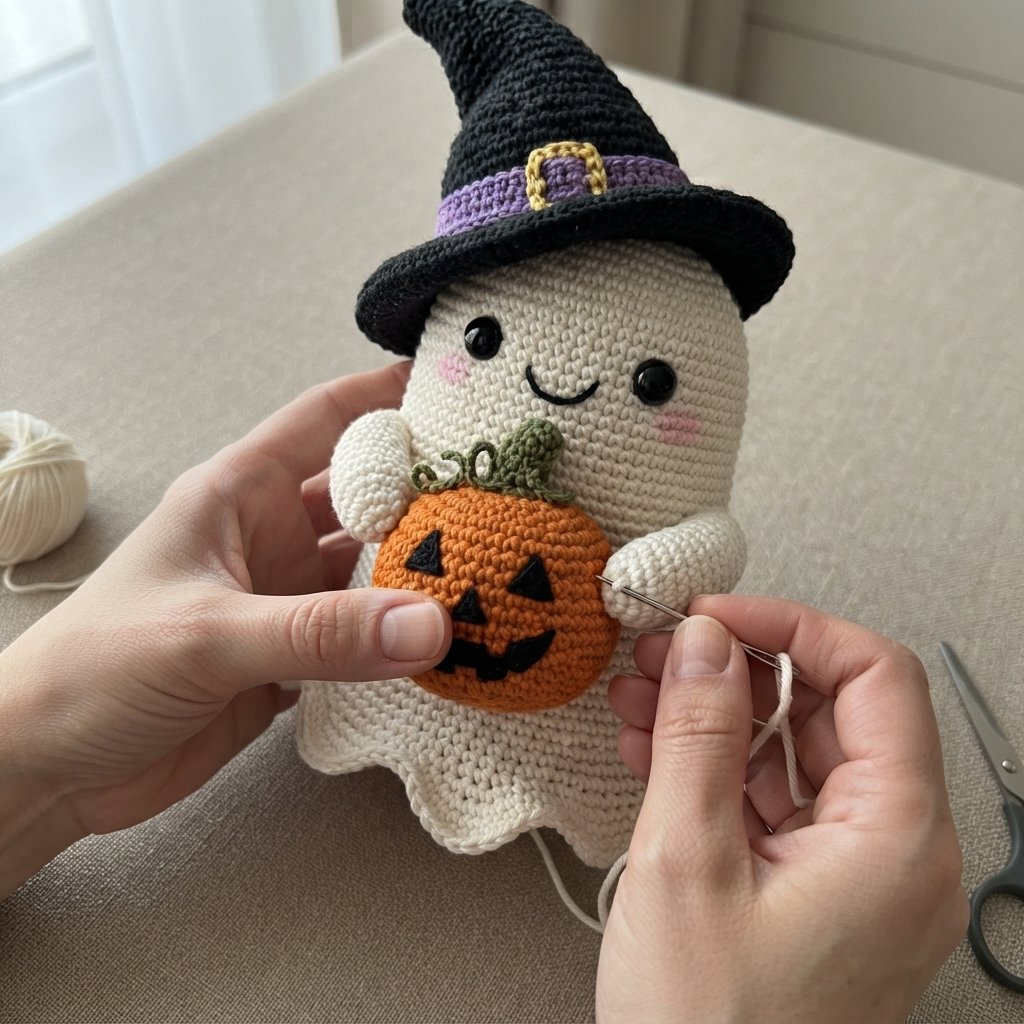
Sew the hat cone, band already attached, centered onto the brim. Place the finished hat onto the ghost’s head at a slight forward tilt and tack or glue it in place. Sew the arms to the sides of the body at upper chest height, curving them slightly forward. Position the jack-o’-lantern between the arms at chest level, sew the arms around its sides, and tack the pumpkin base to the body front to hold everything secure. Weave in any ends you’ve still got hanging around.
And that’s your finished witch hat ghost, pumpkin and all. This is one of those beginner-friendly ghost crochet projects that looks far more complicated sitting on a shelf than it actually was to make, piece by piece, it comes together pretty naturally once you’re moving through it.