
Bow Tie Panda Amigurumi Pattern
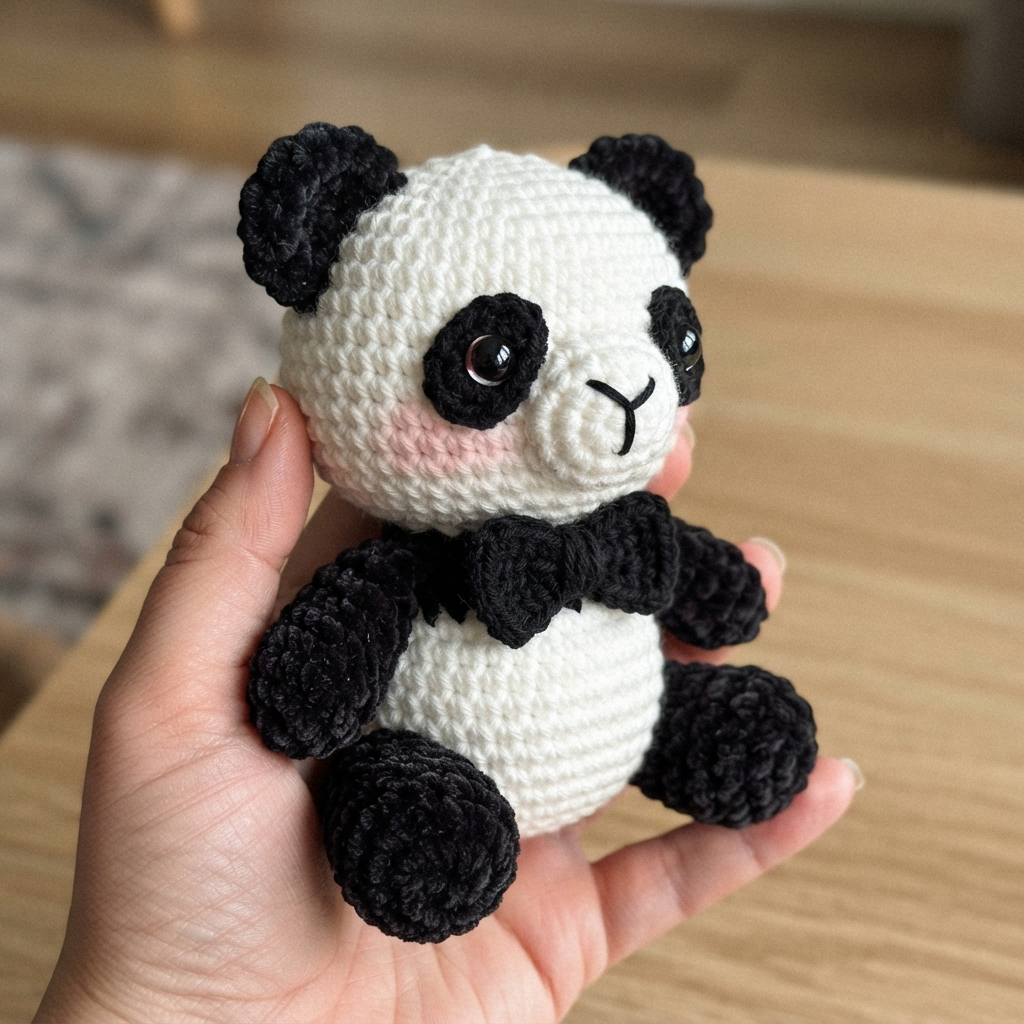
This panda works up to approximately 8 inches (20 cm) tall when seated, so he’s a nice substantial size without eating through half your yarn stash. He’s rated intermediate, mostly because of the eye patches, muzzle, and all the separate pieces that need assembling at the end, but if you’ve made a few amigurumi before, you’ll find the actual stitchwork familiar and manageable.
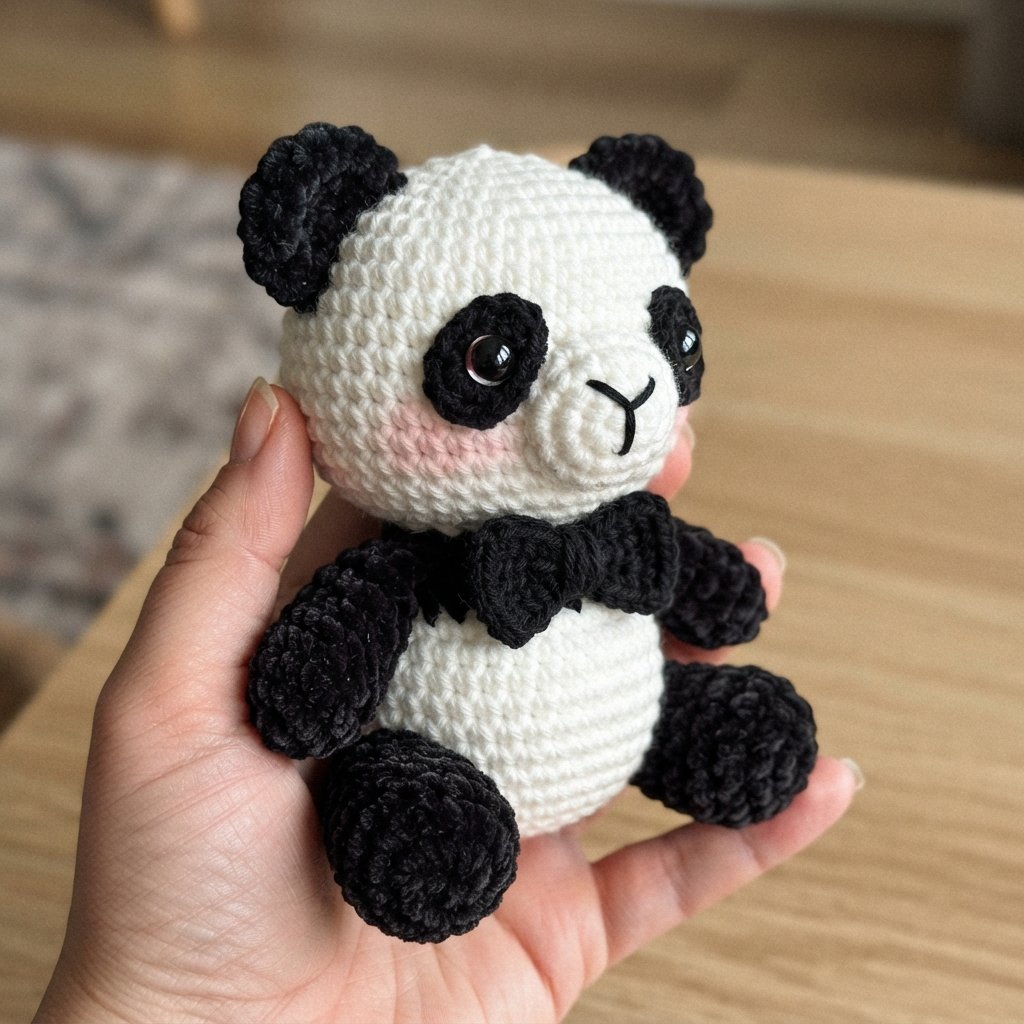
The whole thing is worked in the round in single crochet, piece by piece, then sewn together at the end. You’ll make the head and body as separate spiral pieces, along with individual ears, arms, legs, and a little bow tie, then bring it all together in the assembly stage. Plan for somewhere around 6 to 8 hours total, depending on how quickly you crochet and how much time you spend on the face details, since that’s really where this panda’s personality comes through.
If you’ve ever wondered how to crochet a panda that actually looks like a panda and not just a black and white blob, the secret is in those eye patches and the placement of the safety eyes. We’ll get into that in the pattern section below.
Quick Pattern Details
| Detail | Value |
| Skill Level | Intermediate |
| Finished Size | Approx. 8 in (20 cm) tall, seated |
| Time to Complete | 6 to 8 hours |
| Construction | Head and body worked as separate pieces, then assembled |
| Pieces Made Separately | Head, body, ears, eye patches, muzzle, arms, legs, bow tie |
| Eyes | 12mm black safety eyes, placed through the center of each eye patch |
| Face Details | Embroidered nose and mouth, pink cheek blush |
| Colors Needed | White and black |
Materials Needed
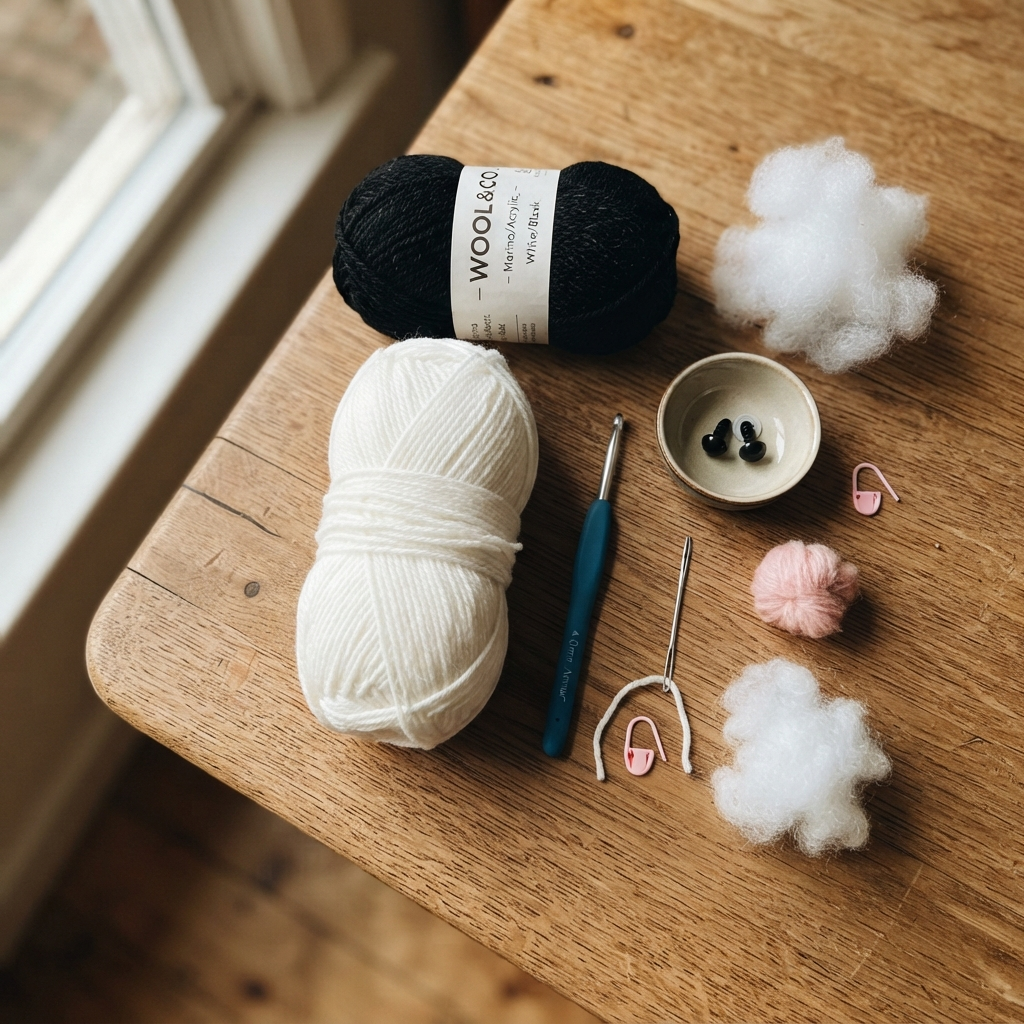
- Medium weight (worsted, weight 4) yarn in white — approx. 90 to 110g, used for the head, body, and muzzle
- Medium weight yarn in black — approx. 50 to 60g, used for the ears, eye patches, arms, legs, and bow tie
- Small amount of black yarn or embroidery floss for the nose and mouth
- Small amount of pink yarn or blush powder for the cheeks
- Crochet hook, size 4.0mm (US G/6)
- 12mm black safety eyes, 1 pair (or safety eyes with a black felt or crochet patch backing)
- Polyester fiberfill stuffing
- Stitch marker
- Yarn needle
Stitches & Abbreviations Used
- MR – Magic Ring
- ch – Chain
- sc – Single Crochet
- inc – Increase (2 sc in same stitch)
- dec – Invisible Decrease
- FLO/BLO – Front/Back Loop Only
- sl st – Slip Stitch
- st(s) – Stitch(es)
- FO – Fasten Off
- CC – Color Change
- ( ) – Stitch count at end of round
Instructions
Piece 1: Head (make 1, white with black eye patches)
Worked in a continuous spiral from the top down. Use a stitch marker to track the start of each round.
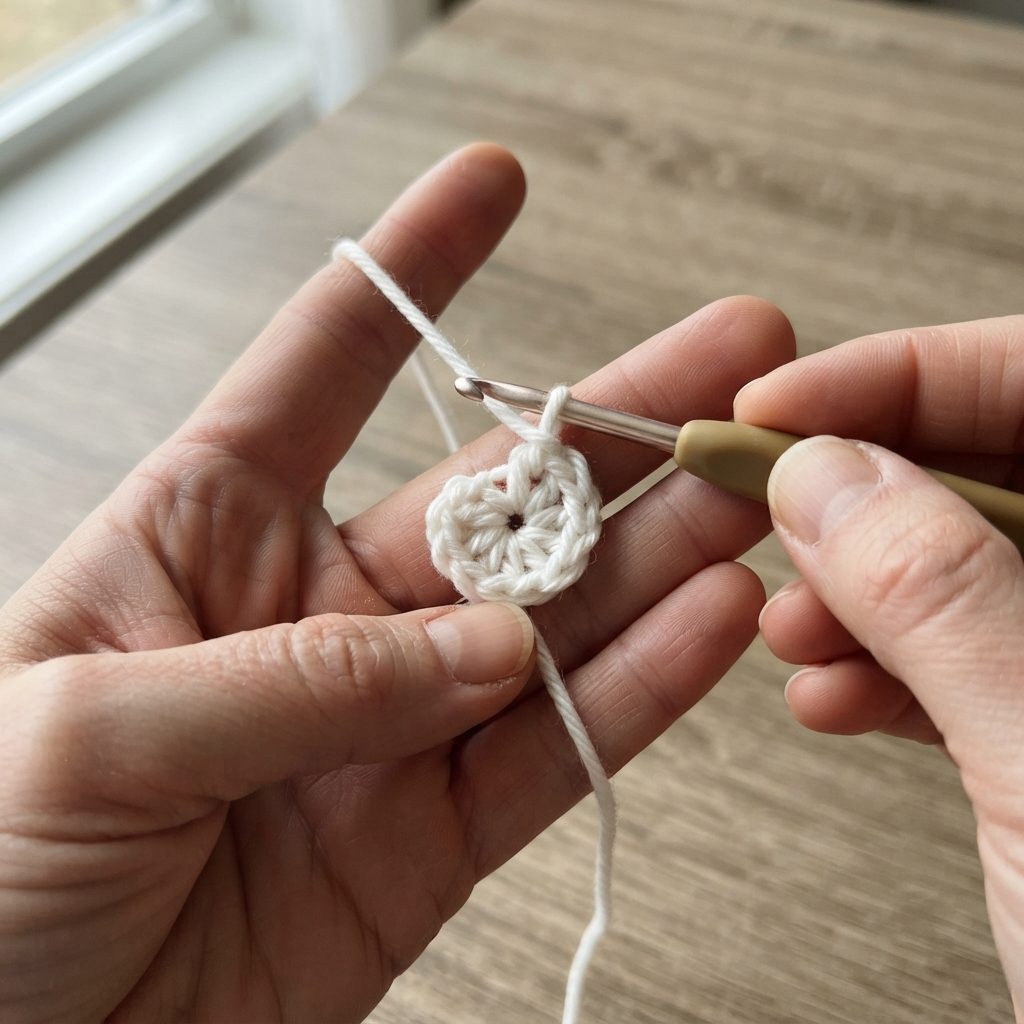
- Rnd 1: 6 sc in MR (6)
- Rnd 2: inc x6 (12)
- Rnd 3: (sc, inc) x6 (18)
- Rnd 4: (sc 2, inc) x6 (24)
- Rnd 5: (sc 3, inc) x6 (30)
- Rnd 6: (sc 4, inc) x6 (36)
- Rnd 7: (sc 5, inc) x6 (42)
- Rnds 8 to 14: sc around, no shaping (42). This is the widest part of the head, and where you will work the eye patches in around rounds 9 to 12, see the note below.
- Rnd 15: (sc 5, dec) x6 (36)
- Rnd 16: (sc 4, dec) x6 (30)
- Rnd 17: (sc 3, dec) x6 (24)
- Rnd 18: (sc 2, dec) x6 (18)
- Stuff firmly.
- Rnd 19: (sc 1, dec) x6 (12)
- Rnd 20: dec x6 (6)
- FO, cinch closed, weave in end. Leave the head unattached until the eye patches, eyes, muzzle, and face details are complete.
Eye patches (make 2, black, crocheted separately and sewn on):
- Rnd 1: 6 sc in MR (6)
- Rnd 2: inc x6 (12)
- Rnd 3: (sc, inc) x6 (18). This forms a small flat oval or teardrop shape.
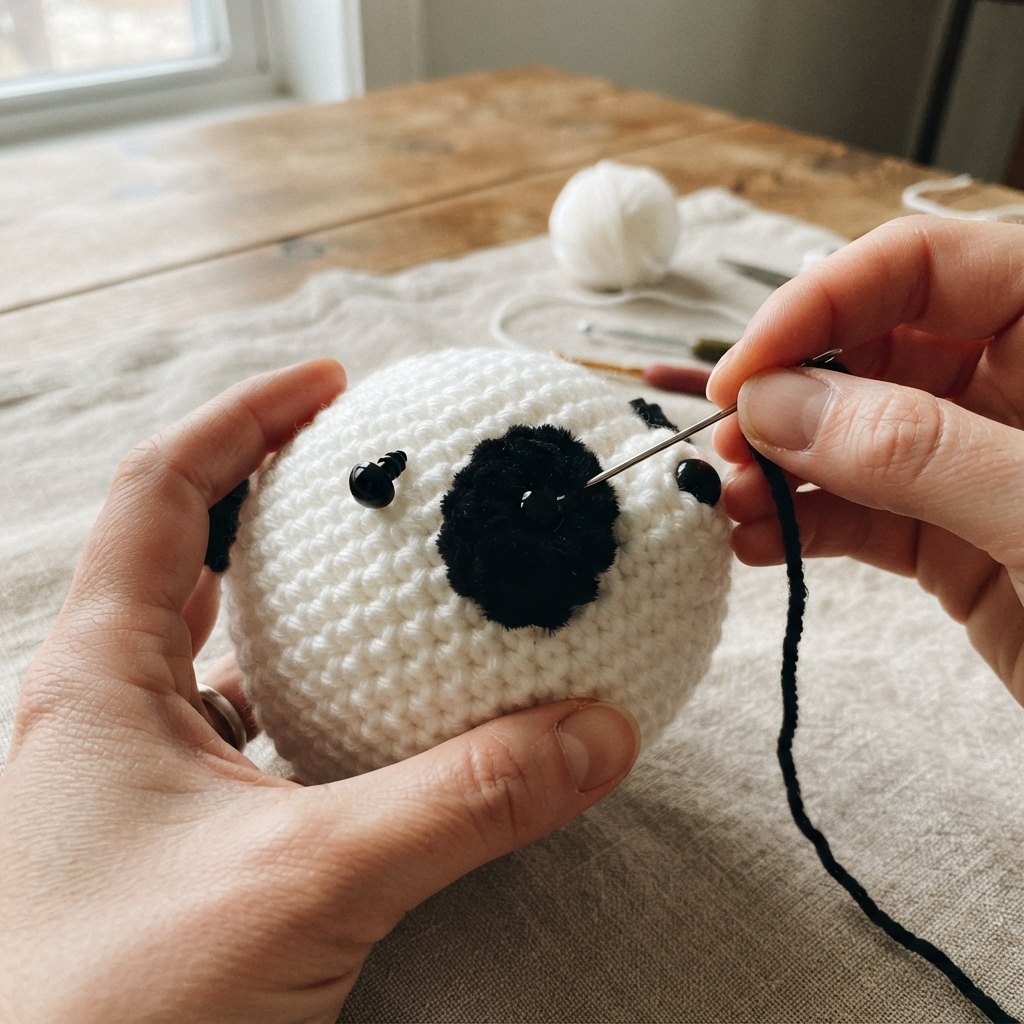
- FO, leaving a long tail. Flatten slightly and sew onto the head around rounds 9 to 14, angled outward from the center, with the safety eyes placed through the center of each patch.
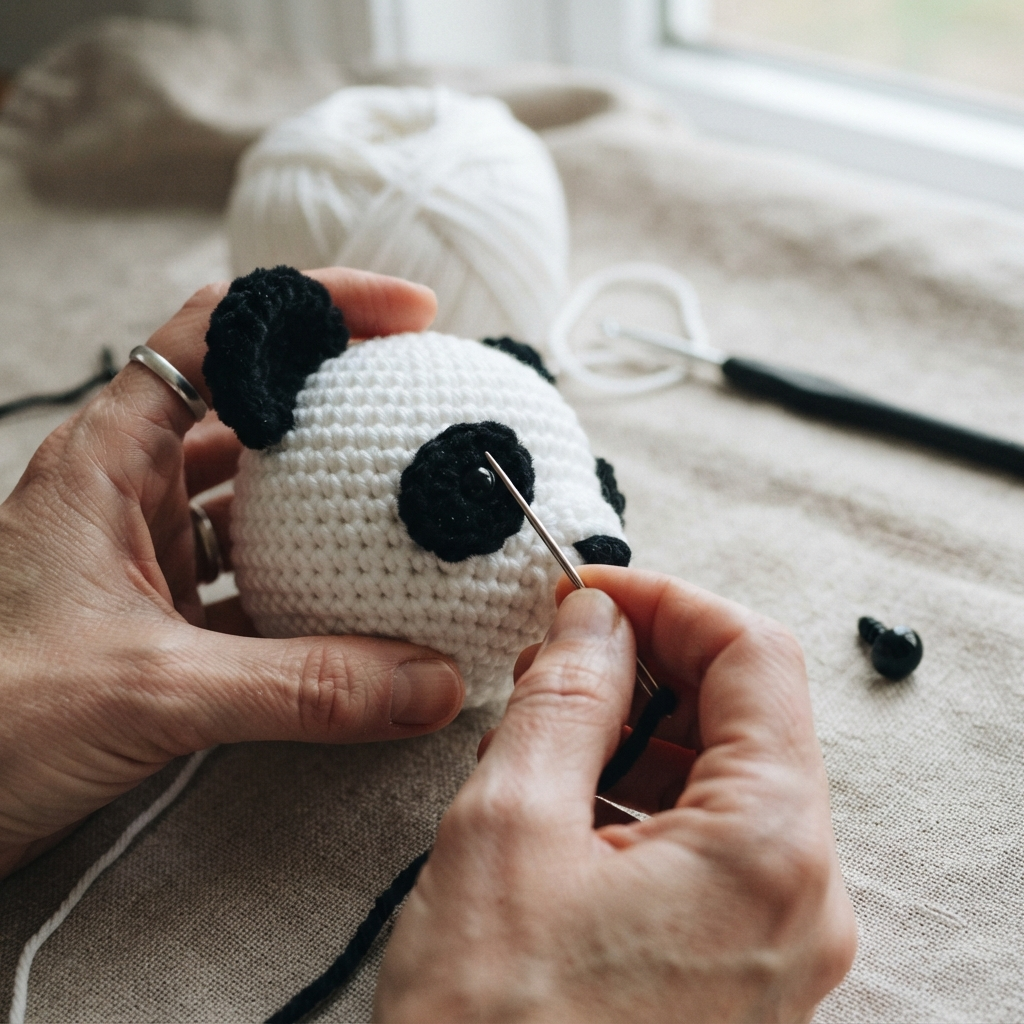
Muzzle (make 1, white, optional raised detail, can also be worked flat directly onto the face):
- Rnd 1: 6 sc in MR (6)
- Rnd 2: inc x6 (12)
- Rnd 3: sc around (12)
- FO, leaving a long tail. Sew centered below and between the eye patches, then embroider a small black triangle nose and a curved smile beneath it. Add pink cheek blush with yarn or blush powder on either side of the muzzle.
Piece 2: Body (make 1, white)
- Rnd 1: 6 sc in MR (6)
- Rnd 2: inc x6 (12)
- Rnd 3: (sc, inc) x6 (18)
- Rnd 4: (sc 2, inc) x6 (24)
- Rnd 5: (sc 3, inc) x6 (30)
- Rnd 6: (sc 4, inc) x6 (36)
- Rnds 7 to 15: sc around, no shaping (36)
- Rnd 16: (sc 4, dec) x6 (30)
- Rnd 17: (sc 3, dec) x6 (24)
- Stuff firmly.
- Rnd 18: (sc 2, dec) x6 (18)
- Rnd 19: (sc 1, dec) x6 (12)
- Rnd 20: dec x6 (6)
- FO, cinch closed, weave in end. Sew the neck opening of the head to the top of the body.
Piece 3: Ears (make 2, black)
- Rnd 1: 6 sc in MR (6)
- Rnd 2: inc x6 (12)
- Rnd 3: (sc, inc) x6 (18)
- Rnds 4 to 5: sc around, no shaping (18)
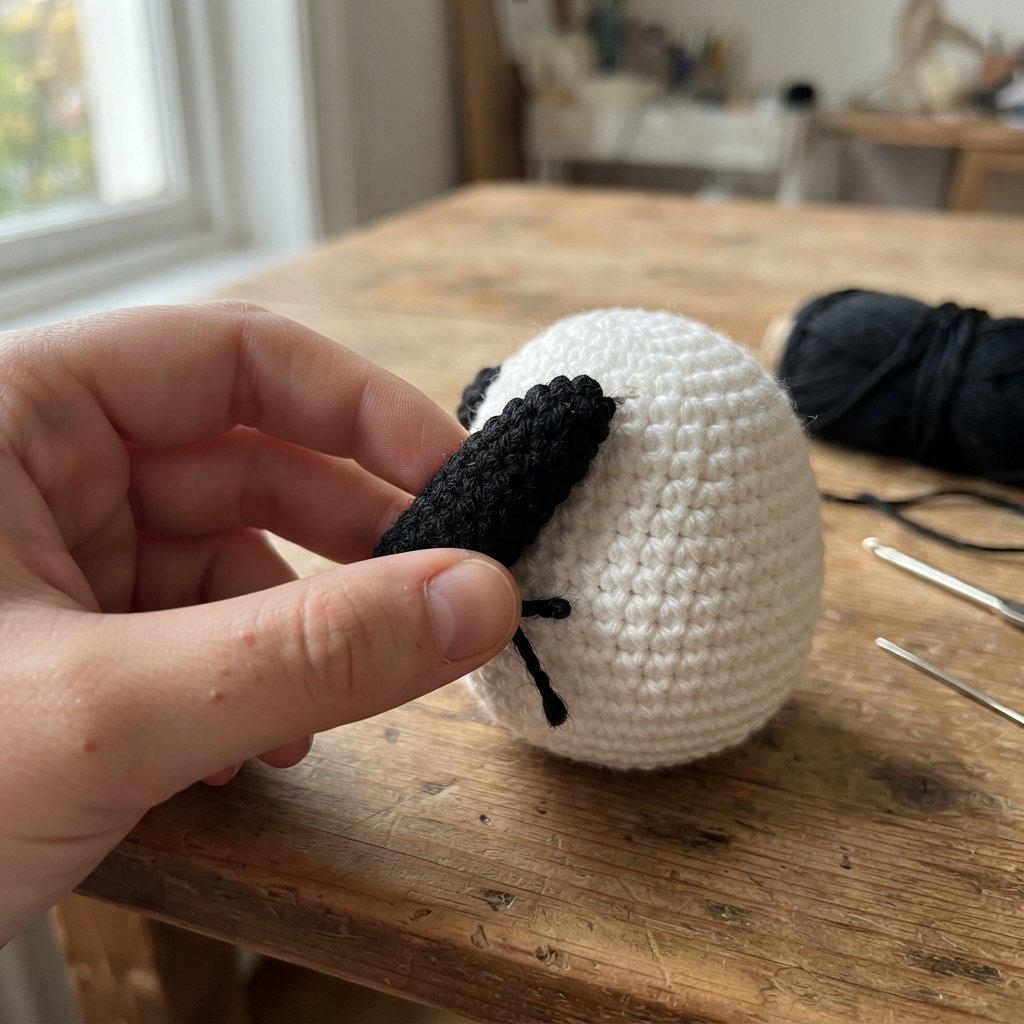
- Flatten the piece and sc across the opening to close flat, or fold in half and sl st closed. FO, leaving a long tail. Sew to the top of the head, spaced apart and angled slightly outward.
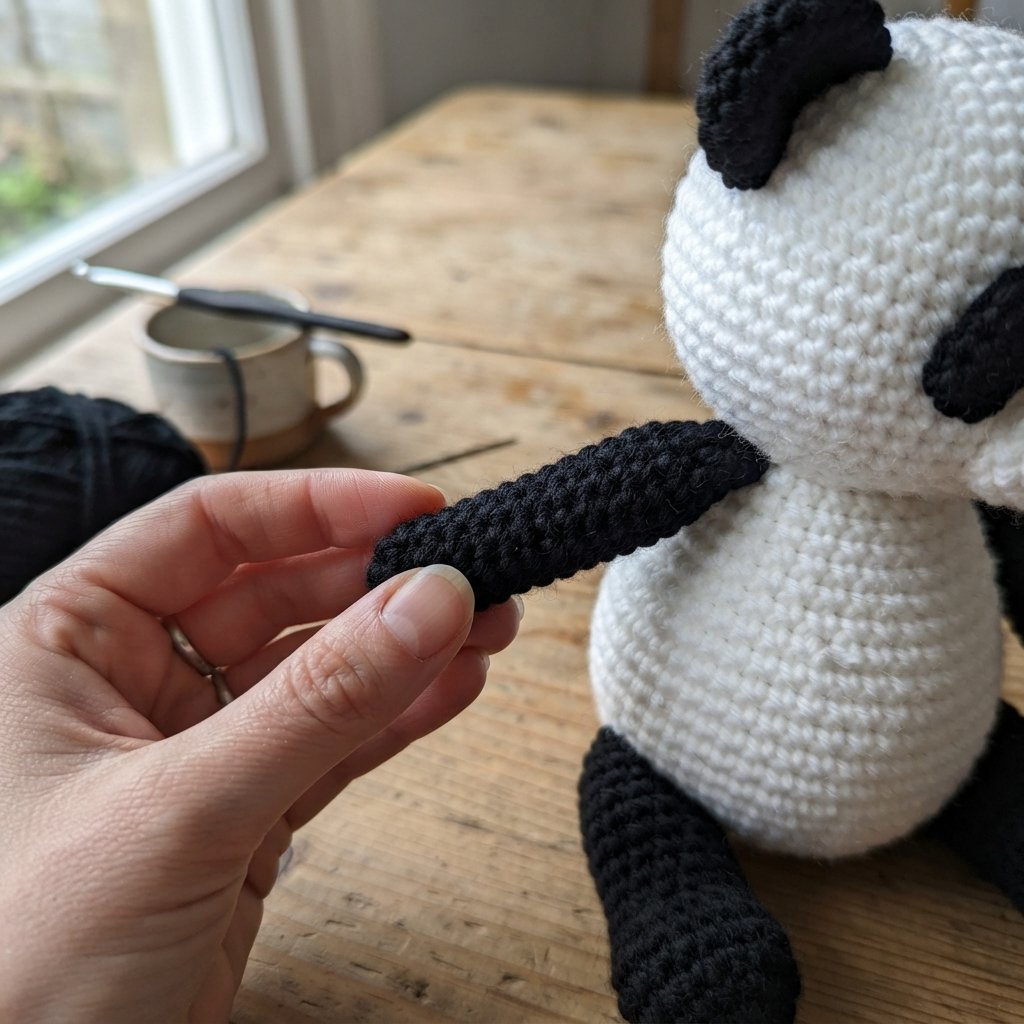
Piece 4: Arms (make 2, black)
- Rnd 1: 6 sc in MR (6)
- Rnd 2: inc x6 (12)
- Rnd 3: (sc, inc) x6 (18)
- Rnds 4 to 5: sc around, no shaping (18)
- Rnd 6: (sc 4, dec) x3 (15). This narrows the arm slightly toward the paw.
- Rnds 7 to 11: sc around, no shaping (15)
- Stuff lightly, leaving the top more loosely stuffed for easy attachment. FO, leaving a long tail. Flatten the top opening and sew closed, then attach to the upper sides of the body.
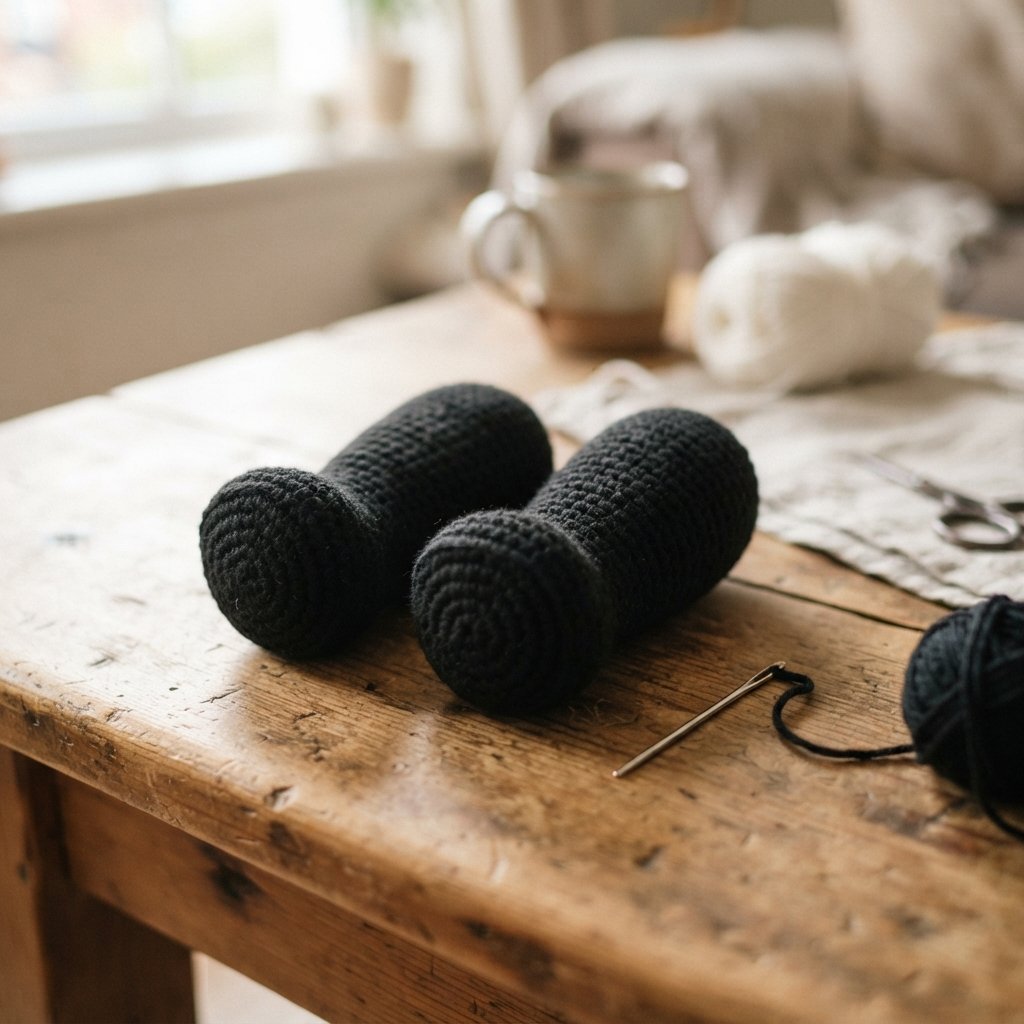
Piece 5: Legs & Feet (make 2, black)
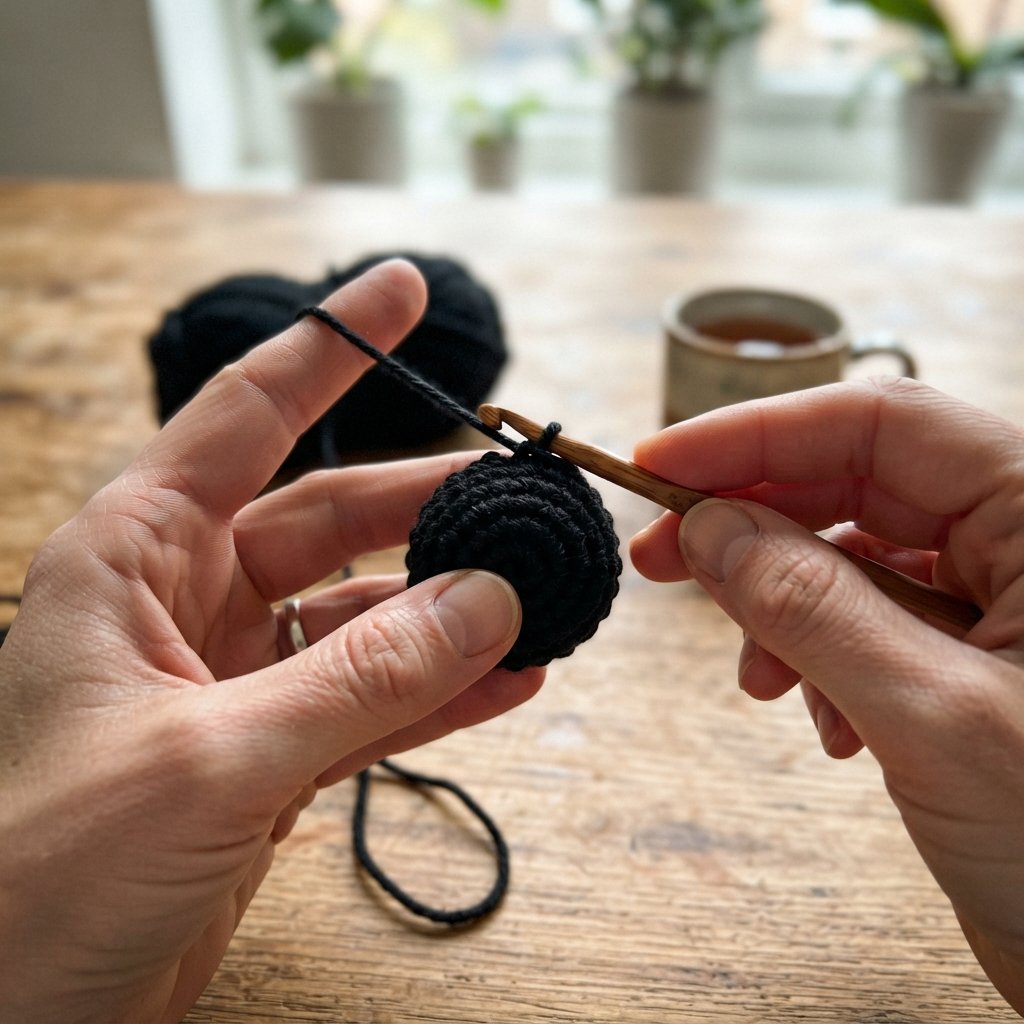
- Rnd 1: 6 sc in MR (6)
- Rnd 2: inc x6 (12)
- Rnd 3: (sc, inc) x6 (18)
- Rnd 4: (sc 2, inc) x6 (24). This forms the rounded foot base.
- Rnds 5 to 6: sc around, no shaping (24)
- Rnd 7: (sc 2, dec) x6 (18). This narrows into the leg.
- Rnds 8 to 10: sc around, no shaping (18)
- Stuff the foot firmly, leaving the leg more lightly stuffed for a seated pose. FO, leaving a long tail. Sew the top of each leg to the lower front and sides of the body so the panda sits upright with feet facing forward.
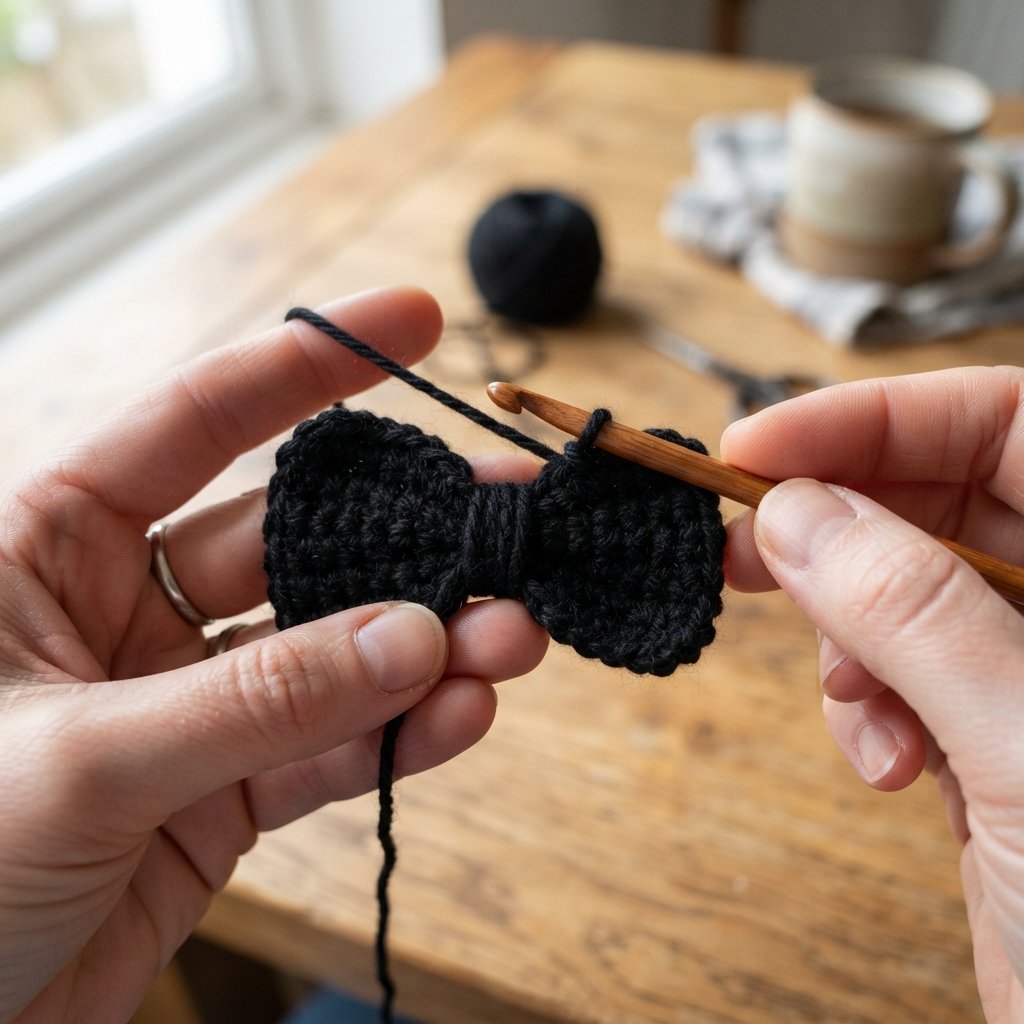
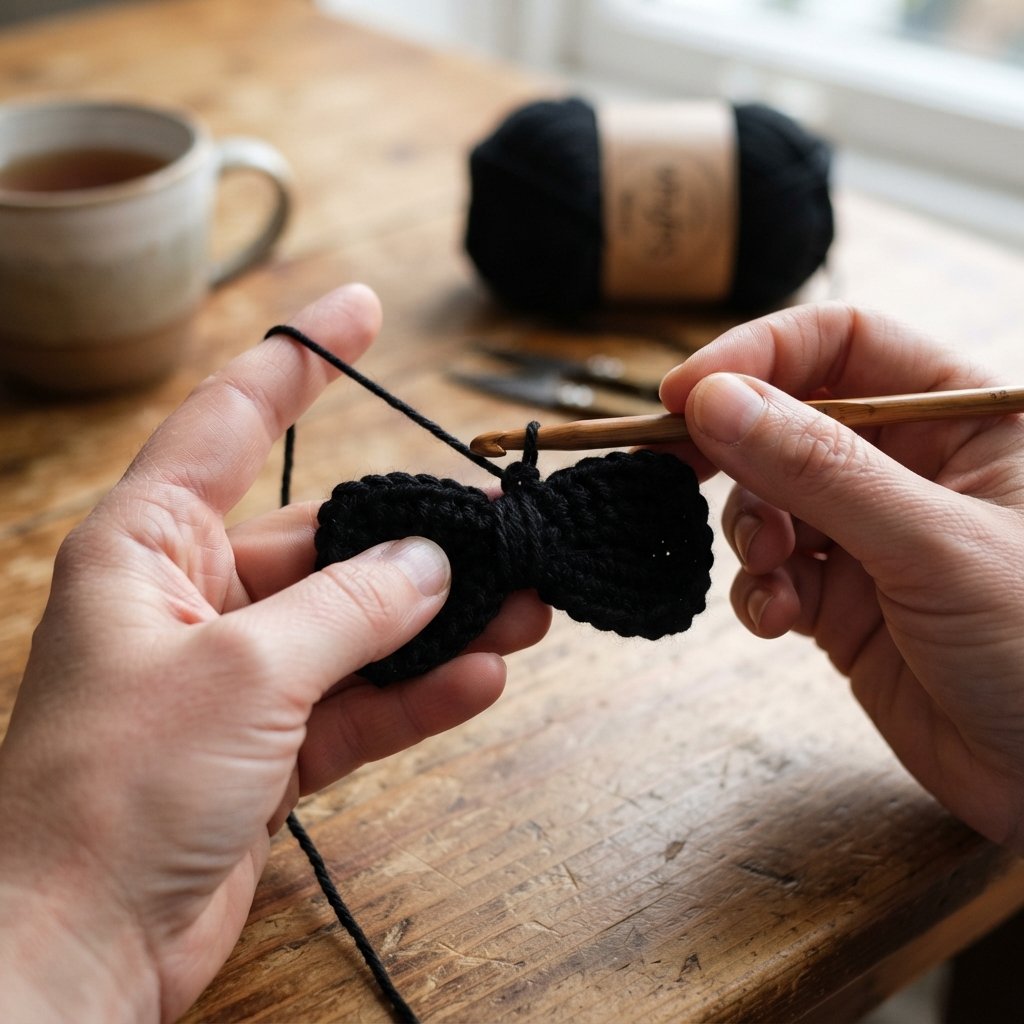
Piece 6: Bow Tie (make 1, black)
Bow (center piece):
- Ch 10, work a flat rectangle in sc for 4 to 5 rows.
- FO, leaving a long tail. Gather the center by wrapping yarn tightly around the middle to form a bow shape.
Center knot wrap:
- Ch 4, sc across, FO leaving a tail. Wrap around the center of the gathered bow and sew the ends together at the back to secure.
Sew or tack the finished bow tie to the front of the neck and upper body, just below the chin.
Assembly
- Weave in all loose ends before assembly.
- Sew the eye patches to the head first, then insert the safety eyes through the center of each patch before final head stuffing and closing.
- Attach the muzzle below and between the eye patches, then embroider the nose and mouth, and add cheek blush.
- Sew the ears to the top of the head, spaced evenly apart.
- Sew the head onto the top of the body, checking that the face is centered and upright.
- Attach the arms to the upper sides of the body and the legs to the lower front of the body so the panda sits flat and stable.
- Attach the finished bow tie to the front of the neck.
- Do a final fluff and shape check on the stuffing before calling the piece complete.
Tips for This Pattern
- Pin the eye patches in place before sewing and step back to check they look even from a distance, small placement differences show up a lot on a face this size.
- Keep the muzzle stitches loose enough that it sits flat rather than puckering, since it is a fairly small patch of stitches.
- If the bow tie looks a little floppy once attached, a few extra tacking stitches at the back of the knot wrap will help it hold its shape.
Loved this pattern? Browse more [Amigurumi] patterns on Learn Crochet Daily, and tag us if you make your own panda, we would love to see it.