
Jack-O’-Lantern Vine Handle Bag (Advanced Pattern)
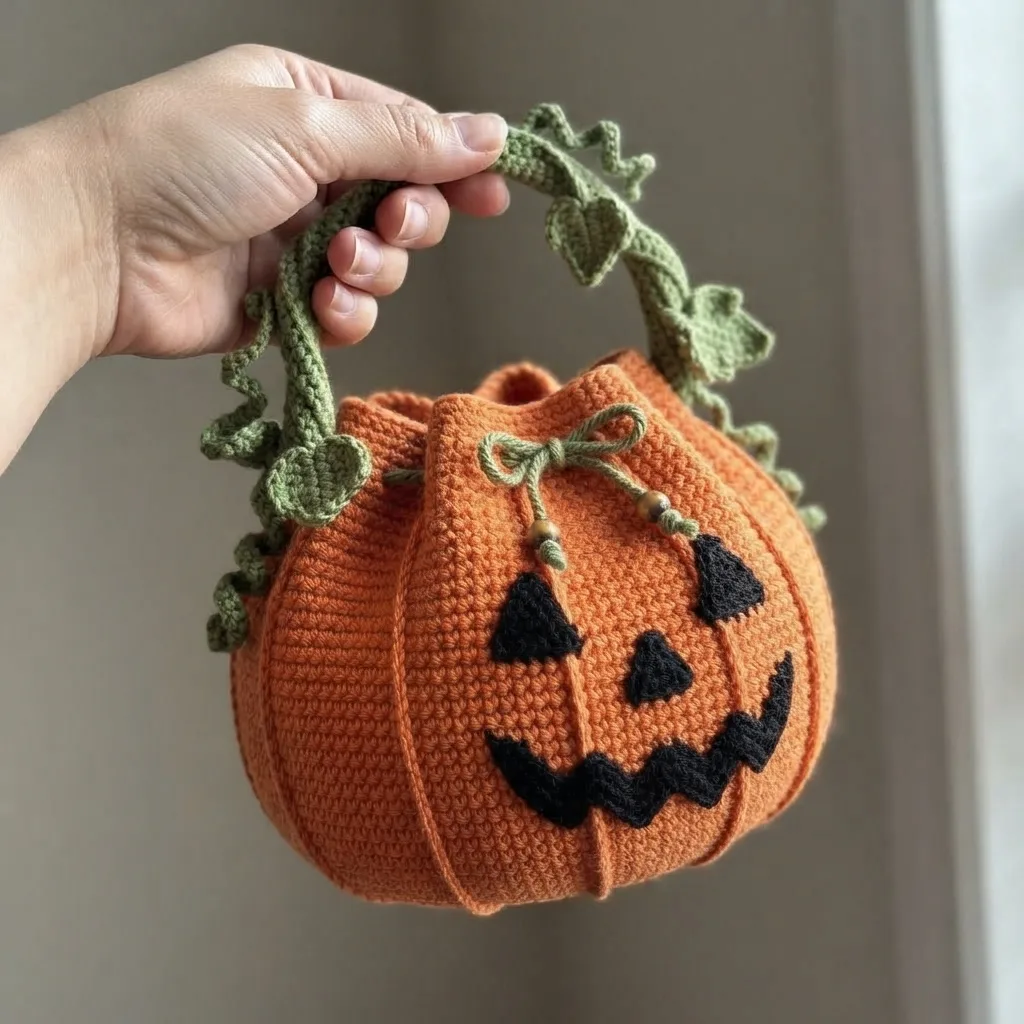
This one has been sitting in my notebook since last fall, and I finally sat down and worked it all out properly. It is a plump little pumpkin bag with a carved jack-o’-lantern face worked right into the stitches, and a twisting vine handle with a few leaves trailing along it. It has a real storybook feel to it, and it is easily the most fun thing I have made for Halloween so far.
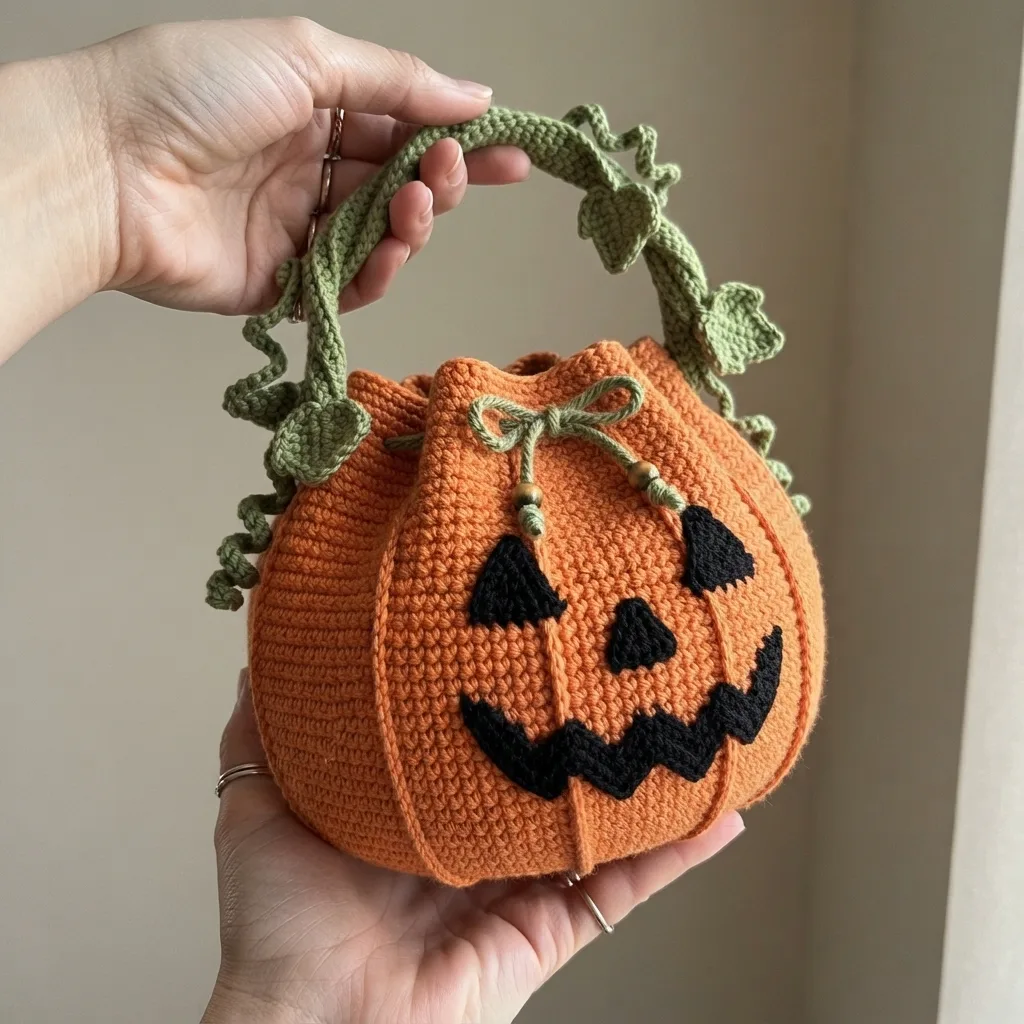
This pattern is rated advanced, and honestly that is fair. The face is worked using a color change technique as you go, rather than embroidered on afterward, so you are essentially reading a small chart while you crochet the body. The vine handle also takes a bit of patience, since it needs to hold its shape once it is finished. If you have done any kind of color work or intarsia crochet before, you will have a much easier time here than if this is your first attempt at it.
Worth mentioning too, this is an original pattern I put together myself rather than something copied from an existing bag or listing. That means the stitch counts and shaping below are my best estimates for how this comes together, and I would treat this as a first draft to test and adjust rather than a fully locked pattern. Plan for somewhere around 10 to 14 hours total, spread out over a few sessions, since the face panel especially benefits from working slowly and checking your progress often.
Quick Pattern Details
| Detail | Value |
| Finished Size | Advanced |
| Time to Complete | Approx. 9 in (23 cm) wide x 7 in (18 cm) tall, plus a 14 in (36 cm) vine handle drop |
| Time to Complete | 10 to 14 hours |
| Construction | Body worked in the round, face worked in as a color change panel, handle and leaves made separately |
| Pieces Made Separately | Vine handle, leaves |
| Face | Worked directly into the body using intarsia/color change technique |
| Colors Needed | Orange, black, and green |
Materials Needed
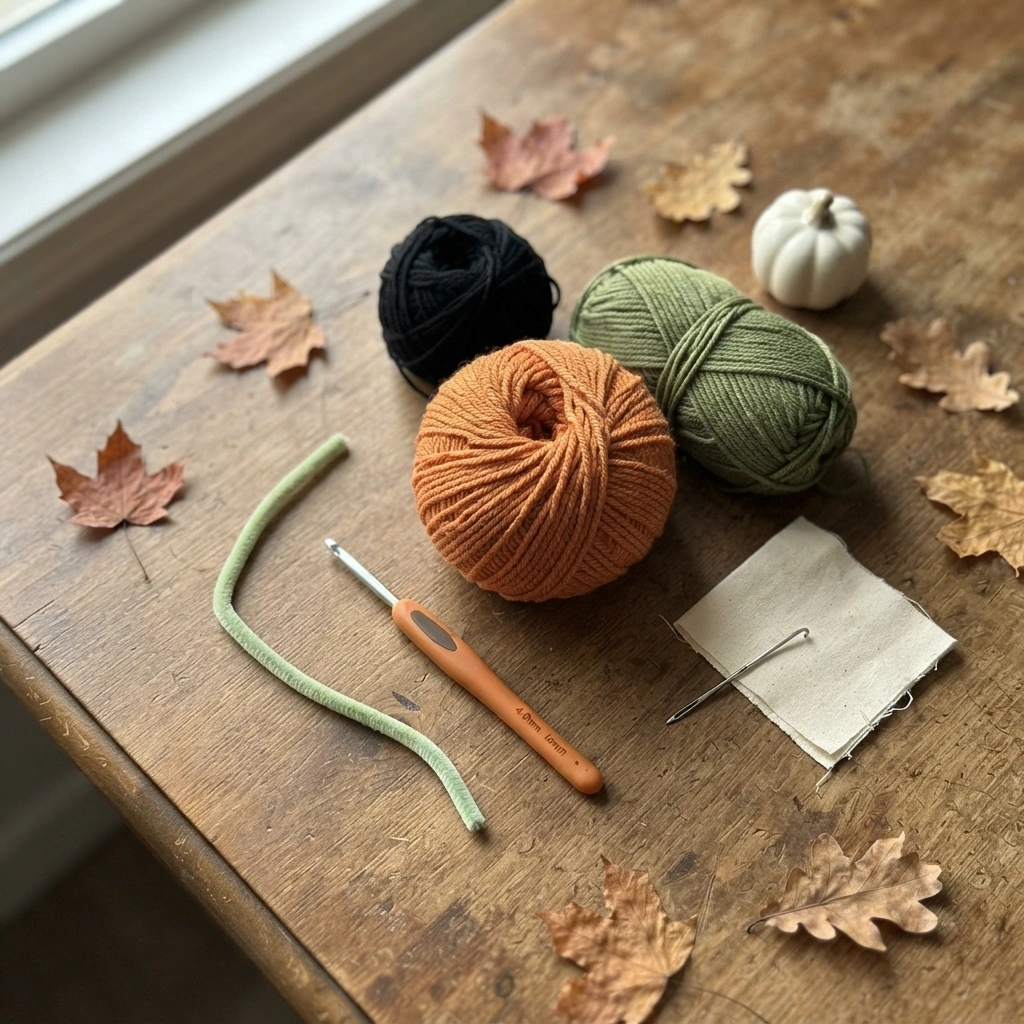
- Medium weight (worsted, weight 4) sturdy cotton blend yarn in orange — approx. 150 to 180g, used for the bag body
- Medium weight yarn in black — approx. 30 to 40g, used for the face
- Medium weight yarn in green — approx. 60 to 80g, used for the vine and leaves
- Crochet hook, size 4.0mm (US G/6)
- Optional smaller 3.5mm (US E/4) hook for the vine handle, to keep it firm
- Stitch markers
- Yarn needle
- Optional bag lining fabric and sewing thread, for extra structure
- Optional lightweight wire, pipe cleaner, or cord insert, to help the vine handle hold its curved shape
Stitches & Abbreviations Used
- MR – Magic Ring
- ch – Chain
- sc – Single Crochet
- inc – Increase (2 sc in same stitch)
- dec – Invisible Decrease
- CC – Color Change (intarsia/tapestry technique for the face)
- FLO/BLO – Front/Back Loop Only (used for the ridge lines)
- sl st – Slip Stitch
- st(s) – Stitch(es)
- FO – Fasten Off
- ( ) – Stitch count at end of round or row
Instructions
Piece 1: Pumpkin Body (make as 1 continuous piece, orange, worked bottom up in the round)
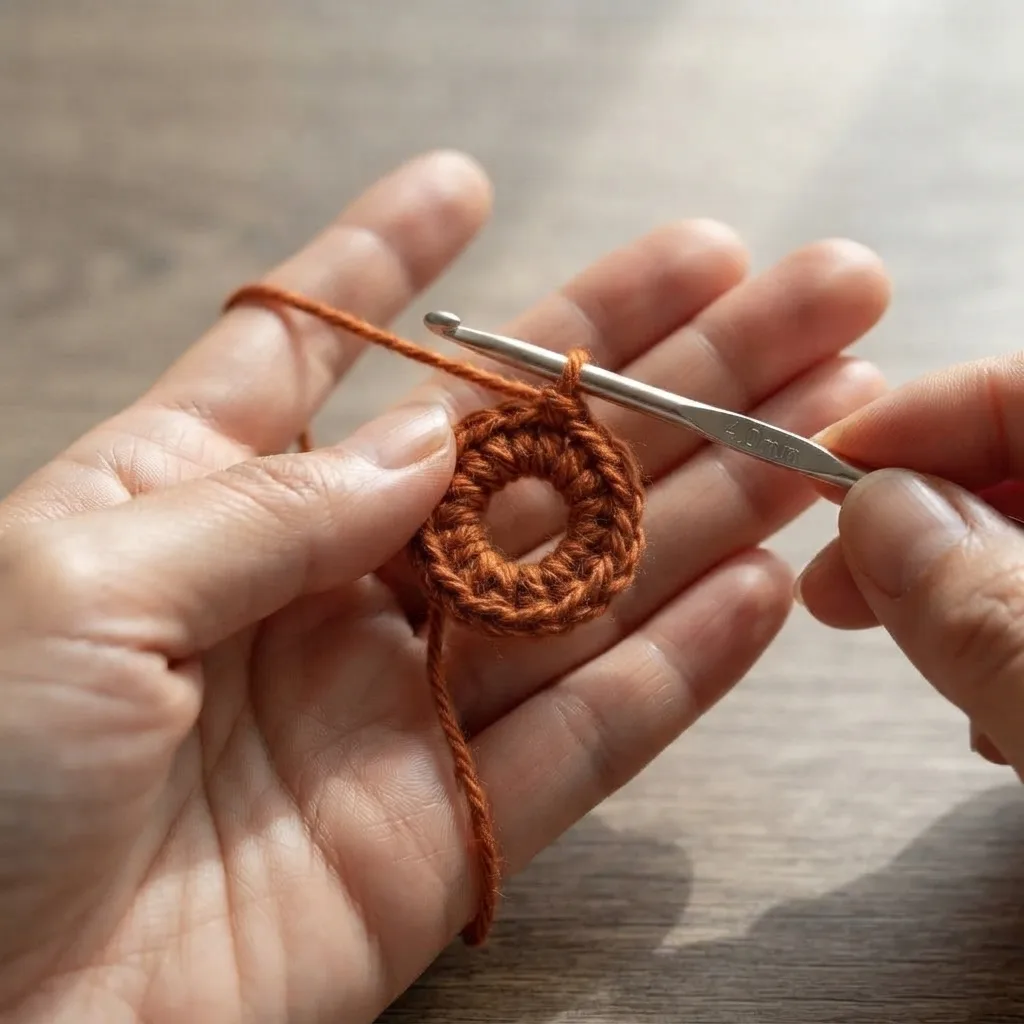
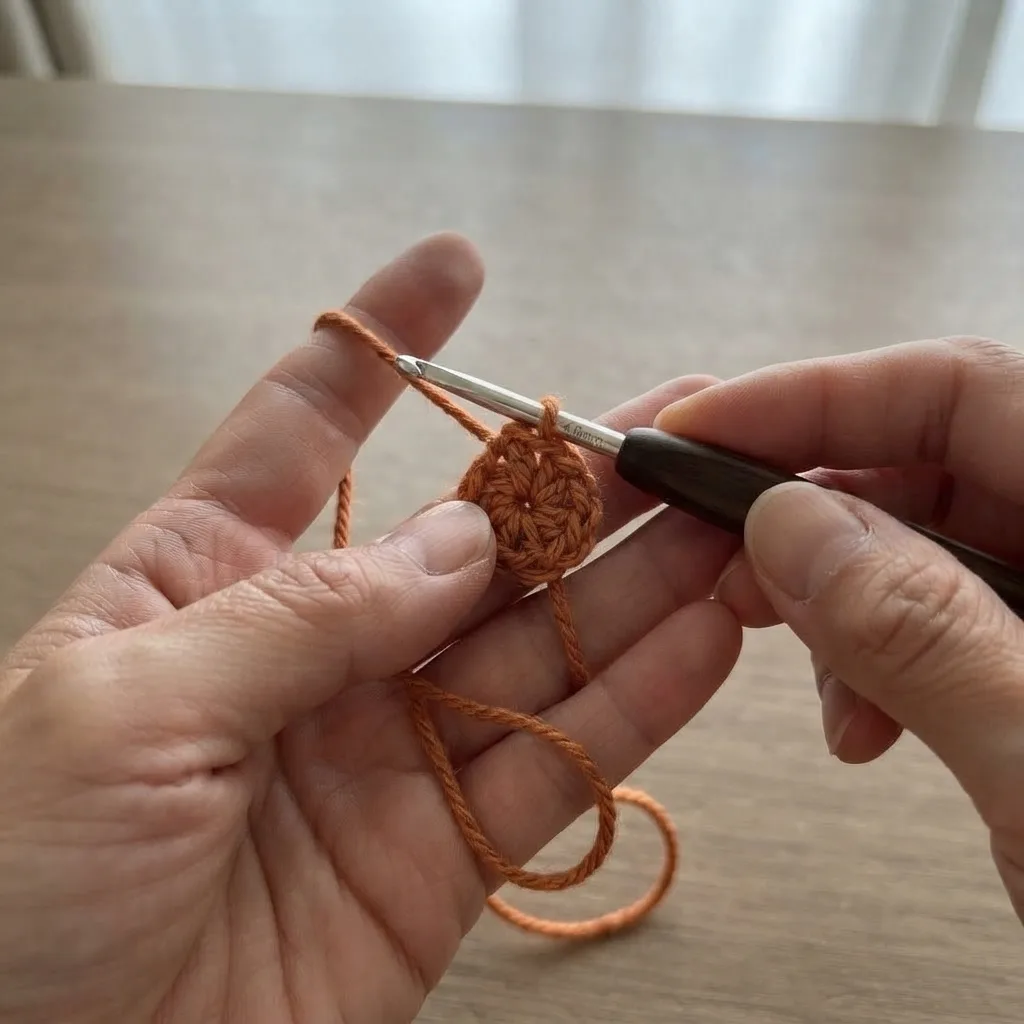
Worked in a continuous spiral. Use a stitch marker to track the start of each round.
- Rnd 1: 6 sc in MR (6)
- Rnd 2: inc x6 (12)
- Rnd 3: (sc, inc) x6 (18)
- Rnd 4: (sc 2, inc) x6 (24)
- Rnd 5: (sc 3, inc) x6 (30)
- Rnd 6: (sc 4, inc) x6 (36)
- Rnd 7: (sc 5, inc) x6 (42)
- Rnd 8: (sc 6, inc) x6 (48). This becomes the base of the bag.
- Rnds 9 to 20: sc around, no shaping (48). This forms the round pumpkin body, approximately 12 rounds. Work the face panel into rounds 12 to 18 on the front facing stitches, described in the next section.
- Rnd 21: (sc 6, dec) x6 (42). Begin rounding in toward the top.
- Rnd 22: (sc 5, dec) x6 (36)
- Rnd 23: (sc 4, dec) x6 (30)
- Rnd 24: sc around (30). This becomes the top opening rim.
- FO, leaving a long tail. Do not close the top, this stays open as the bag opening.
If you are adding a lining, cut and sew a fabric lining to match the interior shape before attaching the handle.
Piece 2: Jack-O’-Lantern Face (worked into rounds 12 to 18 of the body using color change intarsia)
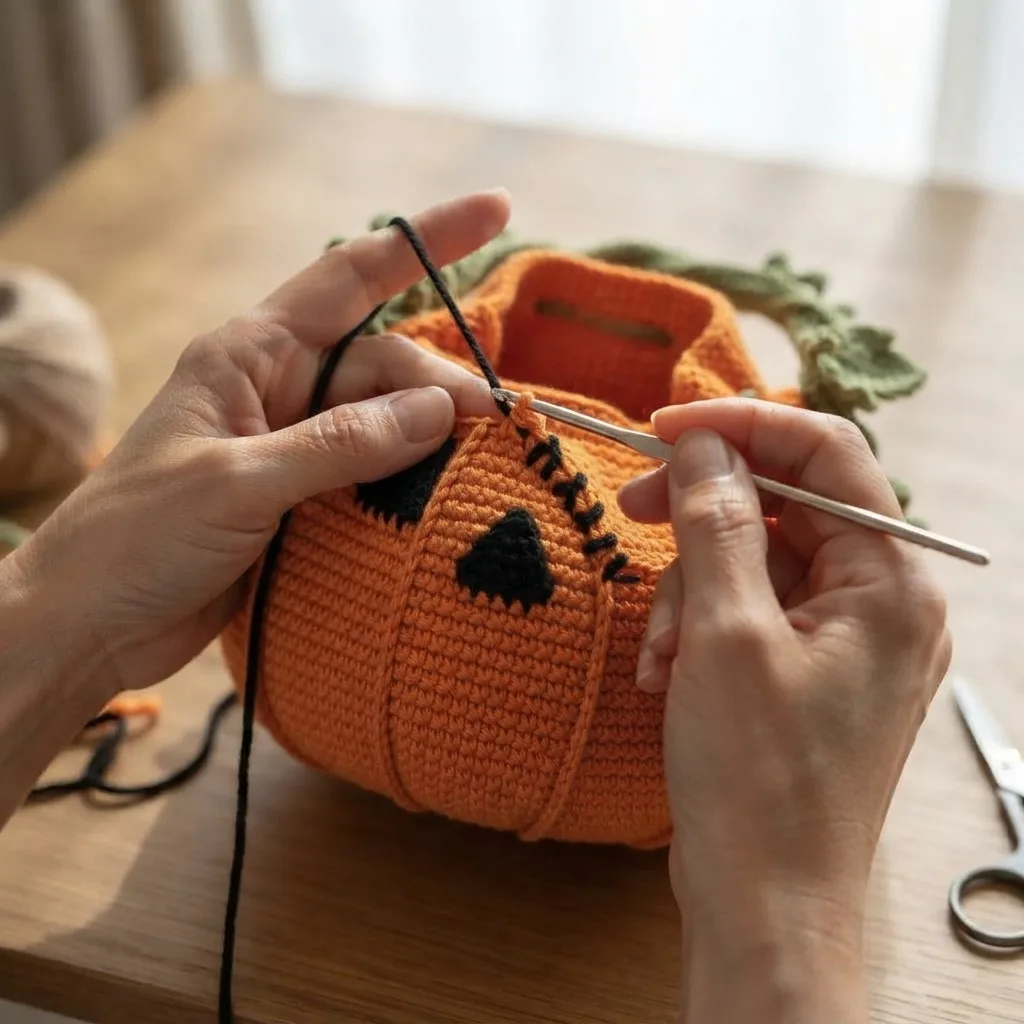
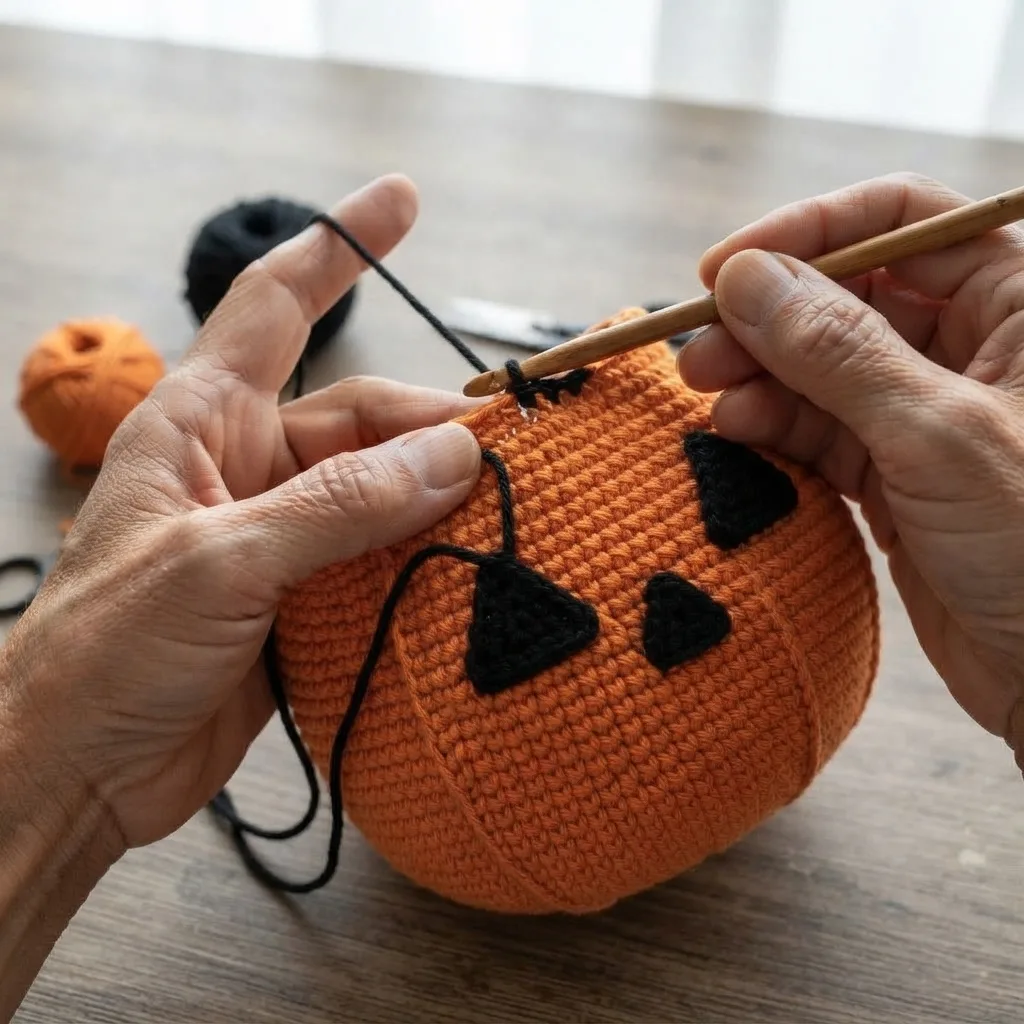
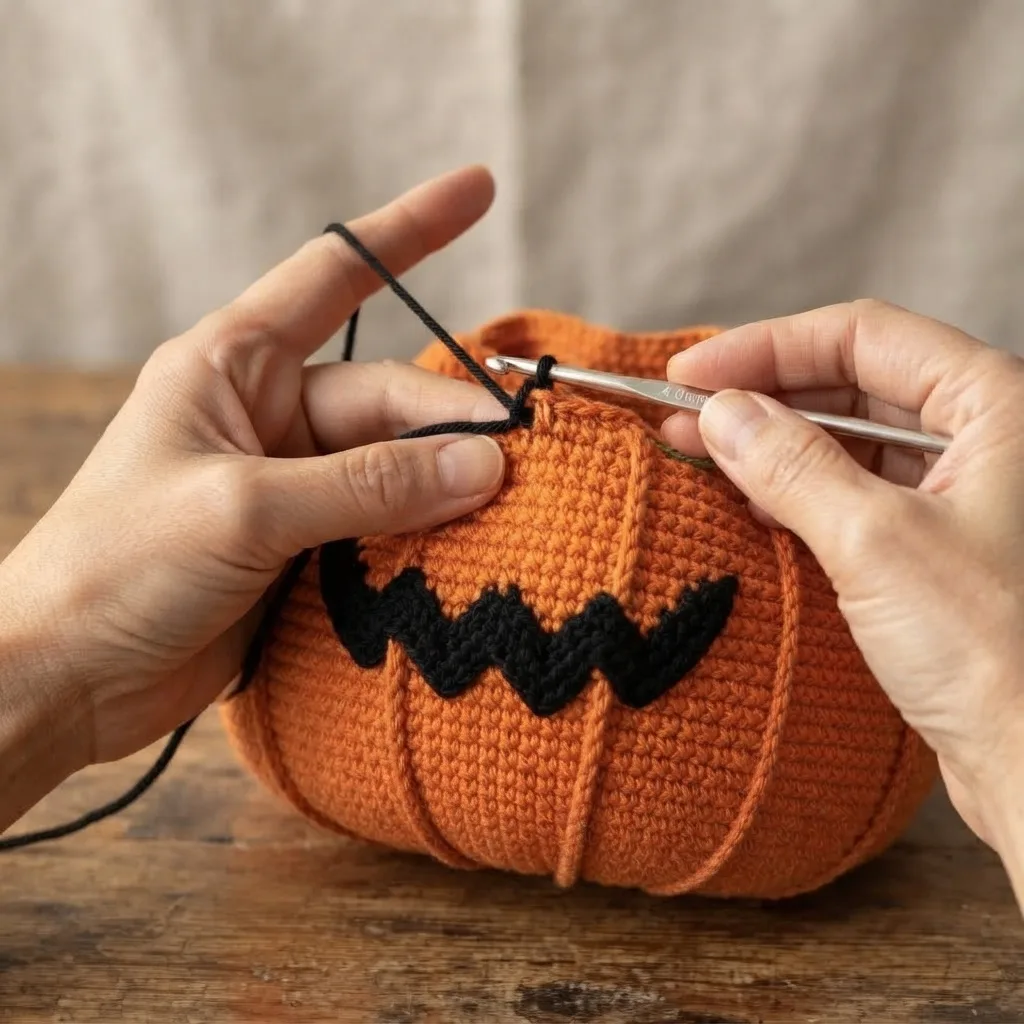
Worked directly into the body rounds above rather than as a separate piece. Carry the black yarn behind the orange stitches, or use the intarsia bobbin method, and change colors stitch by stitch to form the shapes below. Center the face on the front facing 20 to 22 stitches of each round.
- Eyes (2, triangular): worked as two black triangle shapes, each approximately 5 stitches wide at the base and narrowing to a point over 4 rounds, positioned symmetrically to the left and right of center within rounds 12 to 15.
- Nose (1, small triangle): centered between the eyes, approximately 3 stitches wide and narrowing to a point over 2 to 3 rounds, positioned just below the eyes within rounds 14 to 16.
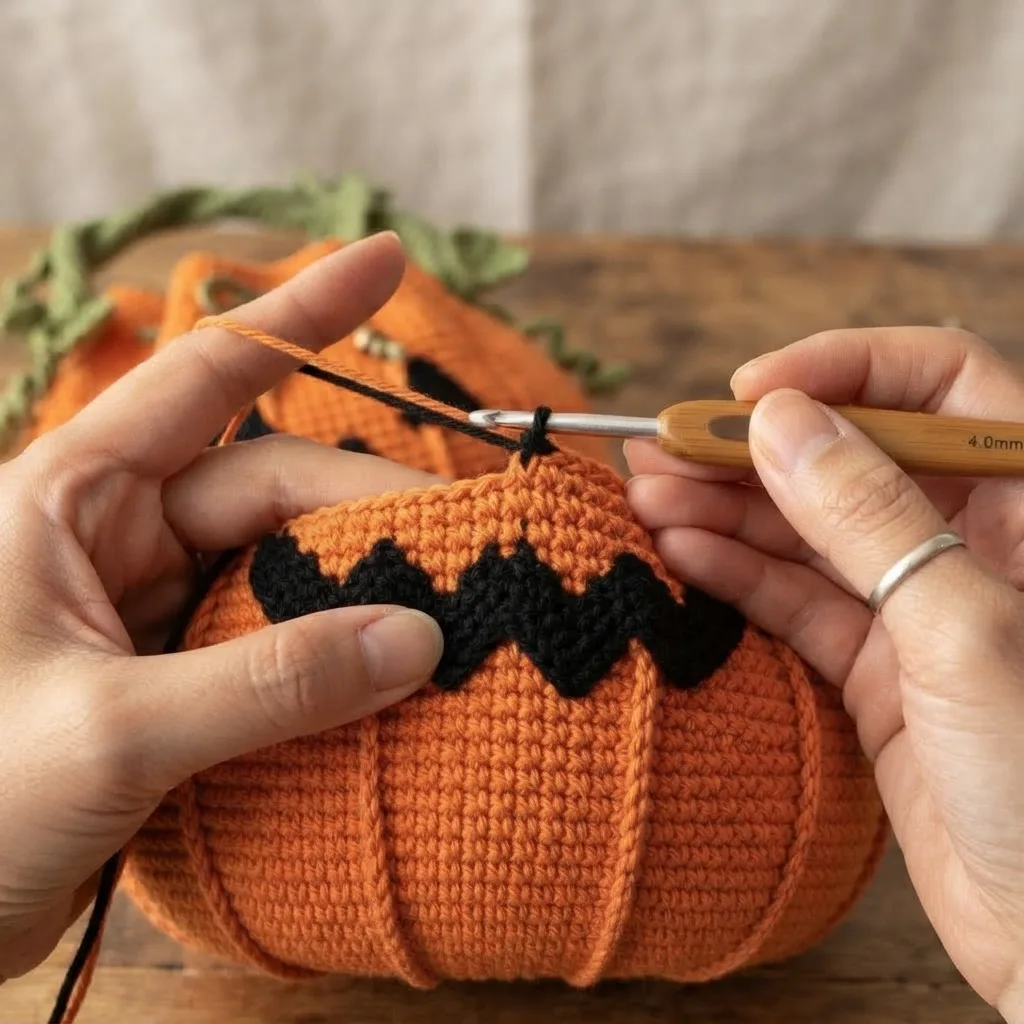
- Mouth (1, jagged smile): a wider black band approximately 14 to 16 stitches across with a zig zag upper and lower edge to create the classic carved teeth look, worked across rounds 16 to 18. The jagged edges are created by alternating which stitches change to black or orange from round to round, so it is worth testing this on a swatch first to fine tune the tooth shapes before committing to the full bag.
Weave in all color change ends securely on the inside of the bag as you go, so the interior stays tidy.
Piece 3: Ridge Lines (optional surface detail, orange, worked in BLO or as surface slip stitch)
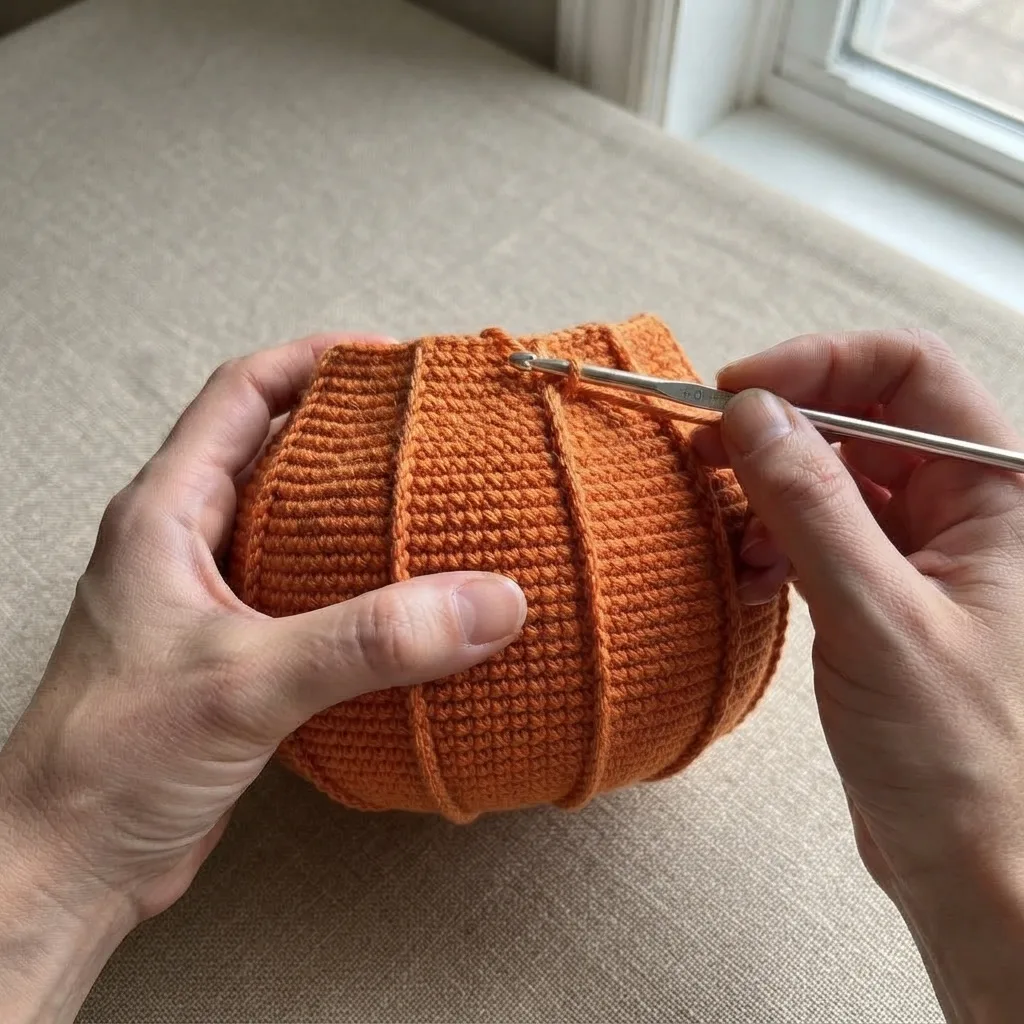
After the body is complete, work 6 to 8 evenly spaced lines of surface slip stitch, or BLO ribbing worked in during body construction, running vertically from the base to the top rim, to mimic the natural ridges of a pumpkin.
Piece 4: Top Opening / Closure (optional)
- Rnd 1, edging: working into the top rim from Piece 1, sc around evenly, approximately 42 to 48 stitches.
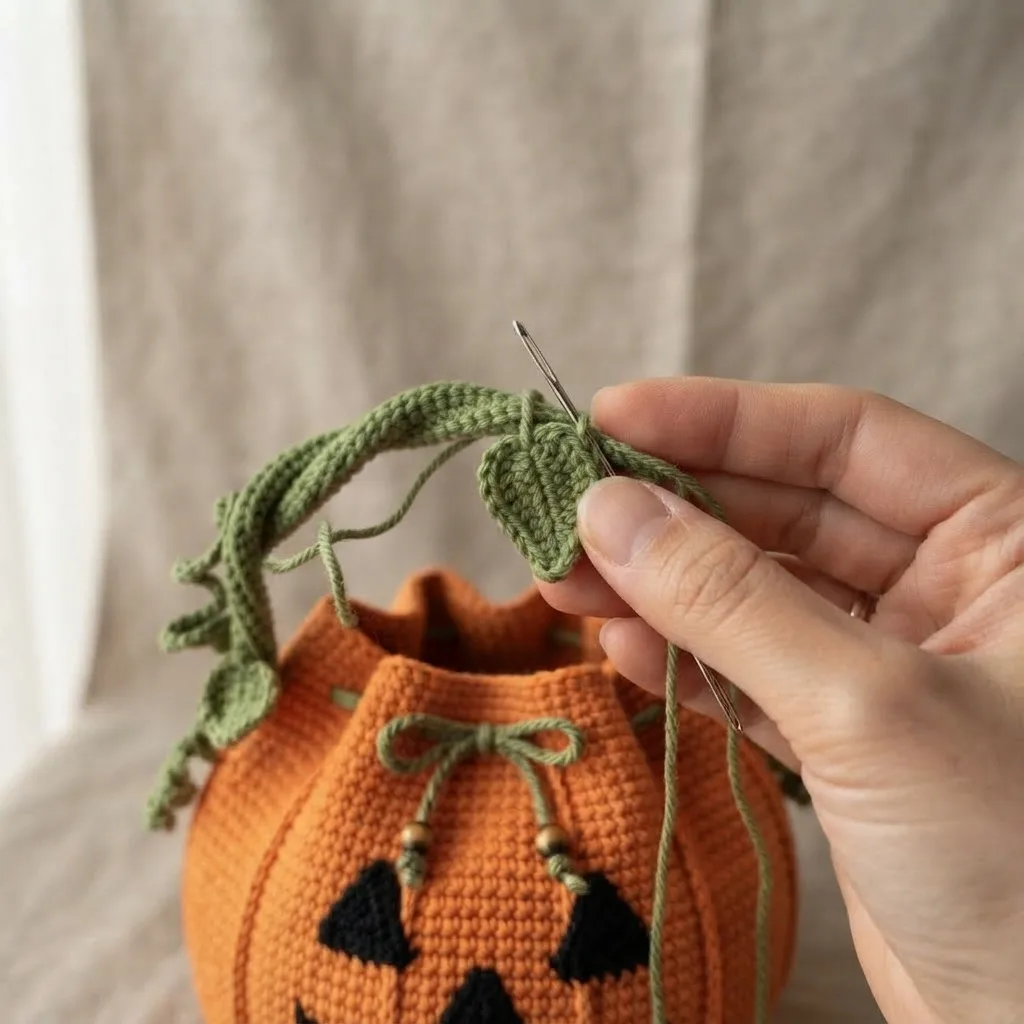
- Optionally add a drawstring: chain a cord of your desired length in orange or black, and thread it through small gaps left every few stitches around the rim, or simply leave the top open as a tote style opening.
- FO, weave in ends.
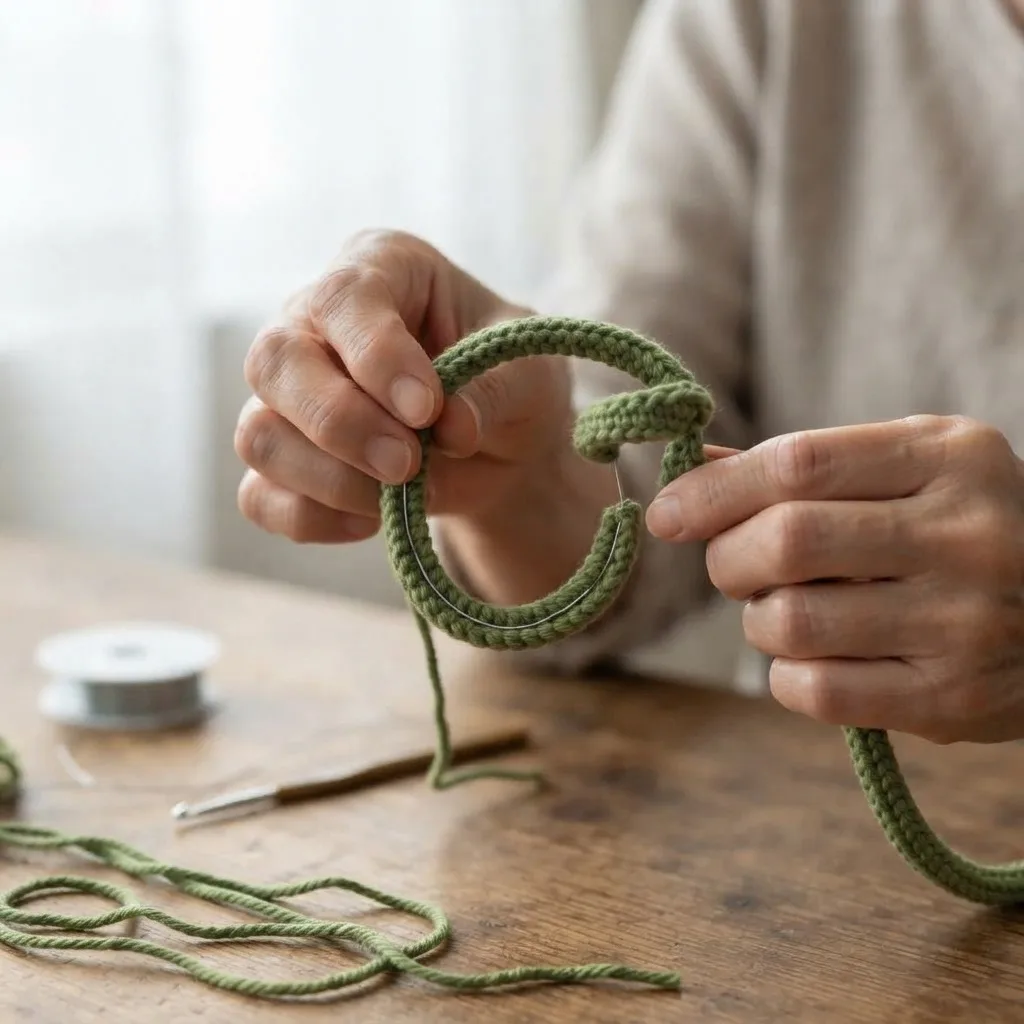
Piece 5: Vine Handle (make 1, green)
- Ch 60 to 70. This is an estimated length for a comfortable over the shoulder or hand carry drop, adjust to your preference.
- Row 1: sc in 2nd ch from hook and each ch across.
- Row 2: ch 1, turn, sc around the entire strip, working into both the tops of the previous row and back down the starting chain, to form a firm rounded cord.
- If using a wire, pipe cleaner, or cord insert for shape, thread it through the center of the strip before closing the final seam.
- FO, leaving long tails at both ends for attaching to the bag.
Piece 6: Leaves (make 8 to 10, green)
- Ch 6
- Row 1: sc in 2nd ch from hook, hdc 1, dc 2, hdc 1, sc 1, ch 1, turn, then working back down the other side of the chain, sc 1, hdc 1, dc 2, hdc 1, sc 1, approximately 10 stitches total, forming a simple pointed leaf shape.
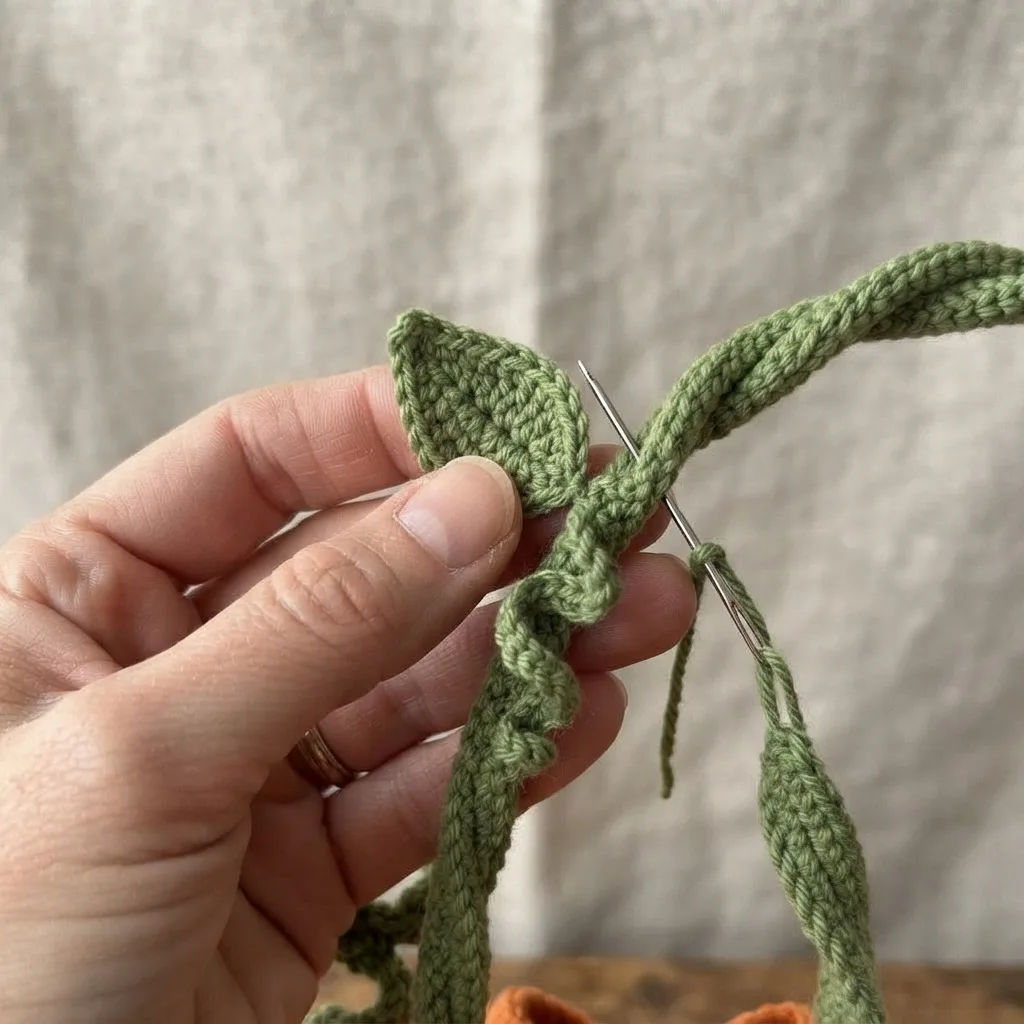
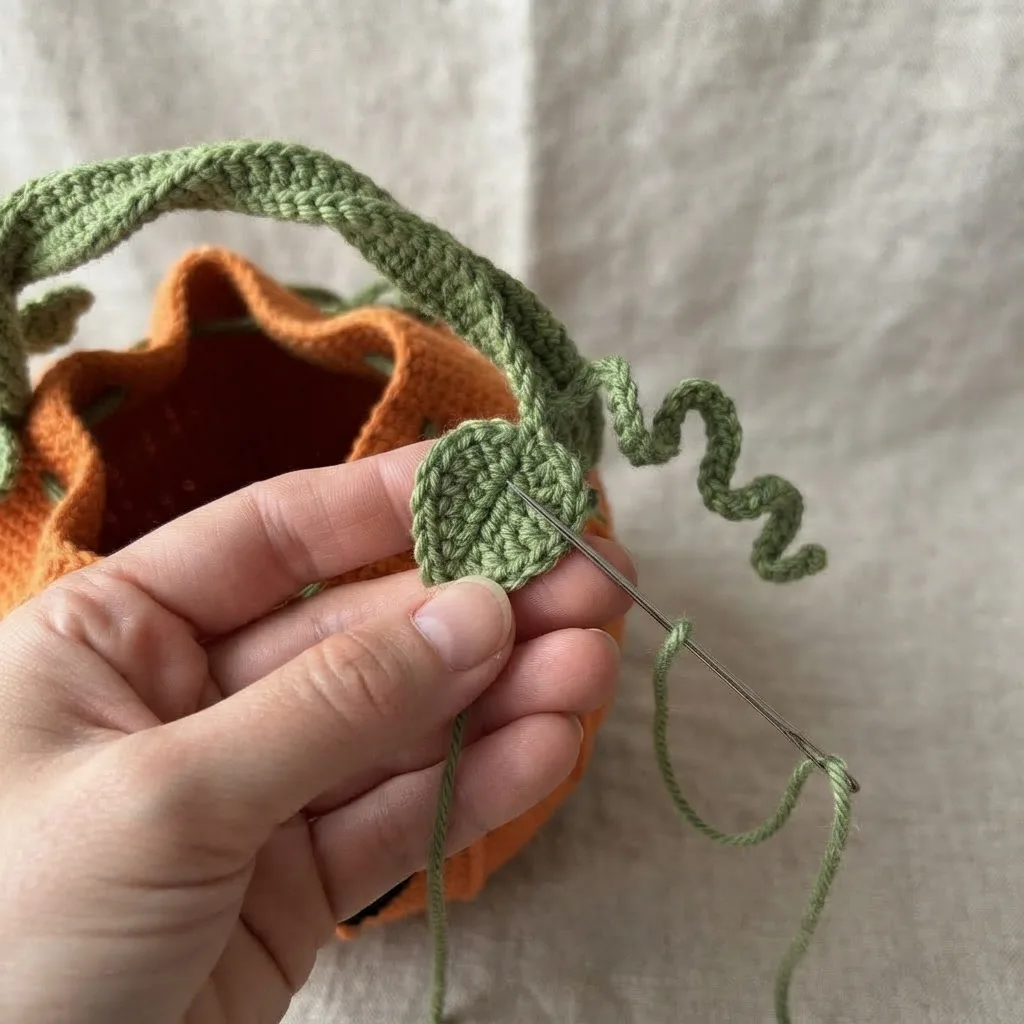
- FO, leaving a small tail. If you like, make a few curling tendrils separately by chaining a length and wrapping it around a pencil or dowel to secure the curl, for extra vine detail.
Assembly
- Weave in all loose ends before assembly.
- If using a lining, sew it into the interior of the bag body before attaching the handle.
- Attach both ends of the vine handle to the top rim of the bag on opposite sides, or slightly offset for a more asymmetrical look, sewing securely with several passes of yarn since this seam needs to support the bag’s weight.
- Sew the leaves and any curling tendrils onto the vine handle at varied points along its length for a natural, trailing look.
- Lightly steam or block the bag body to help it hold a rounded pumpkin shape, and arch the vine handle into a curved shape as it dries if you used a shapeable insert.
- Double check that the handle attachment points are secure before use, since this is a load bearing seam.
Tips for This Pattern
- Swatch the mouth section separately before working it into the full bag, the jagged tooth shapes are the trickiest part to get looking right and it is much easier to adjust on a small test piece.
- Keep your tension a little tighter than usual through the color change rounds, this helps prevent gaps from forming where the yarn colors switch.
- If you are using a wire or pipe cleaner insert in the vine handle, bend it into your desired curve before the final seam is closed, it is much harder to adjust the shape afterward.
Loved this pattern? Browse more [Bags & Accessories] patterns on Learn Crochet Daily, and tag us if you make your own version, we would love to see it.