
Crochet a Multicolor Maple Leaf That Captures Every Shade of Fall
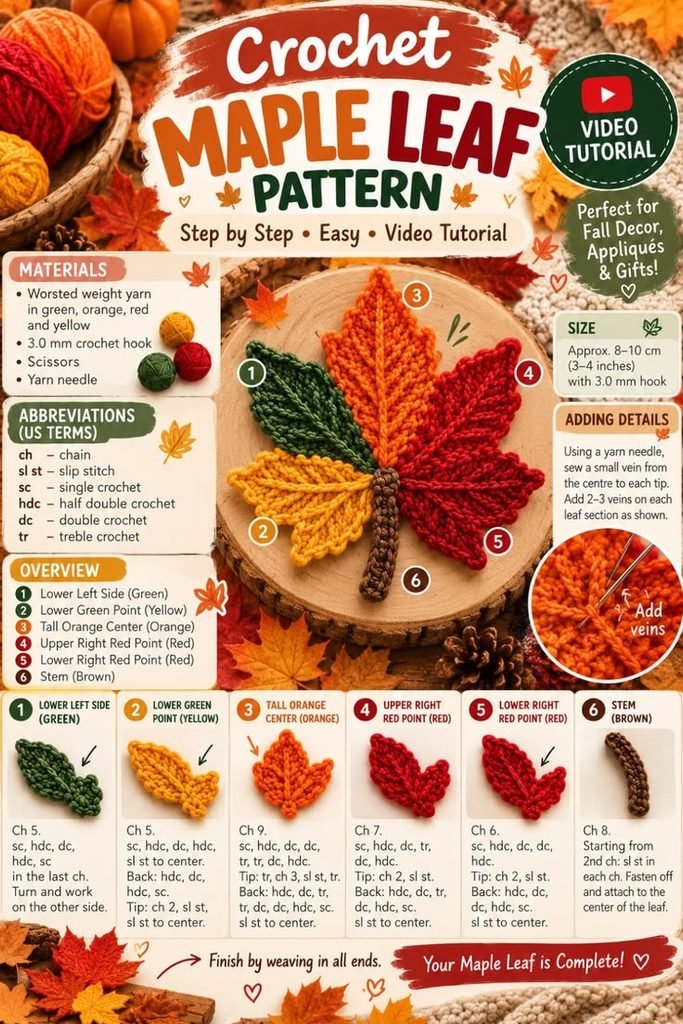
Key Takeaways
- The leaf is built from five separately crocheted colored points plus one brown stem.
- Green, yellow, orange and red yarn give you the full autumn color range in a single leaf.
- You join the pieces at their narrow bases, then embroider veins on top.
- This is a visual adaptation guide, not a stitch-tested row-by-row pattern, so make a sample before you commit.
Every year there’s one morning when I walk outside and the whole street has changed. Greens are fading, a few yellows show up, and then suddenly there are oranges and reds everywhere. I always end up reaching for my yarn basket. A single orange crochet leaf is pretty, but what if one leaf could hold all of those colors at once?
That’s the idea behind this multicolor maple leaf. Each point is worked separately in its own color, then everything is joined into one leaf. It makes a cheerful accent for a wreath, a gift tag or a seasonal table setting, and a handful of them strung together make a garland.
Why This Multicolor Crochet Maple Leaf Works
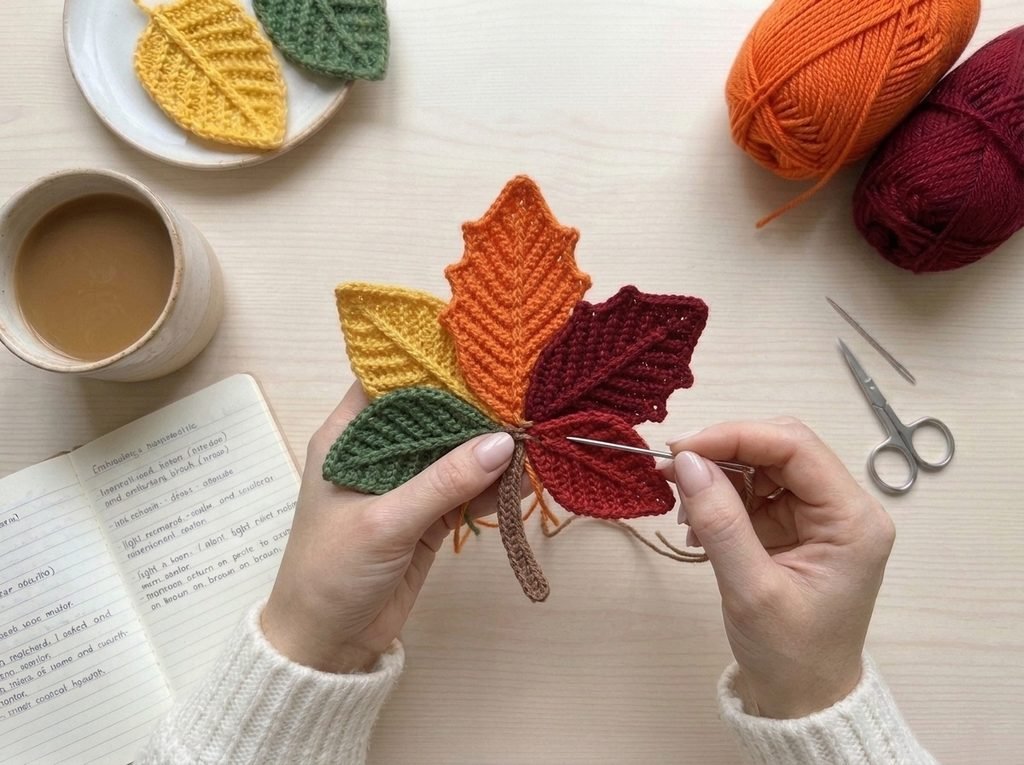
Changing yarn colors across one big piece can get fiddly fast. Splitting the leaf into five points lets each section keep its own color and gives you control over the silhouette. The tall orange point sits in the center, two red points balance the right side, and green and yellow points fill the left. A brown stem finishes it off.
Here’s the honest part. The reference illustration shows the overall layout and some abbreviated stitch notes, but it doesn’t give consistent row-by-row detail that would guarantee the pictured shape. The assembly and color placement below are supported by the illustration. The exact stitch counts still need a sample and verification on your end.
Materials and Crochet Abbreviations
- Worsted-weight yarn in dark green, yellow, orange, red and brown
- 3.0 mm crochet hook, as shown in the reference illustration
- Scissors
- Yarn needle for joining and embroidered veins
- Optional pins and a blocking mat for arranging the points
US crochet terms: ch = chain; sl st = slip stitch; sc = single crochet; hdc = half double crochet; dc = double crochet; tr = treble crochet.
How to Make the Multicolor Crochet Maple Leaf
Step 1: Crochet the Lower Left Green Point
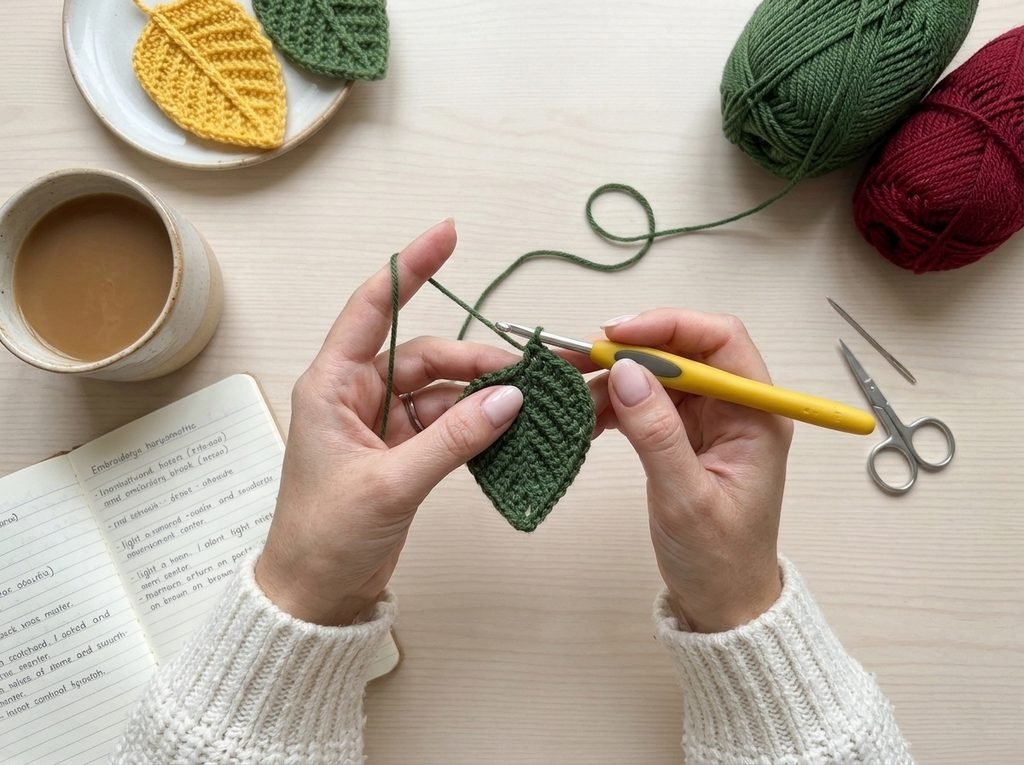
Use dark green yarn for the small point that angles toward the lower left. The reference starts this section with ch 5 and uses a mixture of sc, hdc and dc stitches, then turns to work on the opposite side of the starting chain. Shape the outer edge into a gentle pointed tip and leave a long tail for joining.
Why this matters: that long tail is what you’ll sew with later, so cutting it short now means awkward joining at the end.
Step 2: Crochet the Lower Yellow Point
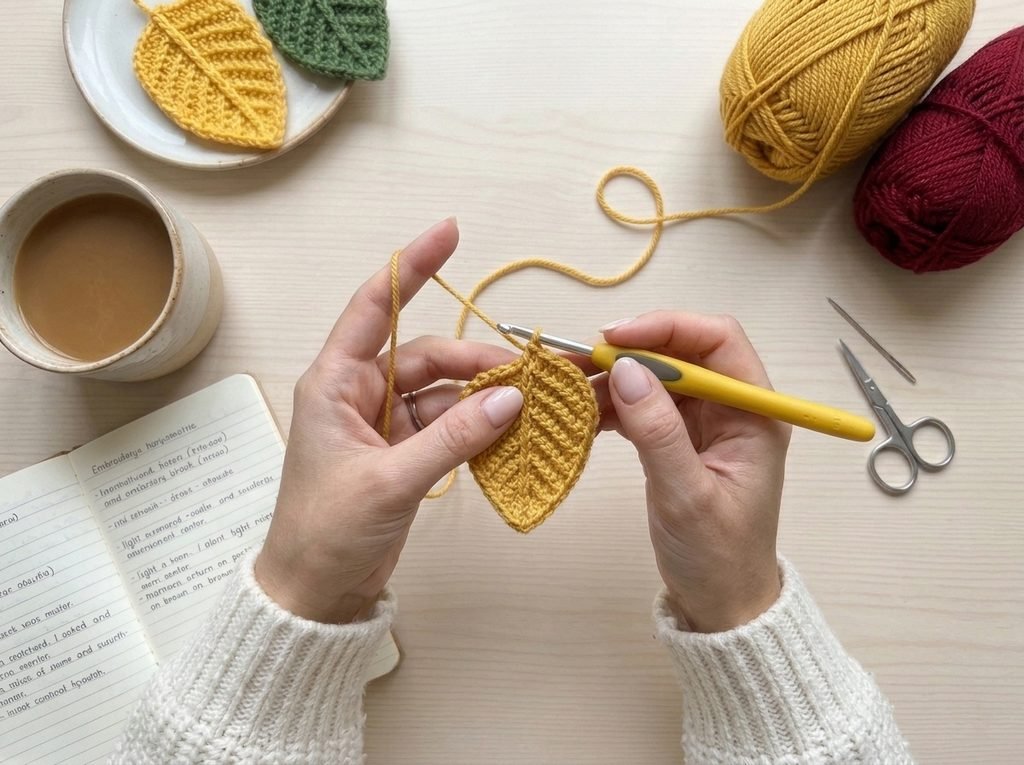
Make the next point in yellow, starting with ch 5 according to the reference. This point sits below the orange center and should be a little broader than the green section. Use a combination of sc, hdc and dc to create a pointed oval, then leave a joining tail.
Step 3: Crochet the Tall Orange Center Point
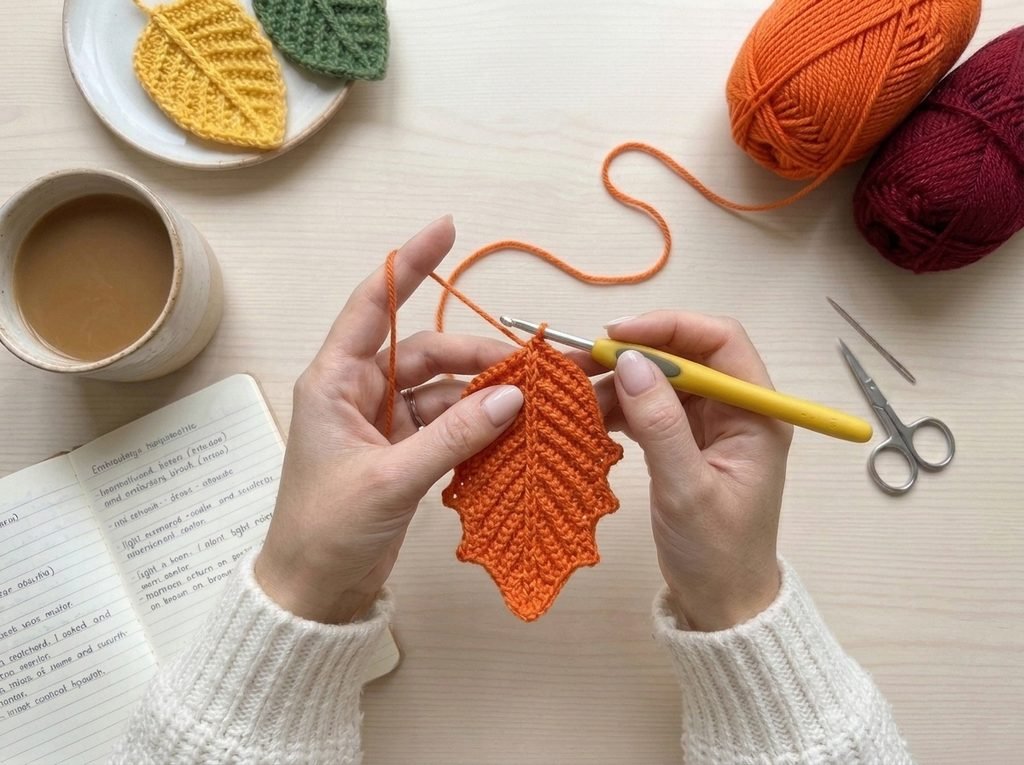
The orange section is the tallest point of the leaf. The reference begins with ch 9 and uses sc, hdc, dc and tr stitches to create height. Work the shape symmetrically around the foundation chain, making the top noticeably taller than the side points.
Step 4: Crochet the Upper Right Red Point
Use red yarn for the point that spreads outward to the upper right. The reference starts with ch 7 and lists sc, hdc, dc and tr stitches. Aim for a broad outer point with a narrower base so it can sit snugly beside the orange section.
Step 5: Crochet the Lower Right Red Point
Make a second red point for the lower right, beginning with ch 6 as indicated in the reference. Keep it slightly shorter than the upper right point. Before fastening off, compare its size with the yellow point on the opposite side to keep the overall leaf balanced.
Step 6: Crochet the Brown Stem
With brown yarn, begin with ch 8, the starting chain shown in the reference. Work back along the chain using compact stitches to form a narrow stem, then fasten off with a long tail. The reference’s remaining stem directions are unclear, so adjust the stem’s thickness to match your sample.
Step 7: Arrange and Join the Pieces
Place the tall orange section in the middle, green and yellow on the left, and the two red points on the right. Bring their narrow bases together at the bottom of the leaf and sew them securely with a yarn needle. Attach the brown stem behind that meeting point, hiding the yarn tails on the back.
Why this matters: pinning the layout first lets you fix the spacing before any stitches are permanent.
Step 8: Add Veins and Finish
Use a yarn needle and a matching or contrasting yarn to stitch a vein from the base toward each tip. Add one or two smaller branching veins where there is room, keeping the stitches loose enough that they don’t pucker the crochet. Weave in the remaining ends and gently shape the finished leaf.
Pattern Reference Table
| Part | Color | Starting chain shown | Position |
|---|---|---|---|
| 1 | Dark green | 5 | Lower left |
| 2 | Yellow | 5 | Lower left, beside green |
| 3 | Orange | 9 | Tall center |
| 4 | Red | 7 | Upper right |
| 5 | Red | 6 | Lower right |
| 6 | Brown | 8 | Stem |
Size note: The illustration labels the finished leaf as approximately 8 to 10 cm (3 to 4 inches) with a 3.0 mm hook. Actual size will depend on your yarn, your tension and the finalized stitch instructions.
Tips for a Neat Maple Leaf
- Check the arrangement before sewing. Pin the five points together first so you can adjust the spacing.
- Keep the center flat. Avoid piling up bulky knots where all the sections meet.
- Try one color family. Different shades of red or orange create a softer autumn effect.
- Block carefully. Light blocking can help the points stay crisp, as long as it suits your yarn fiber.
- Test the shape. The reference doesn’t contain a complete validated stitch sequence, so make a sample and record your actual stitches before you treat this as a fully reproducible pattern.
Frequently Asked Questions
Is this crochet maple leaf suitable for beginners?
The assembly is approachable if you already know chains, basic stitches and how to sew crochet pieces together. A complete beginner will need a verified row-by-row version of the individual points before following it independently.
Can I make the whole maple leaf in one color?
Yes. Use the same yarn color for all five points and a matching or contrasting color for the stem. The five-part construction stays the same.
How big will the finished leaf be?
The supplied illustration suggests about 8 to 10 cm (3 to 4 inches), but that size hasn’t been independently tested. Your yarn, hook and final stitch counts will affect the result.
What can I do with finished crochet maple leaves?
Try attaching them to autumn wreaths, gift wrapping, table decorations or a garland. If they’ll be handled often, sew all joining points securely and weave in every yarn tail.
Make Your Own Fall Color Combination
Remember that first morning when the whole street turned? This leaf is a small way to hold onto it. Do you prefer a bright orange center with red tips, or a softer blend of green and gold? Lay out your yarn colors before you start, make a small test leaf to refine the shape, and then tell me your favorite combination in the comments.
Watch the Video Tutorial
Want to see how this beautiful crochet maple leaf comes together? This step-by-step video tutorial will guide you through the process, from crocheting each colorful leaf section to joining them and adding the finishing details. It’s perfect for beginners who prefer following along visually. Grab your yarn and crochet hook, and let’s get started!