
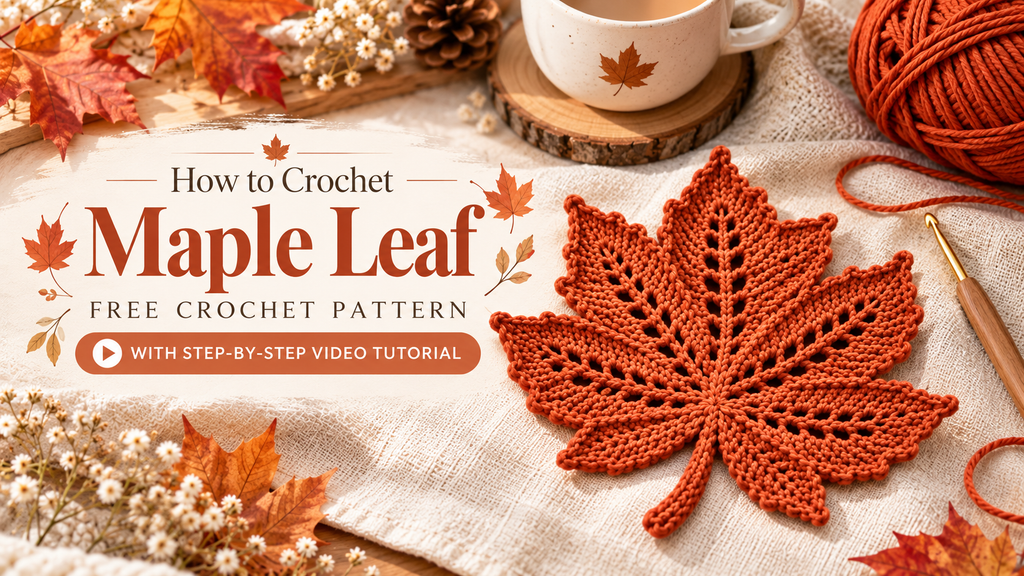
Stunning Crochet Maple Leaf Pattern
Key Takeaways
- This crochet maple leaf starts with a 16-chain base and uses back loops only to create realistic ridges.
- Size is controlled by yarn and hook: size 3 yarn makes a larger leaf, size 1 thread makes a smaller, more delicate one.
- The pattern is rated beginner to intermediate. The shaping and symmetry are the hard part, not the stitches.
- One leaf works for table settings, garlands, gift wrap, appliqués and scrapbooking.
Picture your table in early October. The plates are set, the candles are lit, and something still feels bare. A bowl of real leaves would do it, but real leaves dry out, curl up and crumble within days. So you reach for a hook instead.
That’s where this crochet maple leaf pattern comes in. It’s compact, it works up quickly, and the finished leaf holds its character long after the trees outside are empty. Ready to make one?
Why This Crochet Maple Leaf Works
Most flat crochet leaves look like green ovals with a stem. This one doesn’t, and the reason comes down to two choices in the pattern.
First, you work in the back loops only. That leaves a ribbed texture across the leaf, which reads as the veins you’d see on a real maple. Second, you build the points with taller stitches (treble or double crochets) and taper each one back down with chains and single crochets. The result is the pointed outline that says “maple” at a glance.
Size is flexible too. Swap the yarn weight and hook, and the same pattern gives you a chunky leaf for a centerpiece or a fine one for a gift tag. Layer several colors and each leaf looks a little different, which is exactly how they look in nature.
What You Need
- Yarn: 100% cotton, chosen for durability and appearance. Size 3 yarn for a larger leaf, size 1 thread for a smaller one.
- Hook: 2.5 mm for the main project, 3.0 mm for a larger leaf.
- Scissors: to trim excess thread.
- Yarn needle: for weaving in ends.
How to Crochet the Maple Leaf, Step by Step
Step 1: Start the leaf base
Make a slip knot and chain 16. Single crochet into the second chain from the hook, then continue along the chain.
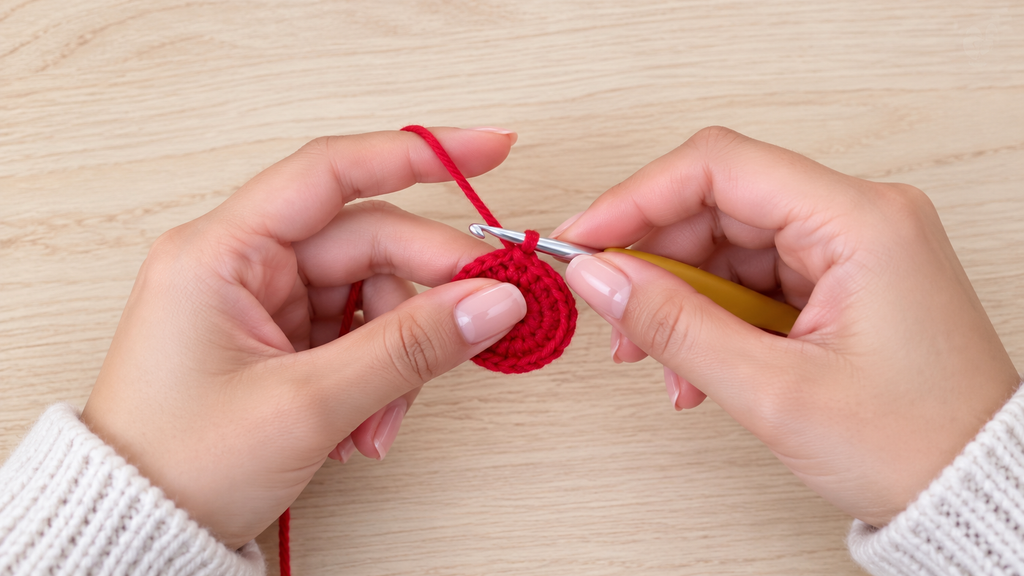
Why this matters: this foundation chain sets the length of the whole leaf, so keep your chains even.
Step 2: Shape the base
Place three single crochets in the last chain to turn the work. Then work 14 single crochets along the opposite side of the chain to complete the oval base. Chain one and turn.
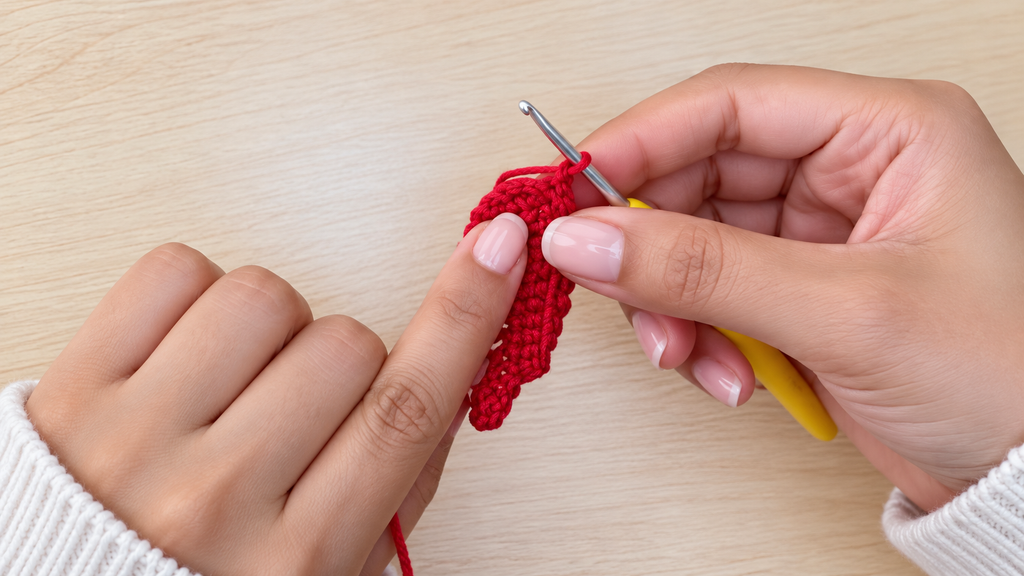
Why this matters: the three stitches in one chain are what let the work pivot around the tip without bunching.
Step 3: Add depth with back loops
Switch to working in the back loops only. Single crochet across the row, and place three single crochets into the central stitch at the tip of the leaf.
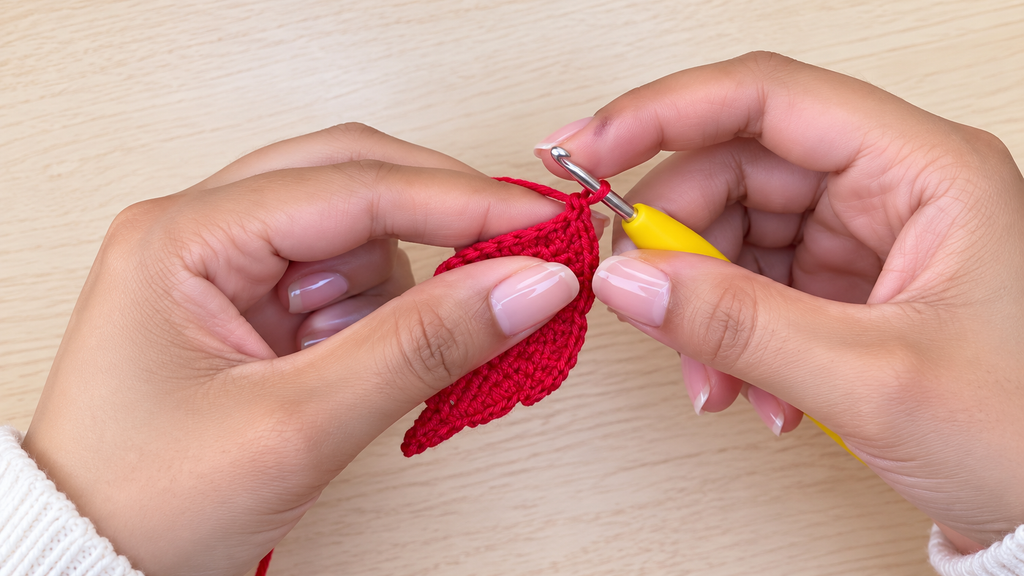
Why this matters: this is the step that creates the ribbed, vein-like ridges. Honestly, don’t skip the back loops. Working both loops gives you a flat, plain leaf.
Step 4: Build the leaf sections
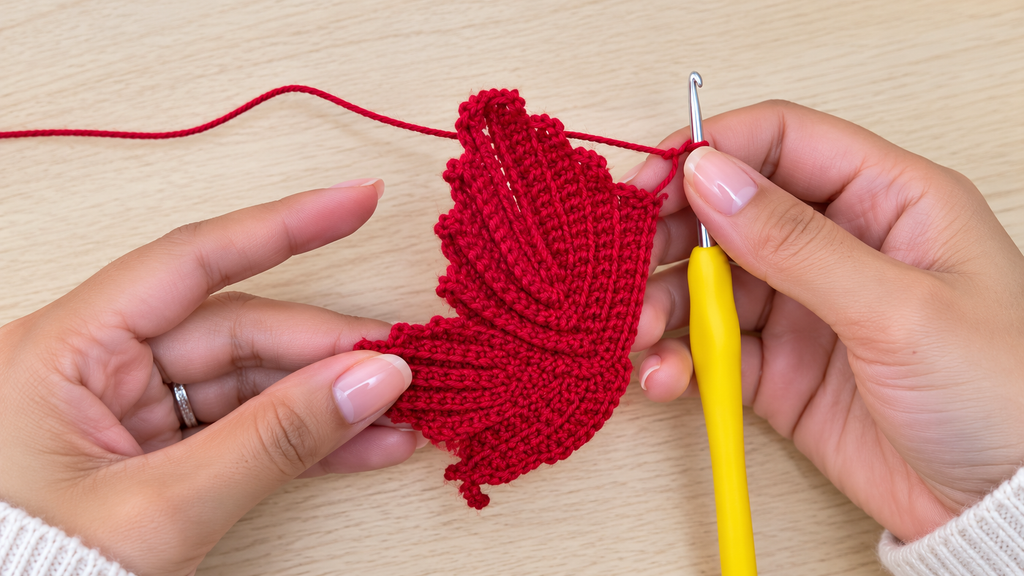
Keep working rows, alternating between decreasing and holding your stitch count, to form the middle of the leaf. To shape each point, make taller stitches (treble or double crochets), chain a small number to start the point, then single crochet to taper it. Work both sides the same way.
Why this matters: this is where beginners slow down. Mirrored sides take practice, so go at your own pace.
Step 5: Add the stem
After the leaf body is done, chain 16 for the stem. Single crochet from the second chain from the hook to form the stem’s back loop, which adds texture. Attach the stem to the base of the leaf with slip stitches.
Step 6: Finish
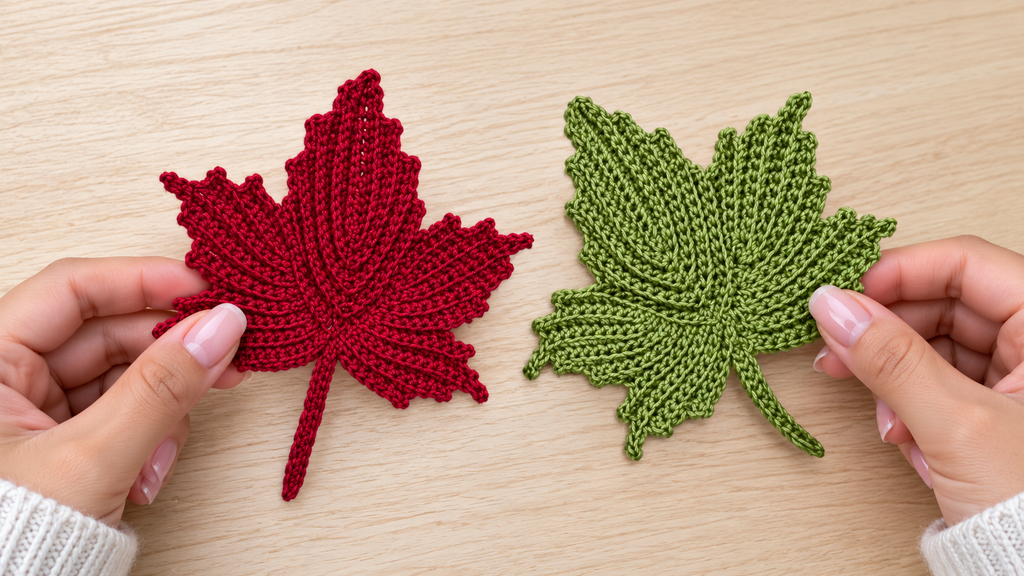
Weave in loose ends with the yarn needle for a clean look. If you want a more defined, flat shape, block the leaf.
Pattern at a Glance
| Detail | Specification |
|---|---|
| Foundation chain | 16 chains |
| Stitches at base turn | 3 single crochets in the last chain |
| Stitches on opposite side of chain | 14 single crochets |
| Stitches at the leaf tip | 3 single crochets in the central stitch |
| Stem | Chain 16, single crochet from second chain from hook |
| Fiber | 100% cotton |
| Main hook | 2.5 mm |
| Larger leaf hook | 3.0 mm |
| Larger leaf yarn | Size 3 |
| Smaller leaf yarn | Size 1 thread |
| Difficulty | Beginner to intermediate |
Practical Tips for Cleaner Leaves
- Count at the points. Count your stitches carefully when you shape the points so both sides match. This is what keeps the leaf lying flat and looking realistic.
- Line up the tip. When you add the three single crochets at the tip, make sure they sit on the centerline of the leaf.
- Stay with the back loops. Every time. The ridges are the whole point.
- Block it. A quick block sharpens the outline and flattens the leaf.
- Make a few at once. Symmetry gets easier with repetition, so your second and third leaf will look better than your first.
Frequently Asked Questions
Is this crochet maple leaf pattern good for beginners?
Yes, with a caveat. The tutorial is slow-paced and explains each step, so beginners can follow it. The shaping and decreasing may take practice, and intermediate crocheters will enjoy getting the points clean and symmetrical.
What yarn and hook should I use?
The tutorial used 100% cotton and a 2.5 mm hook for the main project. For a larger leaf it used size 3 yarn with a 3.0 mm hook.
How do I make the leaf bigger or smaller?
Change the yarn weight and hook size. Thicker yarn (size 3) gives a chunkier leaf, and thinner thread (size 1) gives a delicate one.
What can I do with a crocheted maple leaf?
Use it in centerpieces, wreaths or garlands, sew it onto hats, scarves or bags, tuck it into gift wrapping, or add it to scrapbooking and mixed media projects.
Your Turn
Back to that bare October table. One crochet maple leaf by each plate, in gold, amber or crimson, and the whole setting changes. Better still, you can pull them out again next year.
Which color are you making first? Tell me in the comments, and say whether you went with the chunky size 3 version or the delicate size 1 thread.
Watch the Video Tutorial
I’ll be providing the video tutorial from YouTube right here, so you can watch each step as you stitch. Seeing the points built on screen makes the shaping much easier to follow.