
Golden Sunflower Stem Crochet Flower
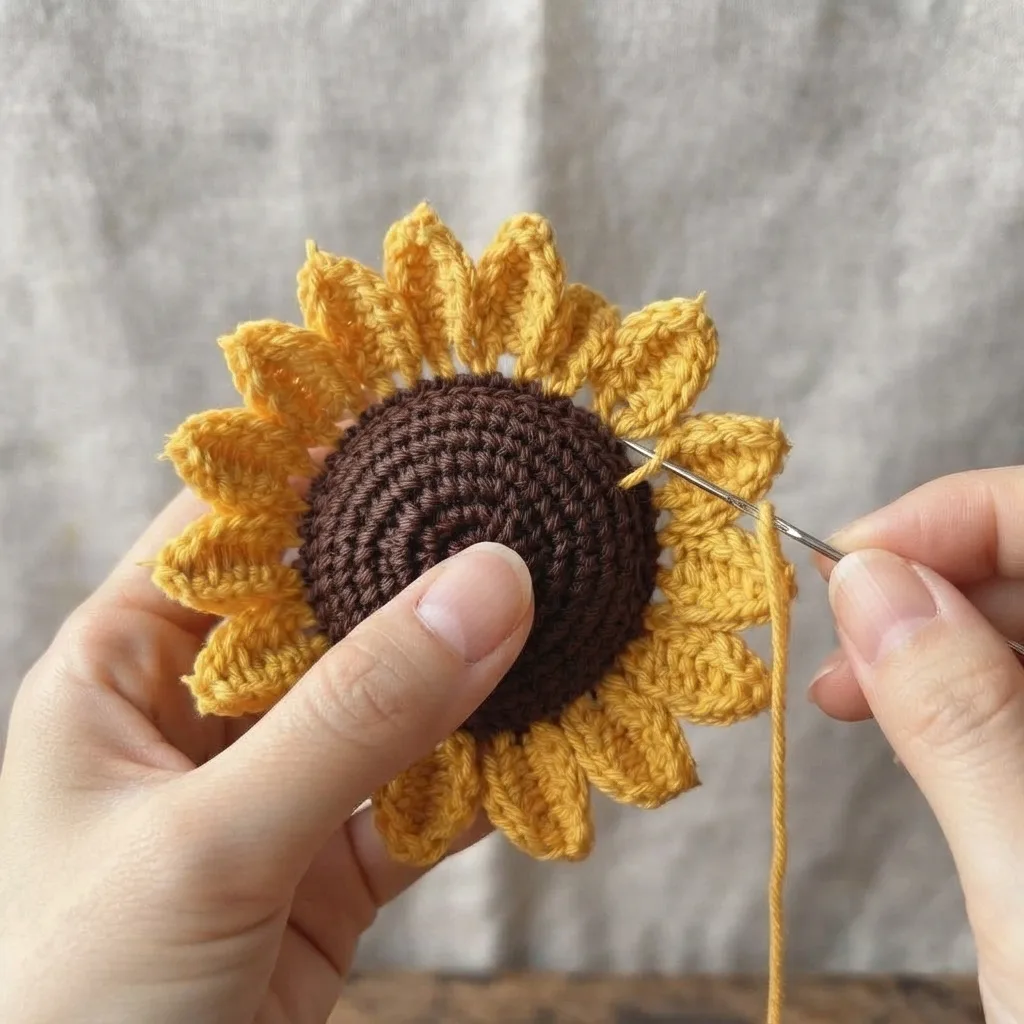
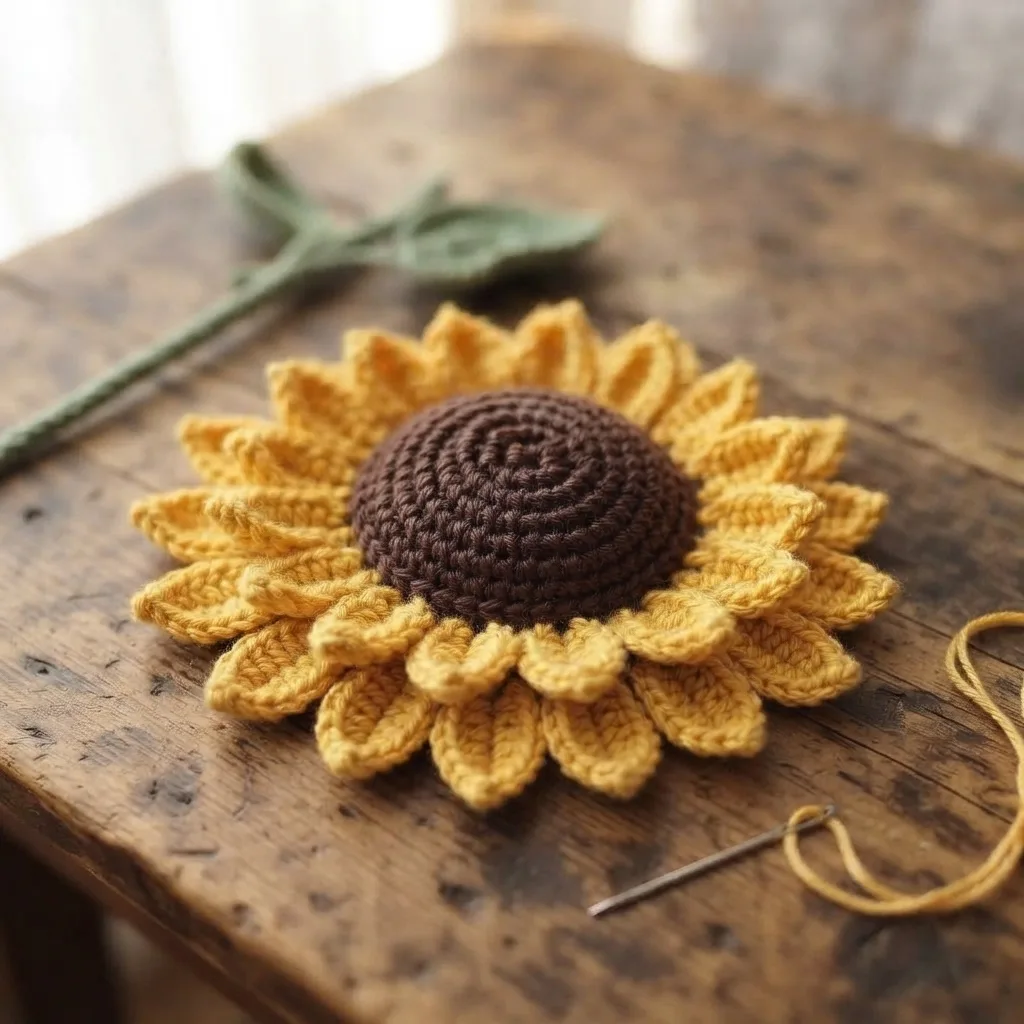
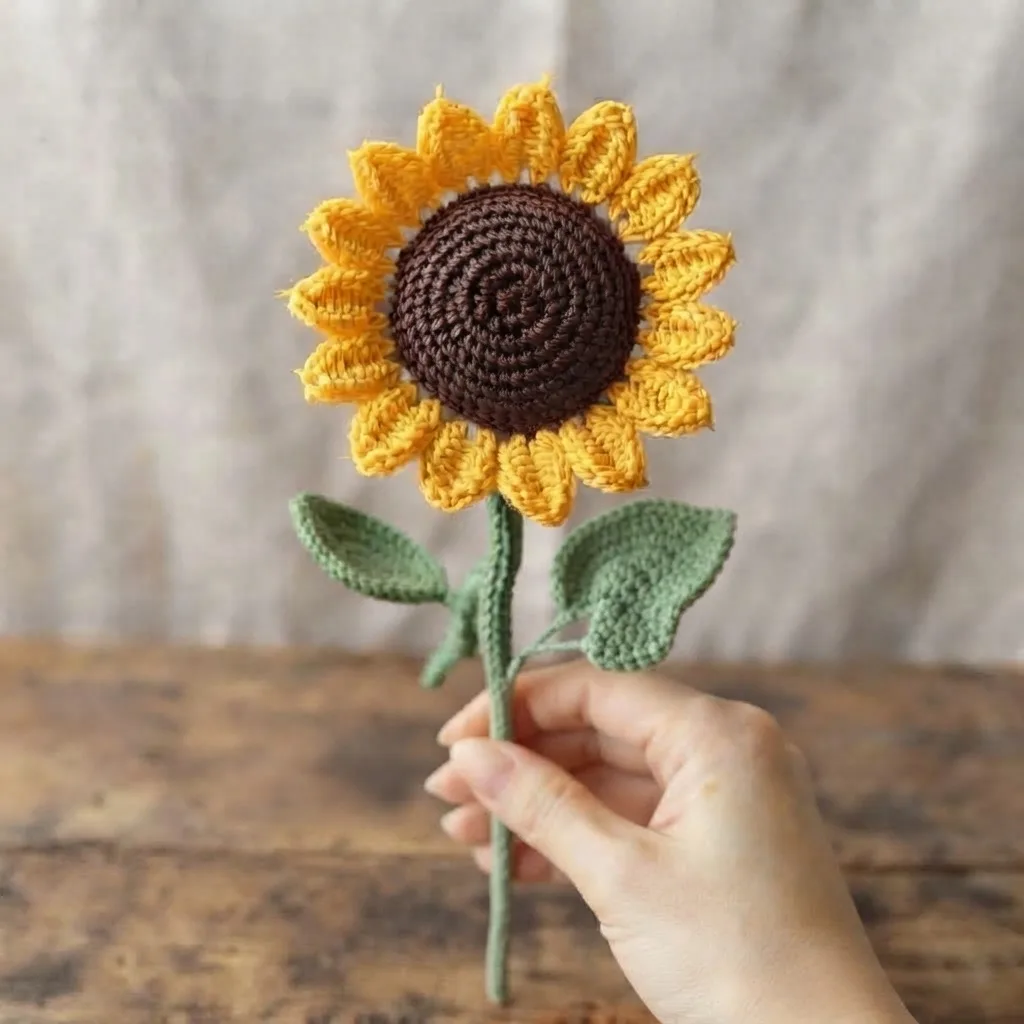
Sunflowers have always felt like the happiest thing you can put in a vase, and this one holds onto that feeling even though it never wilts. The textured brown center is really what sells the whole piece, that raised spiral ridge catches the light in a way that looks surprisingly close to the real thing once the golden petals are layered around it.
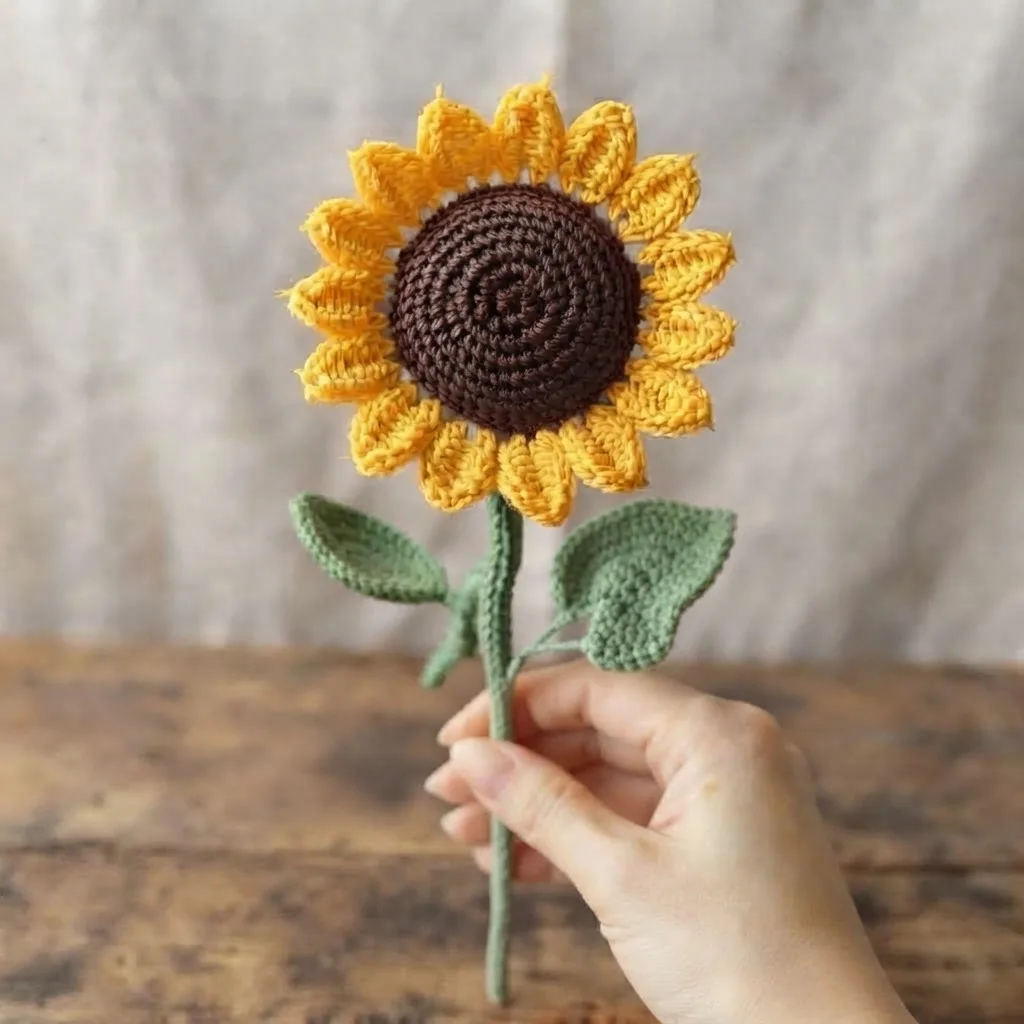
This pattern sits at an intermediate level, mostly because of the two separate petal layers and the back post texture work in the center. Neither technique is hard on its own, but there are a lot of small pieces to keep track of by the time you get to assembly, fourteen to sixteen petals per layer adds up quickly. If you have made a layered flower before, or you are simply patient with repetitive small pieces, this one will feel very manageable.
The center is worked first as a small textured disc, then you build two rounds of petals around it, an inner layer and a slightly longer outer layer, offset from each other so there are no obvious gaps once everything is sewn on. Plan for around 3 to 4 hours total, most of which goes into crocheting the petals themselves rather than the assembly, which comes together fairly quickly once all the pieces are ready.
Quick Pattern Details
| Detail | Value |
| Skill Level | Intermediate |
| Finished Size | Approx. 4 in (10 cm) bloom diameter, 10 to 11 in (25 to 28 cm) total stem length |
| Time to Complete | 3 to 4 hours |
| Construction | Textured center worked first, two layers of petals sewn around it, mounted on a wire stem |
| Pieces Made Separately | Center, inner petals, outer petals, leaves, stem |
| Special Technique | Back post single crochet for the raised spiral texture on the center |
| Colors Needed | Golden yellow, dark brown, and sage green |
Materials Needed
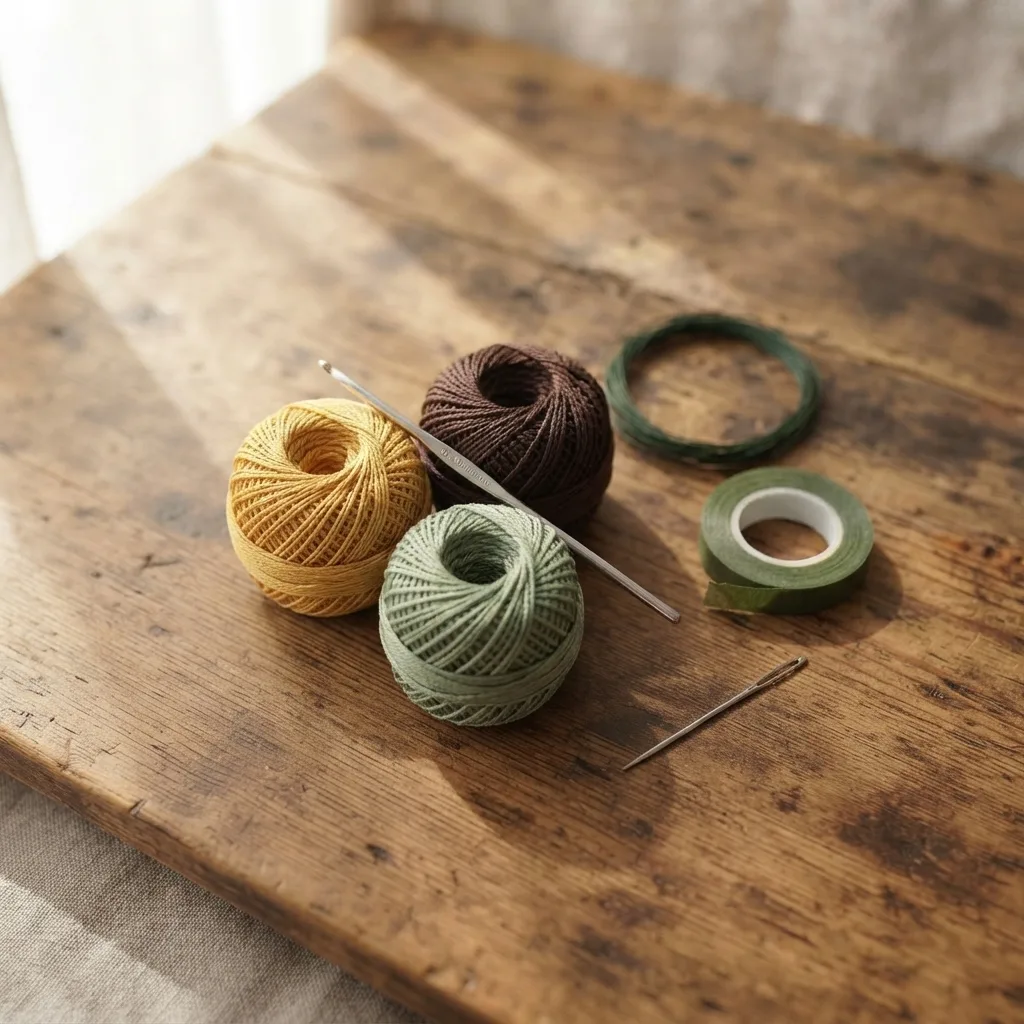
- Light weight (fine/sport, weight 2 to 3) cotton yarn in golden yellow — approx. 15 to 20g, used for the petals
- Light weight yarn in dark brown — approx. 8 to 10g, used for the textured center
- Light weight yarn in sage green — approx. 10 to 15g, used for the stem and leaves
- Crochet hook, size 2.5mm (US C/2)
- One length of floral wire or thick stem wire, 10 to 12 in (25 to 30 cm)
- Floral tape, or extra green yarn for wrapping the stem
- Small amount of stuffing or a small felt circle, to back and support the flower center
- Yarn needle
Stitches & Abbreviations Used
- MR – Magic Ring
- ch – Chain
- sc – Single Crochet
- hdc – Half Double Crochet
- dc – Double Crochet
- inc – Increase (2 sc in same stitch)
- BPsc – Back Post Single Crochet, used for the textured spiral center
- sl st – Slip Stitch
- st(s) – Stitch(es)
- FO – Fasten Off
- ( ) – Stitch count at end of round or row
Instructions
Piece 1: Flower Center (make 1, dark brown, textured spiral)
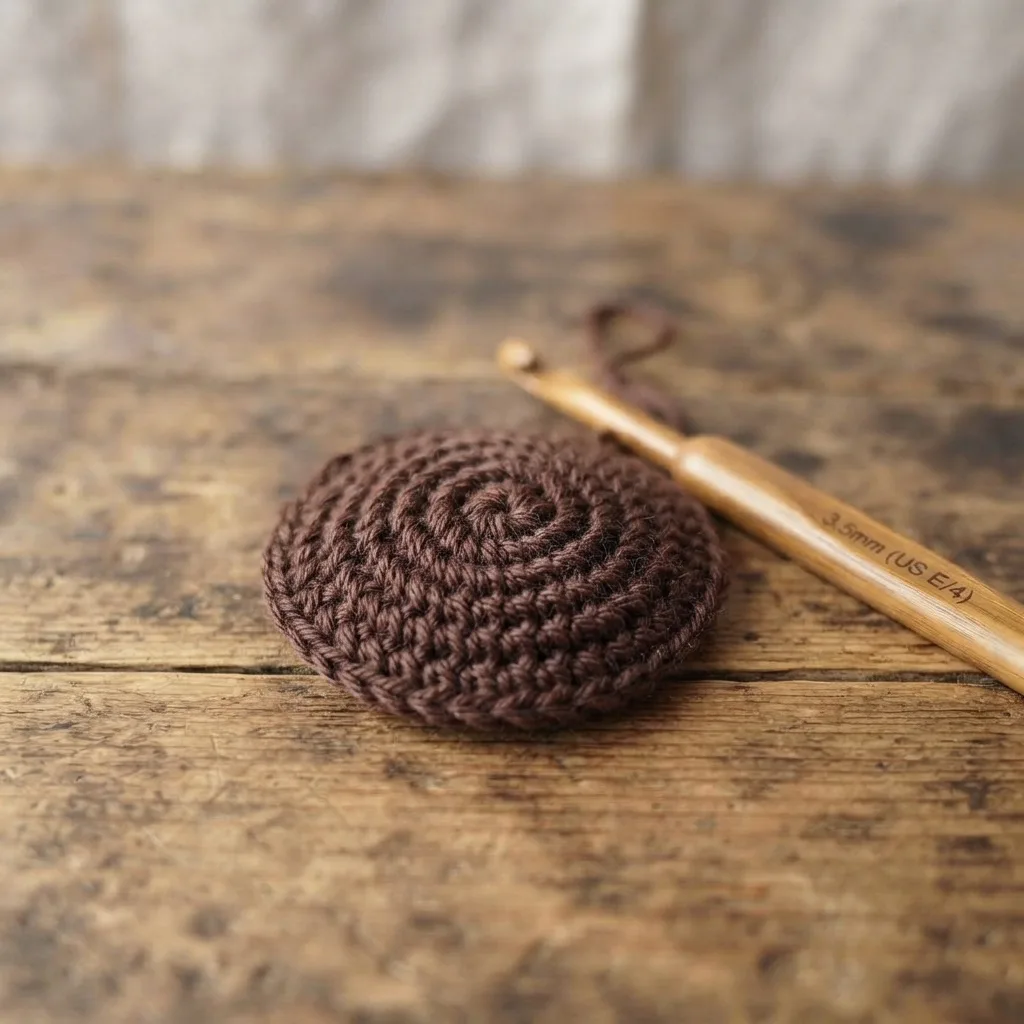
Worked in a continuous spiral, building a flat textured disc.
- Rnd 1: 6 sc in MR (6)
- Rnd 2: inc x6 (12)
- Rnd 3: (sc, inc) x6 (18)
- Rnd 4: (sc 2, inc) x6 (24)
- Rnd 5: (sc 3, inc) x6 (30). The disc should now measure approximately 1.5 to 2 in (4 to 5 cm) across.
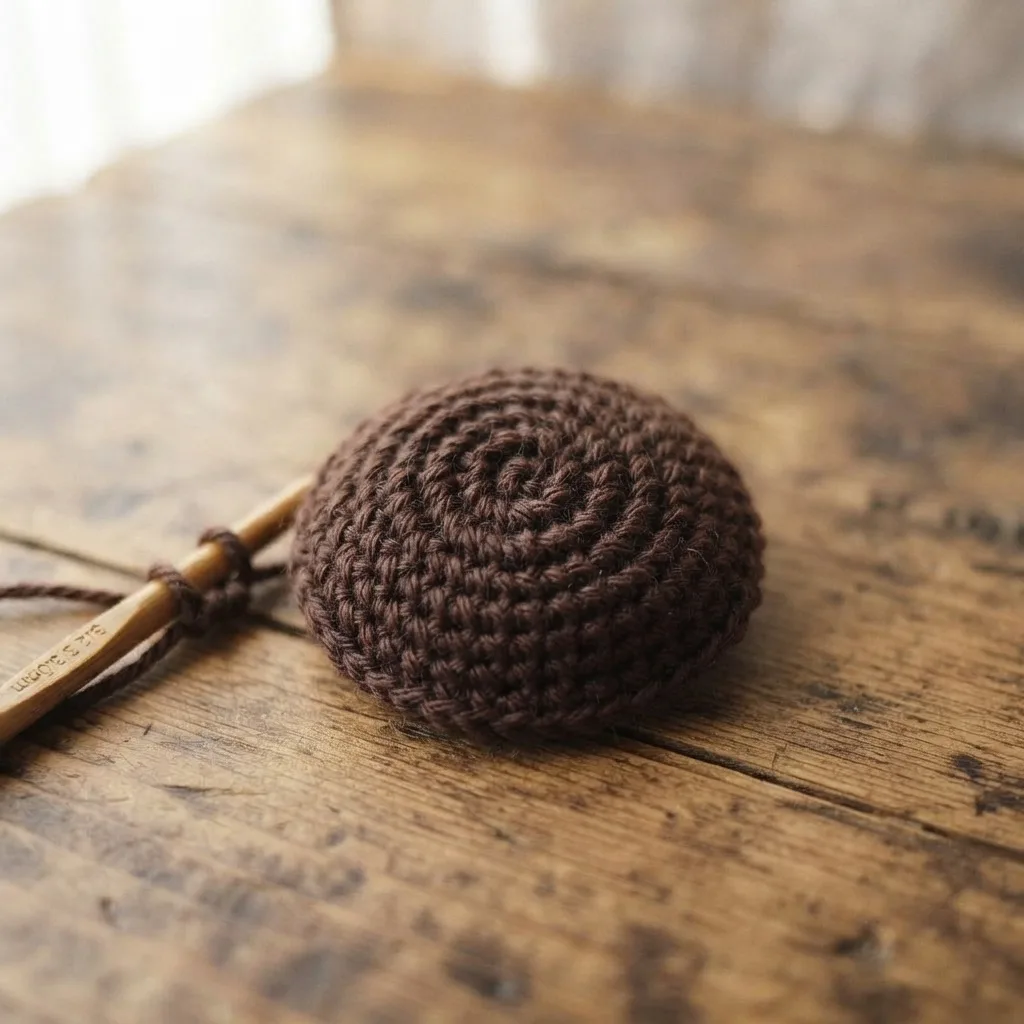
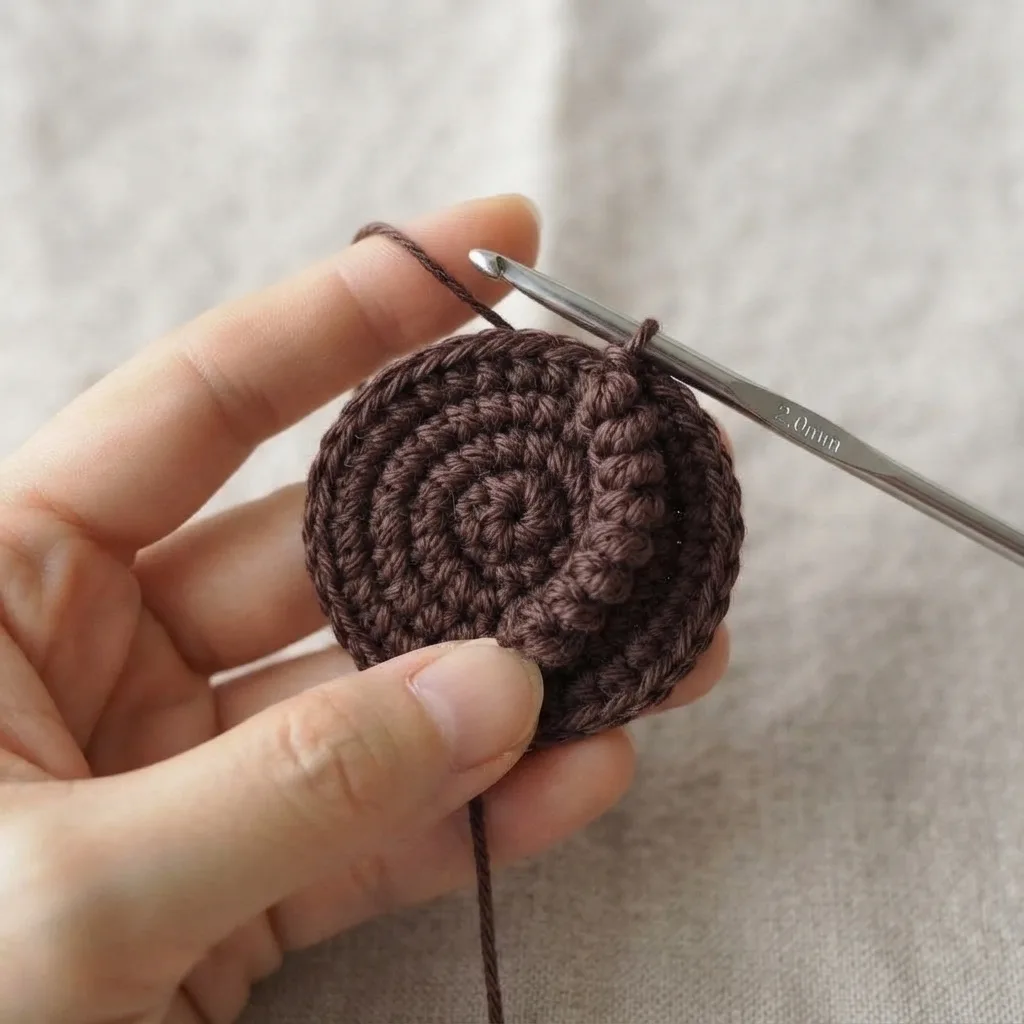
- Rnd 6, texture round: working in BPsc around, sc around to build a raised spiral ridge texture across the surface (30). Repeat this texture technique in the following round for extra depth if you would like a more pronounced center.
- FO, leaving a long tail. Lightly stuff, or back with a small felt circle for stability, before attaching the petals.
Piece 2: Petals (two layers, golden yellow)
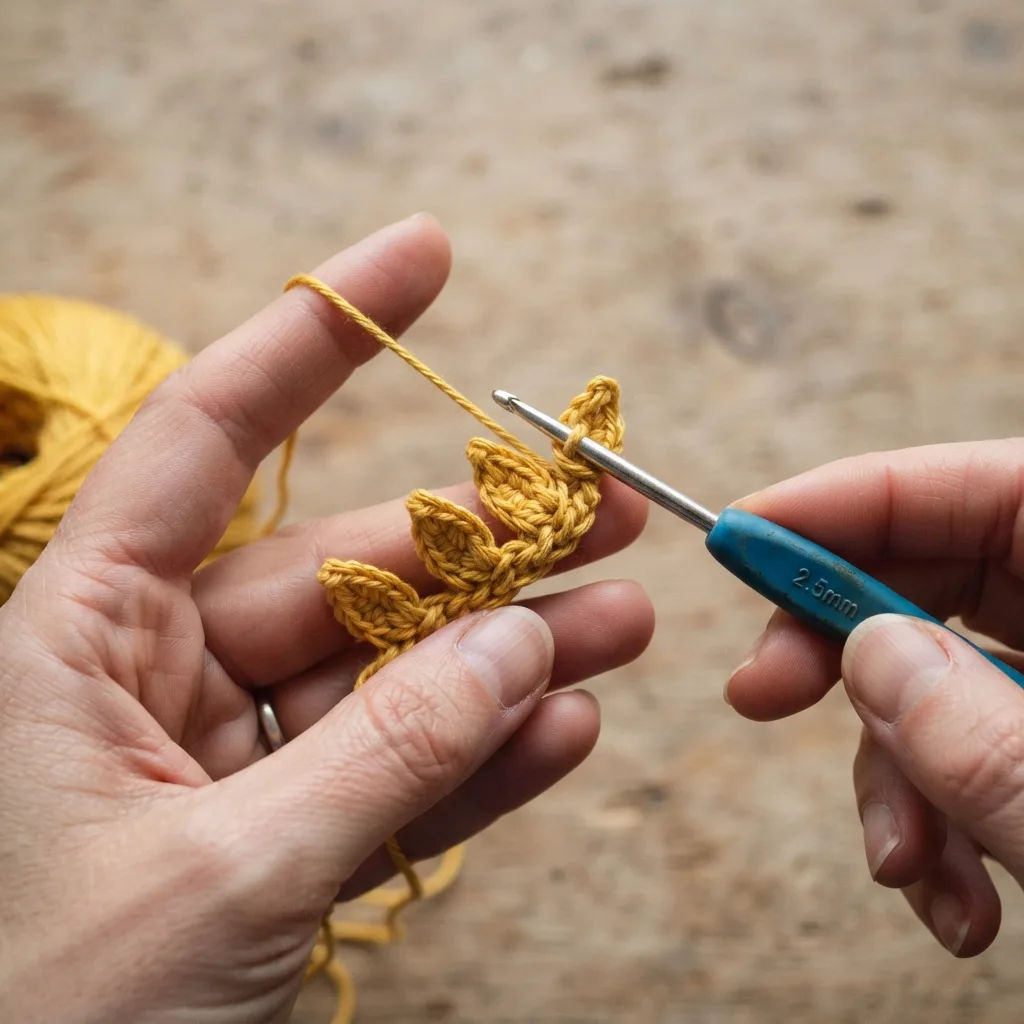
Layer 1, inner petals (make 14 to 16, worked individually then joined, or as a continuous round):
- Ch 4
- Row 1: sl st in 2nd ch from hook, hdc 1, dc 1, ch 1, turn, then working back down, dc 1, hdc 1, sl st in last ch. This is approximately 6 stitches and forms a small pointed petal.
- Repeat to make 14 to 16 petals total, or work continuously around a base ring: (ch 4, sl st, hdc 1, dc 1, sl st back down the chain, sl st into the base ring) repeated 14 to 16 times.
- FO, leaving a tail. Sew or join the base of this layer directly around the edge of the flower center.
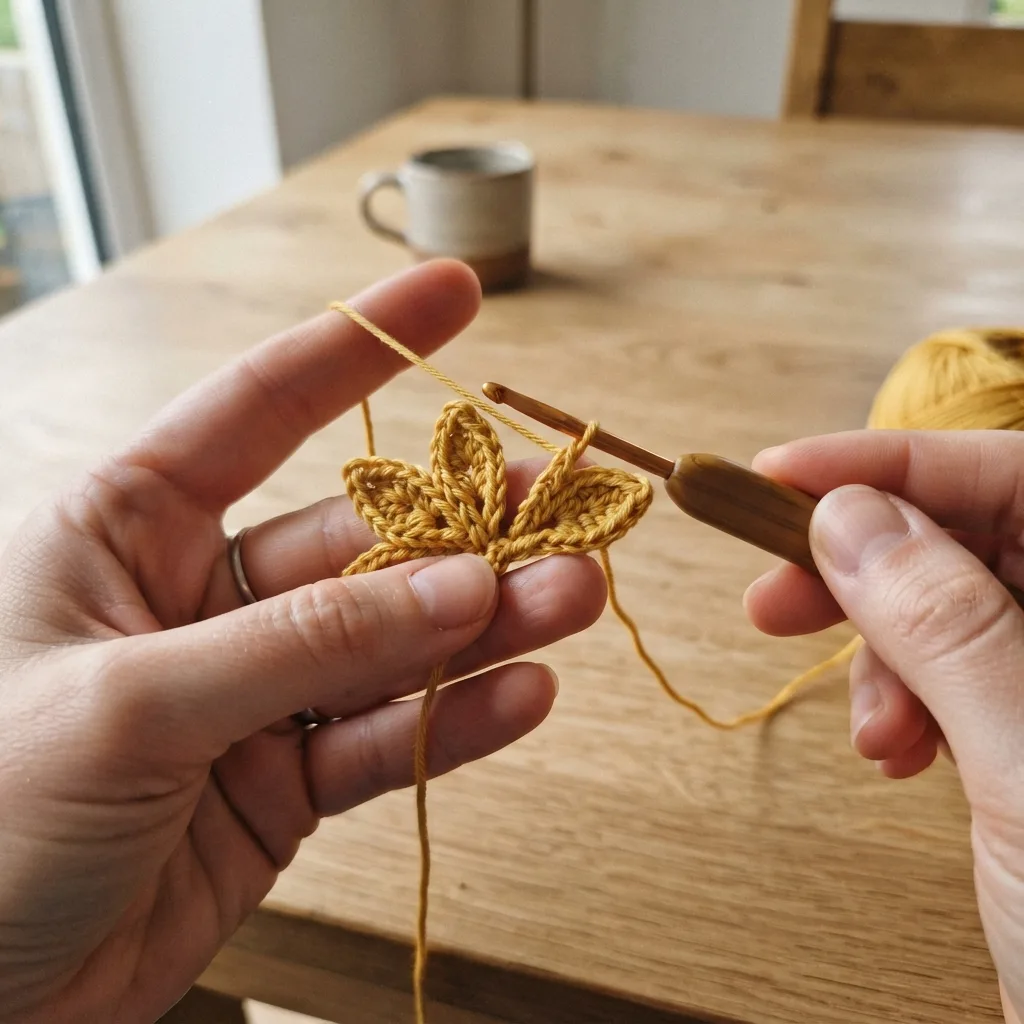
Layer 2, outer petals (make 14 to 16, slightly longer than the inner layer):
- Ch 5
- Row 1: sl st in 2nd ch from hook, hdc 1, dc 1, dc 1, ch 1, turn, then working back down, dc 1, dc 1, hdc 1, sl st in last ch. This is approximately 8 stitches and forms a slightly longer pointed petal.
- Repeat to make 14 to 16 petals total, or work continuously as above with the longer petal count.
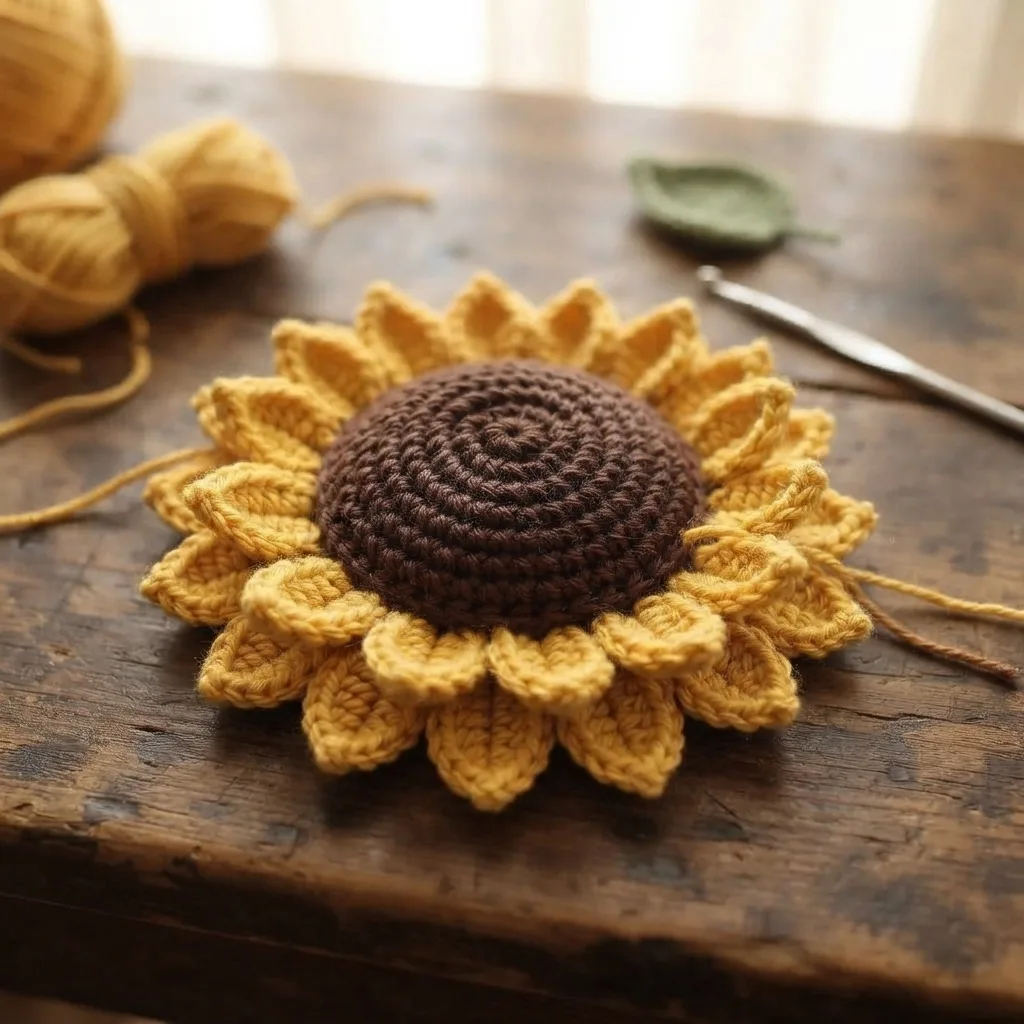
- FO, leaving a tail. Sew this layer around the flower center just behind and below Layer 1, offsetting the petals between the two layers so they alternate and fill any gaps, matching the layered look of a real sunflower.
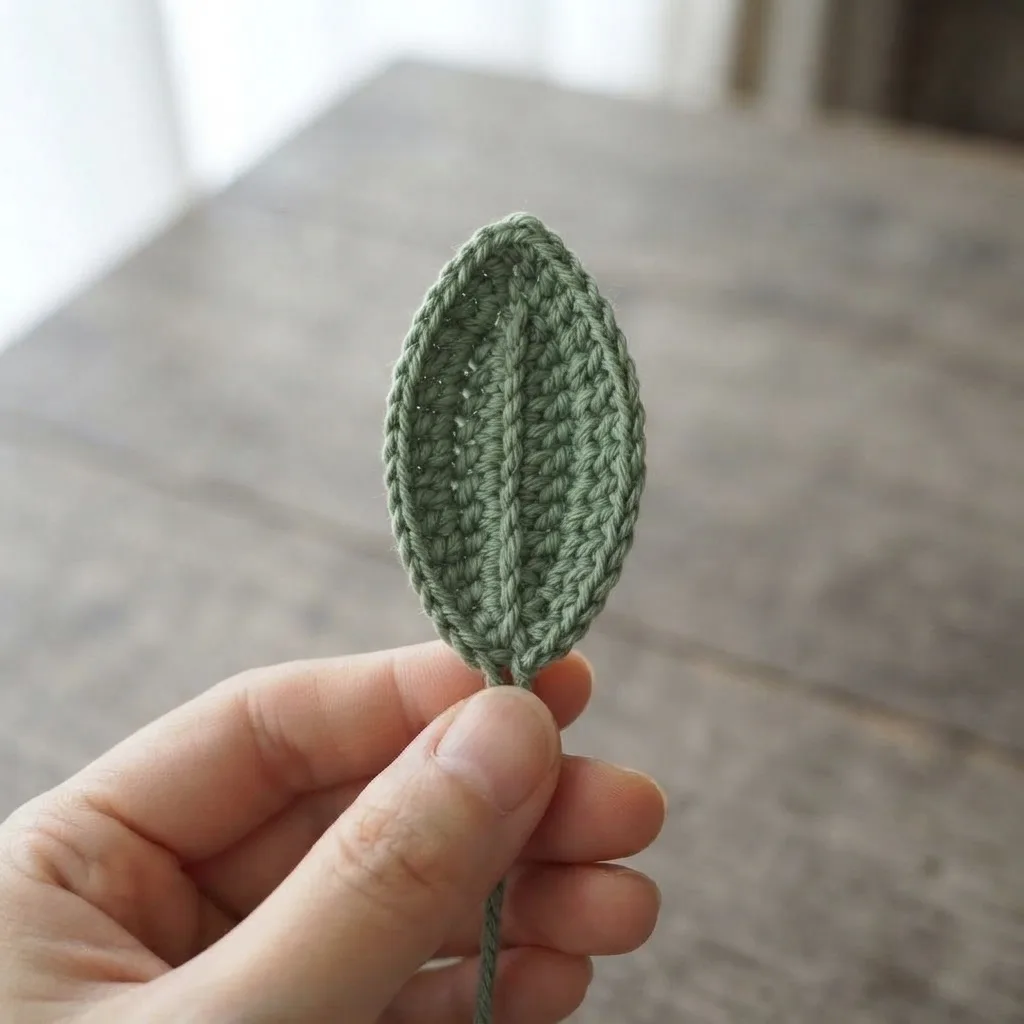
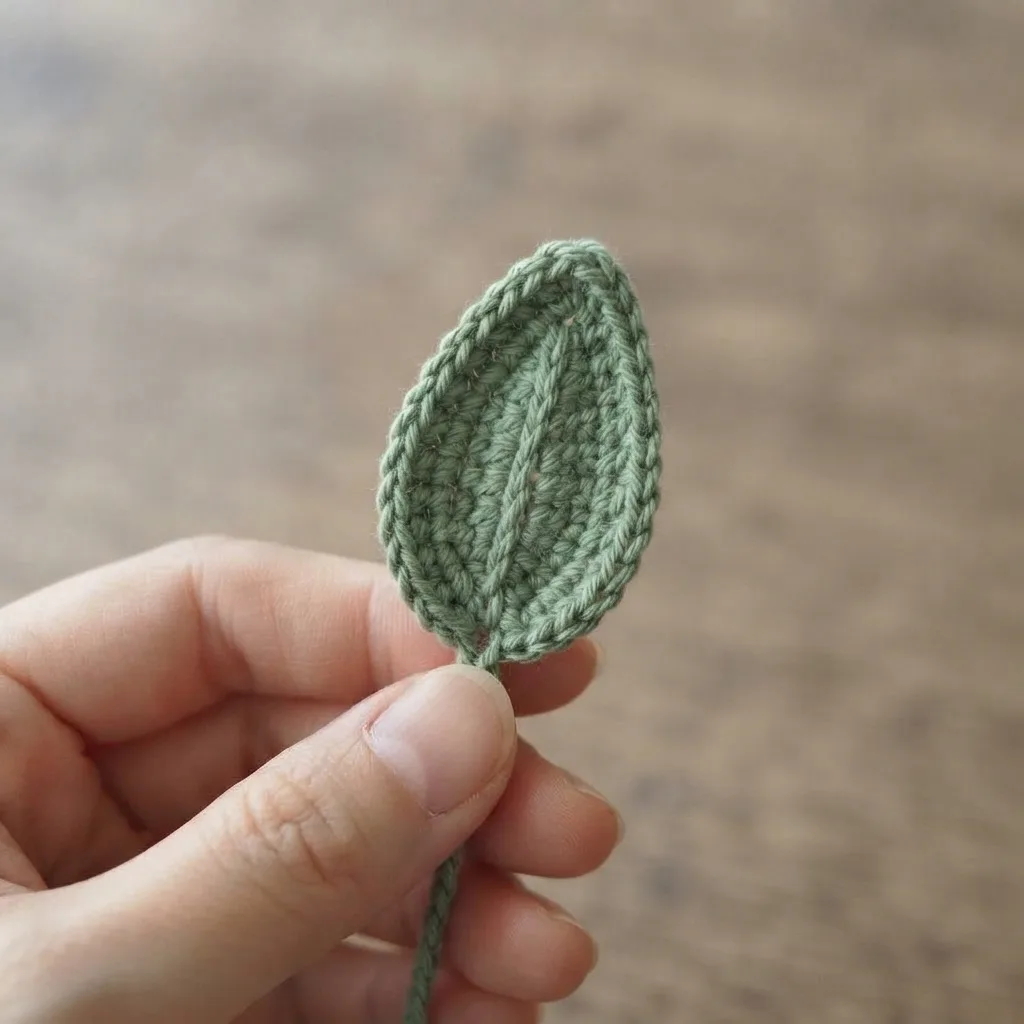
Piece 3: Leaves (make 2, sage green)
- Ch 9
- Row 1: sl st in 2nd ch from hook, sc 1, hdc 1, dc 2, hdc 1, sc 1, 3 sc in last ch, this is the tip of the leaf, then continue back down the other side of the chain, sc 1, hdc 1, dc 2, hdc 1, sc 1, sl st in last ch. This creates a pointed leaf with a visible center vein.
- FO, leaving a long tail for attaching to the stem.
Piece 4: Stem (make 1)
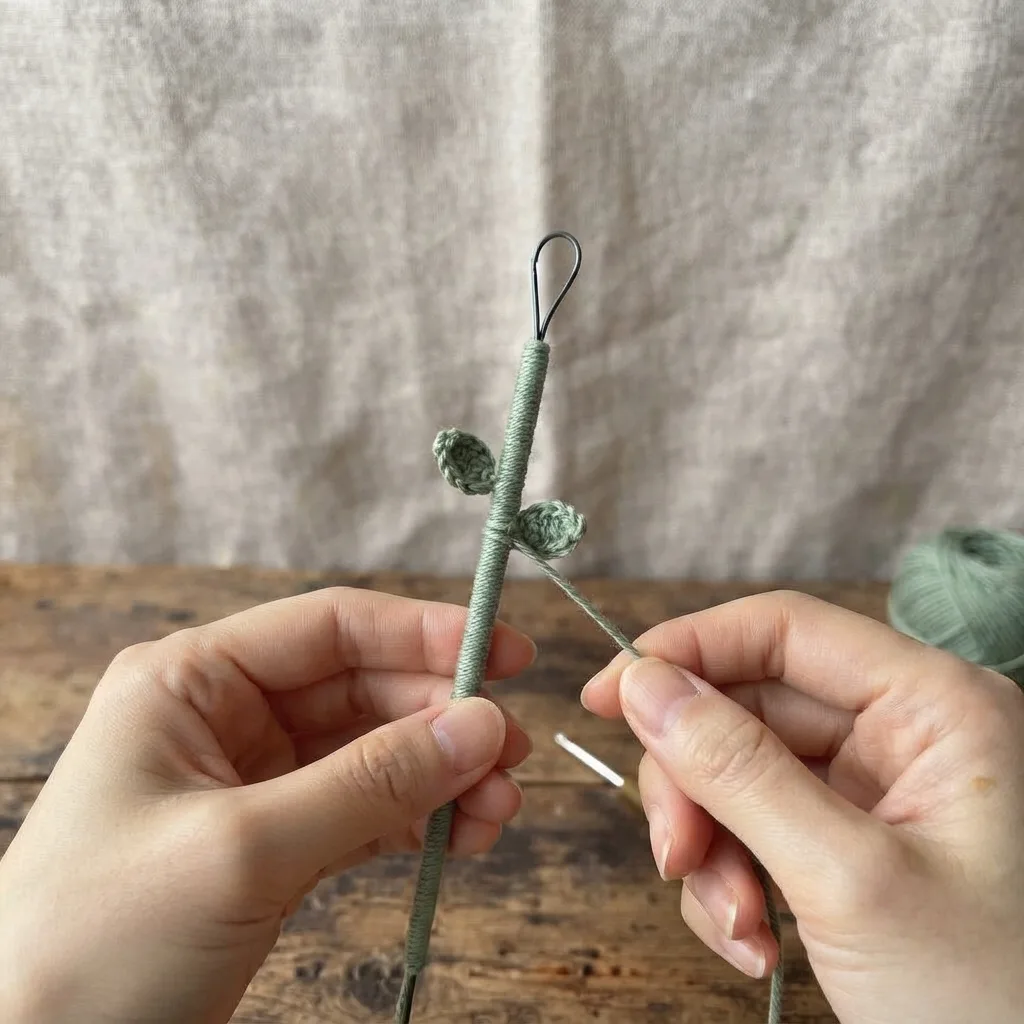
Take the length of floral or stem wire and, leaving a few inches bare at the top to insert into the base of the flower, wrap green yarn tightly and evenly down the entire length of the wire, or use floral tape instead, securing the end with a small dot of glue or a few tight wraps. Bend the bare top of the wire into a small hook or loop shape, so it can be inserted securely into the back of the flower center without slipping out. Work a few sc or sl st bumps directly onto the yarn wrapped stem at the leaf attachment points, to mimic small stem nodes.
Assembly
- Weave in all loose ends before assembly.
- Insert the hooked or looped top of the wrapped stem into the back of the flower center and secure firmly with a few stitches or a dab of glue.
- Sew Layer 1, the inner petals, around the flower center edge, then sew Layer 2, the outer petals, just behind it, offsetting the two layers so the petals alternate and create a full, layered bloom.
- Attach the 2 leaves along the stem at slightly different heights and angles, sewing the base of each leaf securely against the yarn wrapped wire.
- Gently curve the petal tips outward and shape the leaves for a natural look, and curve the stem slightly if you like, for a more lifelike stance.
Tips for This Pattern
- Keep a small notepad or tally nearby while making the petals, it is very easy to lose count of how many you have finished when you are making fourteen to sixteen of the same small piece.
- When sewing the two petal layers on, pin them in place first and check the offset from a distance before committing to the stitches, small placement shifts are much easier to fix with a pin than with a needle already through the yarn.
- If your center looks flat once finished, adding a touch more stuffing or a slightly firmer felt backing gives it a gentle dome shape that reads much closer to a real sunflower.
Loved this pattern? Browse more [Flowers] patterns on Learn Crochet Daily, and tag us if you make your own sunflower, we would love to see it.