
Hooded Bear Ear Baby Onesie Crochet Pattern
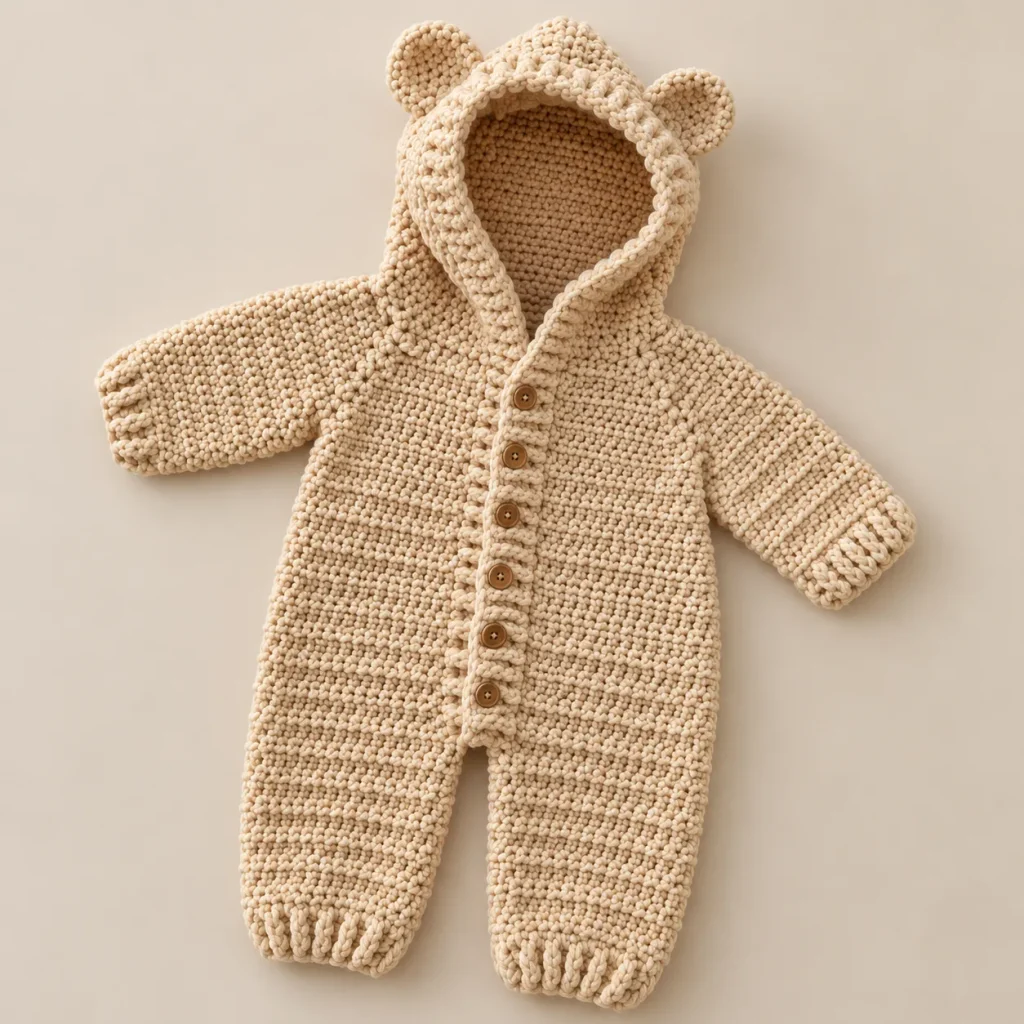
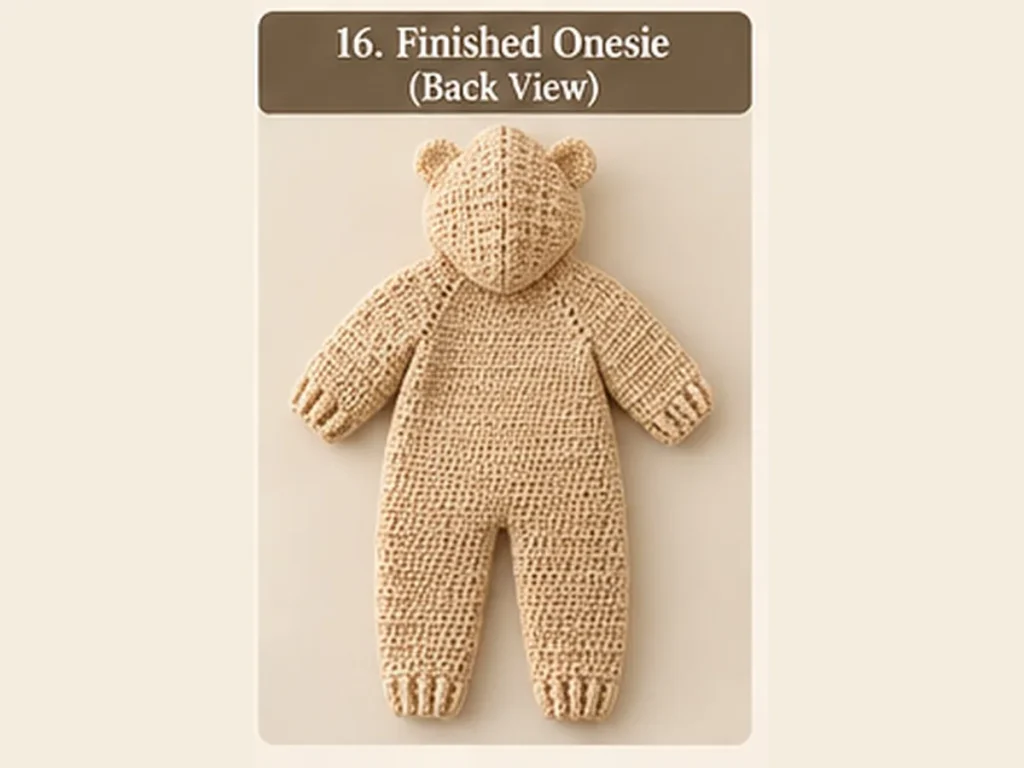
This hooded bear ear baby onesie is such a sweet little project for a baby wardrobe or handmade gift. The warm almond color gives it a soft, neutral look, while the rounded bear ears, long sleeves, ribbed cuffs, and buttoned front make the finished piece feel extra cozy.
The onesie is worked from the neckline downward with a shaped yoke, then continued through the body before dividing for the two legs. Sleeves are added at the armholes, the hood is worked from the neckline, and ribbing finishes the wrists, ankles, front opening, and hood.
This pattern is designed for a 3-month size and is best for an intermediate crocheter who is comfortable reading charts, working post stitches, shaping garments, and crocheting both rows and joined rounds.
Pattern General Information
| Detail | Information |
| Pattern | Hooded Bear Ear Baby Onesie |
| Skill Level | Intermediate |
| Size | 3 months |
| Flat Body Width | 17 in / 43.2 cm |
| Body to Leg Division | 8.75 in / 22.2 cm |
| Length Before Ankle Ribbing | 13 in / 33 cm |
| Sleeve Length Before Ribbing | 4 in / 10.2 cm |
| Hood Depth | 5.5 in / 14 cm |
| Hook | 5 mm / H |
| Estimated Time | 14–20 hours |
| Terminology | US crochet terms |
Materials
You will need:
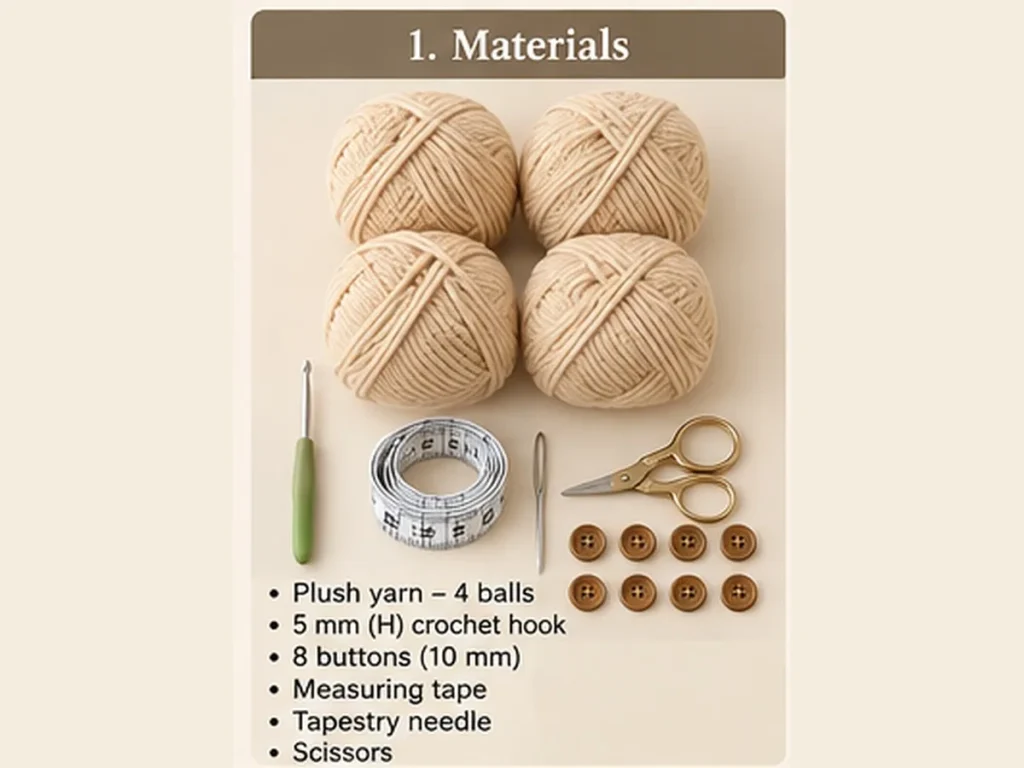
- 4 balls of soft plush yarn
- Almond or warm cream/beige yarn
- 5 mm / H crochet hook
- 8 small buttons, about 10 mm
- Measuring tape
- Tapestry needle
- Scissors
Choose a soft plush yarn that feels comfortable against baby skin and gives you the correct gauge.
Make It in Any Color
The almond shade gives this onesie a classic little teddy-bear look, but you can easily change the color.
Soft brown, sage green, dusty blue, blush pink, cream, oatmeal, or pale grey would all look beautiful.
Keep the yarn thickness consistent and make another gauge swatch whenever you change yarn so the finished size stays as close as possible to the pattern.
Gauge
Before beginning, work a small swatch.
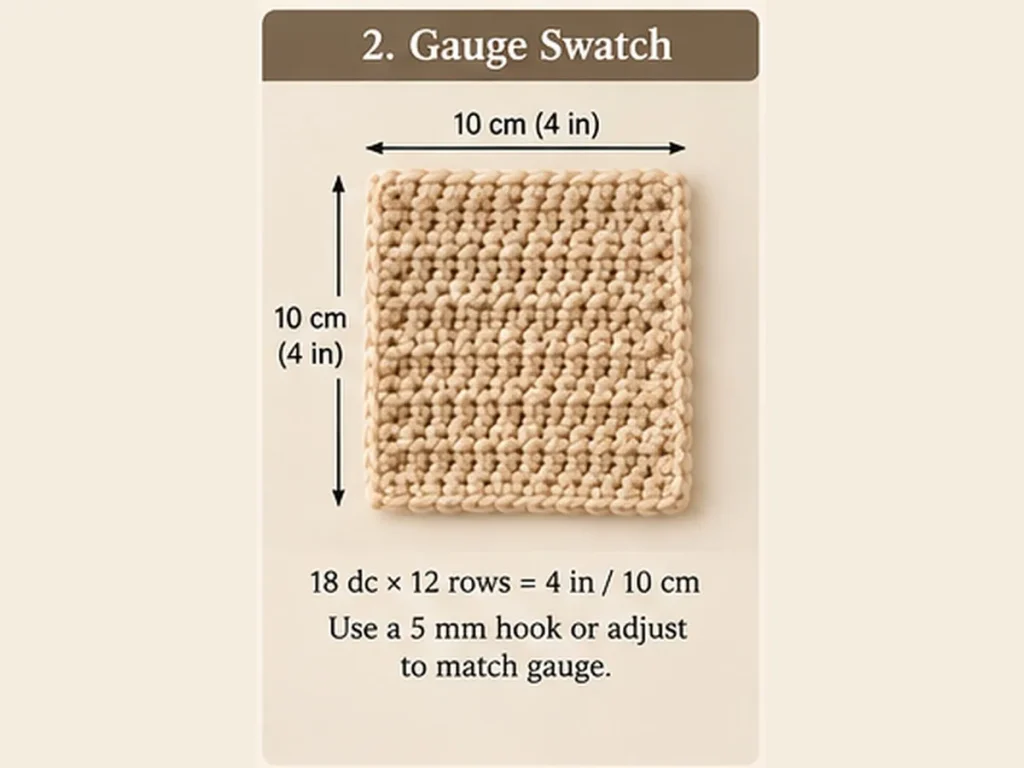
18 dc × 12 rows = 4 × 4 in / 10 × 10 cm
Use the 5 mm hook or adjust your hook size until your swatch matches the measurement.
Gauge is especially important for this project because it affects the overall fit of the body, sleeves, hood, and legs.
Abbreviations
- ch – chain
- sl st – slip stitch
- sc – single crochet
- hdc – half double crochet
- dc – double crochet
- FPdc – front post double crochet
- BPdc – back post double crochet
- st / sts – stitch / stitches
- rnd – round
- rep – repeat
The ribbed sections use alternating FPdc and BPdc to create the raised texture around the wrists, ankles, hood, and front opening.
Piece 1: Neckline Foundation and Yoke
Begin at the neckline.
Foundation
Ch:
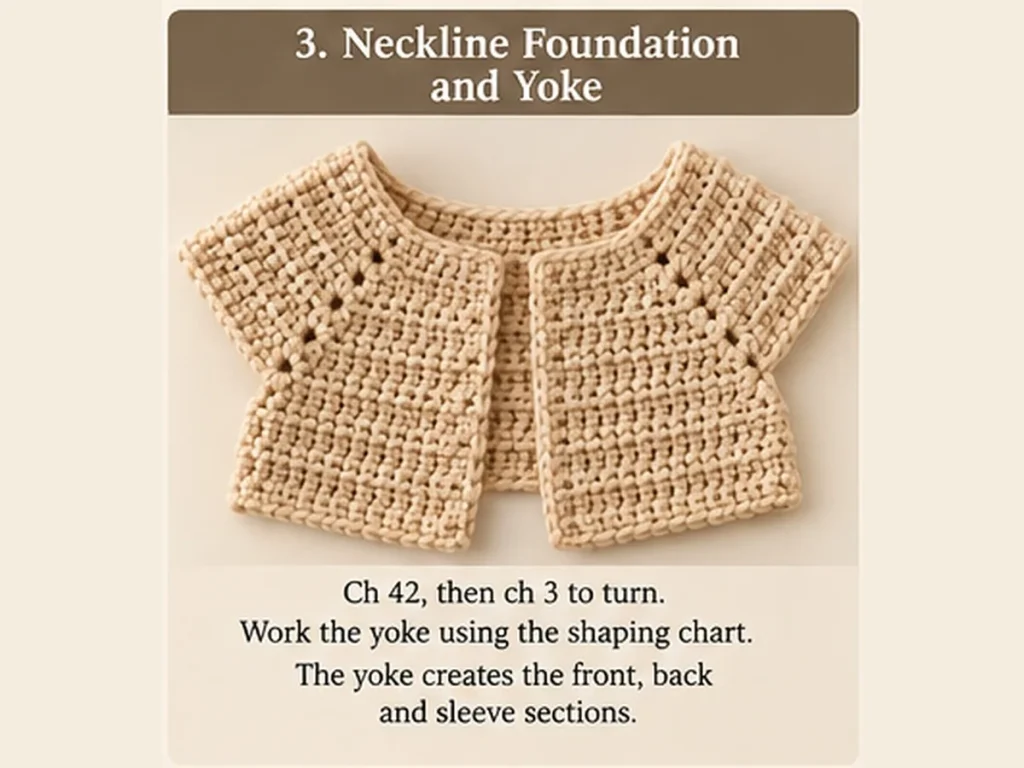
42
Then ch 3 to turn.
Continue the yoke using the shaping chart, keeping the front opening along the outer edge.
Work the corner sections carefully so the front, sleeve, and back areas begin to form naturally.
The shaping is mirrored across the center of the back, creating two front sections, two sleeve areas, and the back.
Take your time with this section because the yoke establishes the overall shape and fit of the onesie.
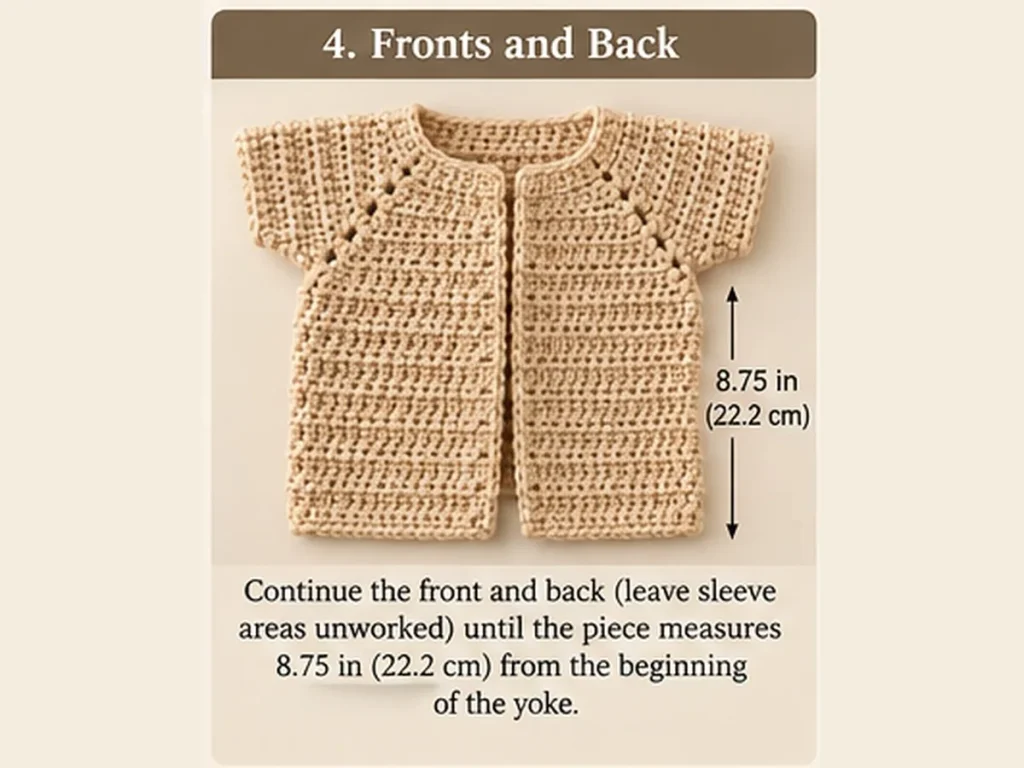
Piece 2: Fronts and Back
Once the yoke is complete, continue across the front and back sections while leaving the sleeve areas unworked.
Keep both fronts and the back connected as one body section and maintain the opening at the front.
Continue working in turned rows until the garment measures:
8.75 in / 22.2 cm
from the beginning of the yoke.
Check your length as you work and keep both front edges even.
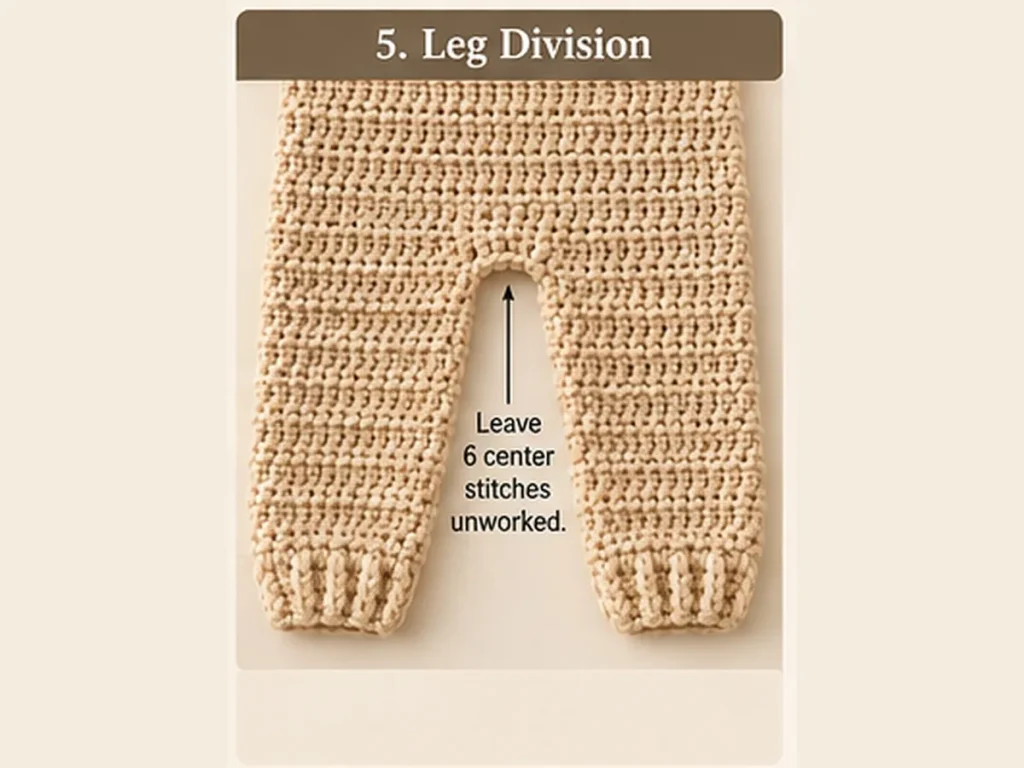
Piece 3: Legs and Ankle Ribbing
At the leg division, leave the 6 center stitches unworked.
The two legs are now worked separately.
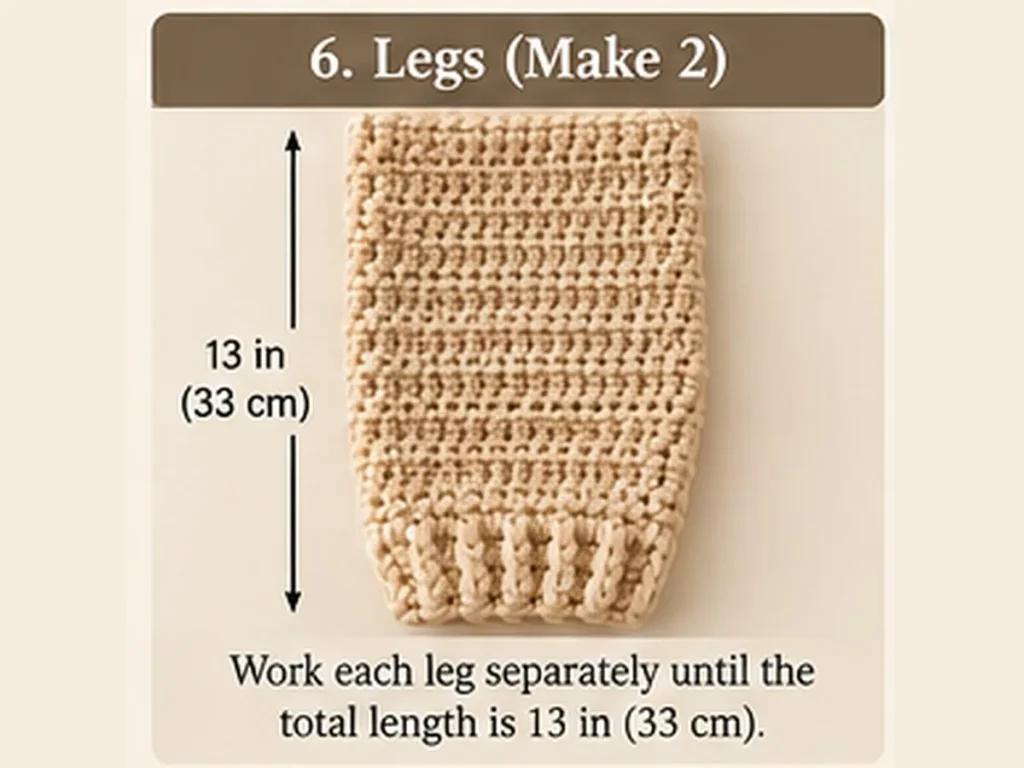
Continue the first leg until the garment measures:
13 in / 33 cm
from the beginning of the yoke.
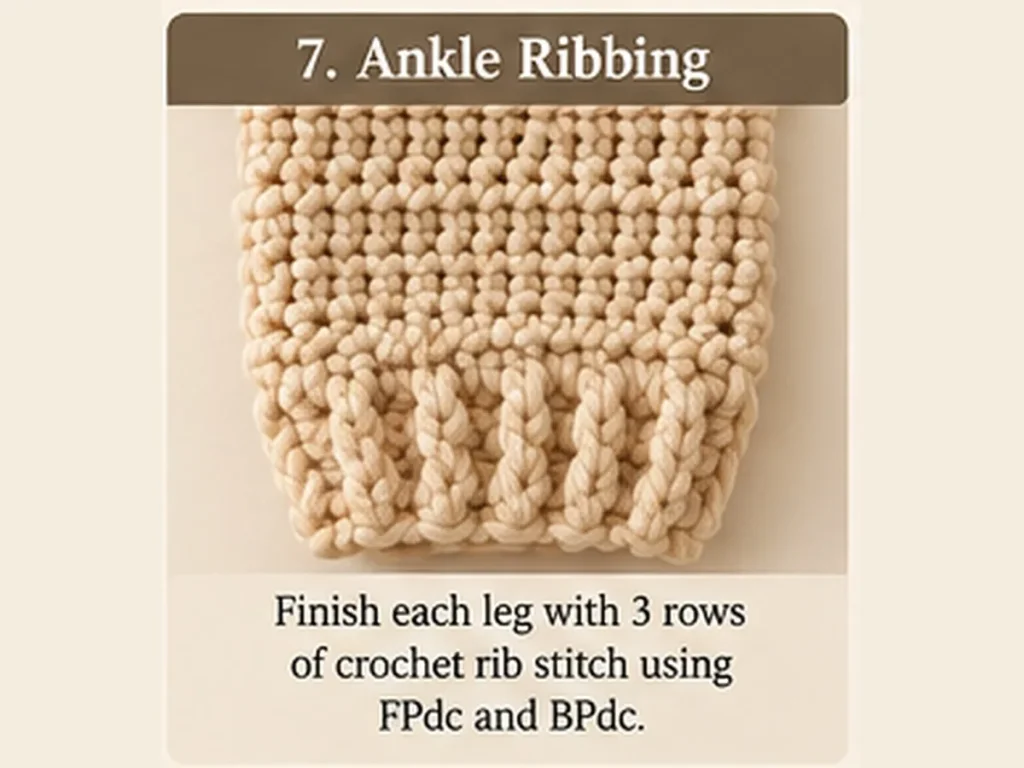
Finish the ankle with:
3 rows of crochet rib stitch
using alternating front post and back post double crochet.
Fasten off.
Work the second leg in the same way, making sure both legs are equal in length.
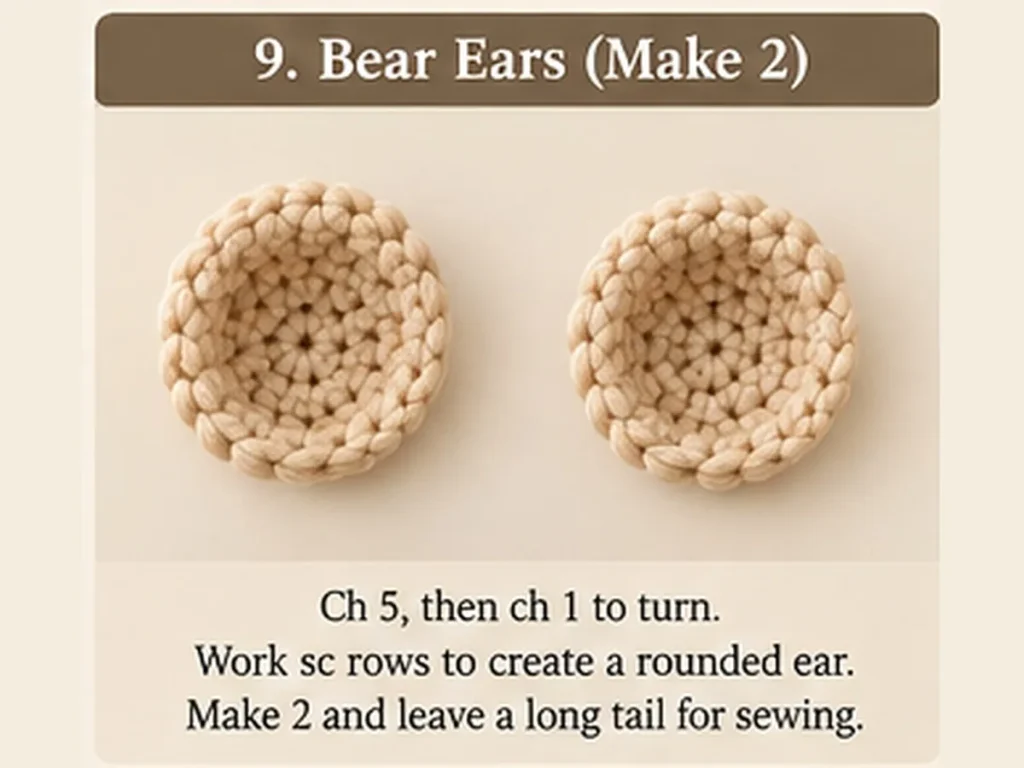
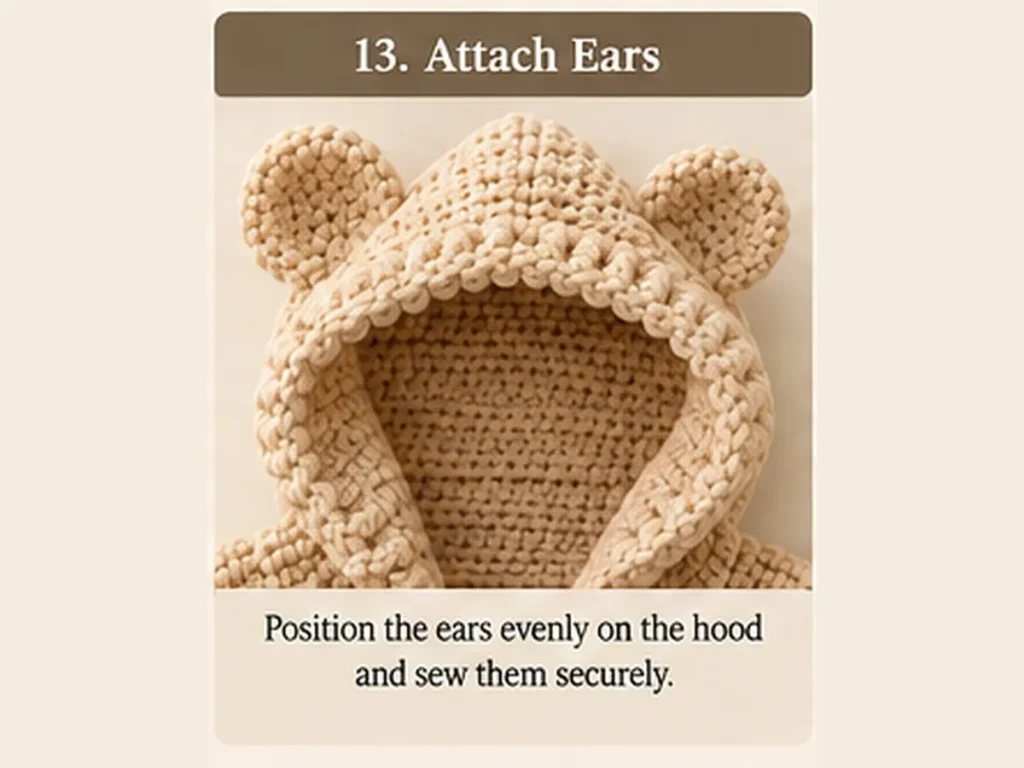
Piece 4: Bear Ears — Make 2
The little rounded ears are what give this onesie its adorable bear look.
For each ear:
Ch 5, then ch 1 to turn.
Work back and forth with single crochet, shaping around the foundation to create the rounded ear.
Fasten off and leave a long sewing tail.
Make a second matching ear.
The ears do not need stuffing. Gently shape them with your fingers before attaching them to the hood.
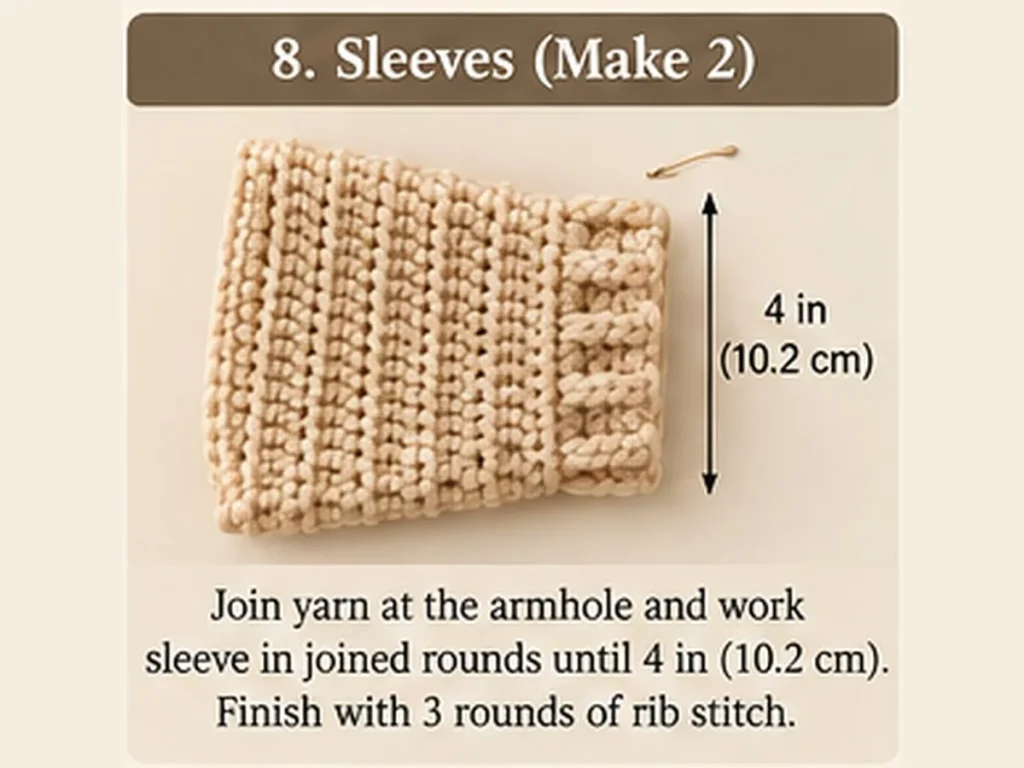
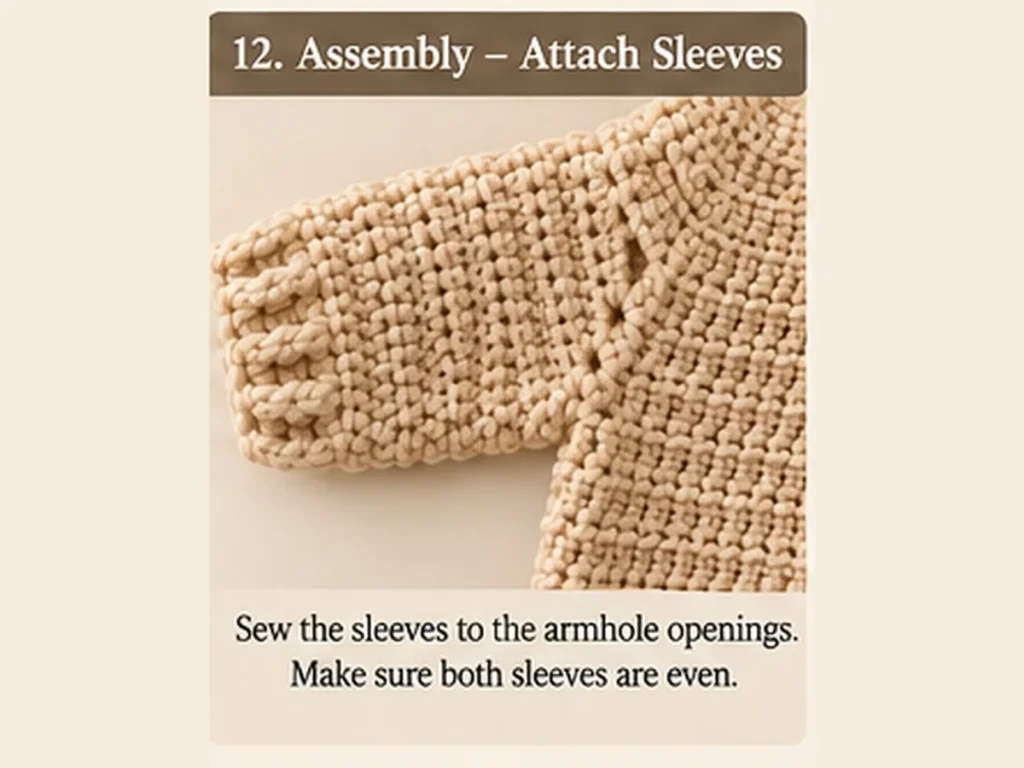
Piece 5: Sleeves — Make 2
Join the yarn at one sleeve opening.
Work in:
dc in joined rounds
closing each round with a slip stitch.
Continue until the sleeve measures:
4 in / 10.2 cm
from the yoke armhole.
Finish the wrist with:
3 rounds of crochet rib stitch
Keep the post-stitch columns aligned for a neat cuff.
Fasten off and weave in the yarn ends.
Repeat for the second sleeve and check that both sleeves match.
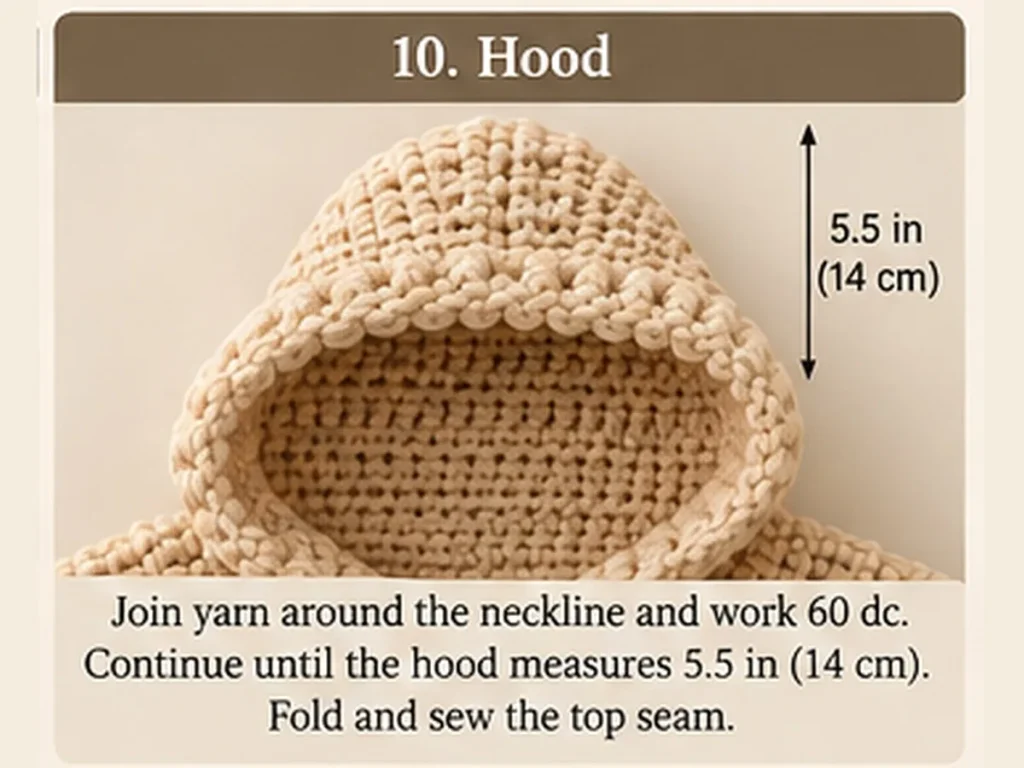
Piece 6: Hood
Join the yarn around the neckline and work:
60 dc
Continue working the hood in double crochet until it measures:
5.5 in / 14 cm
from the beginning.
Fasten off.
Fold the hood so the upper edges meet and sew the top seam closed neatly.
Keep the face opening free because the final ribbed border will be added around it.
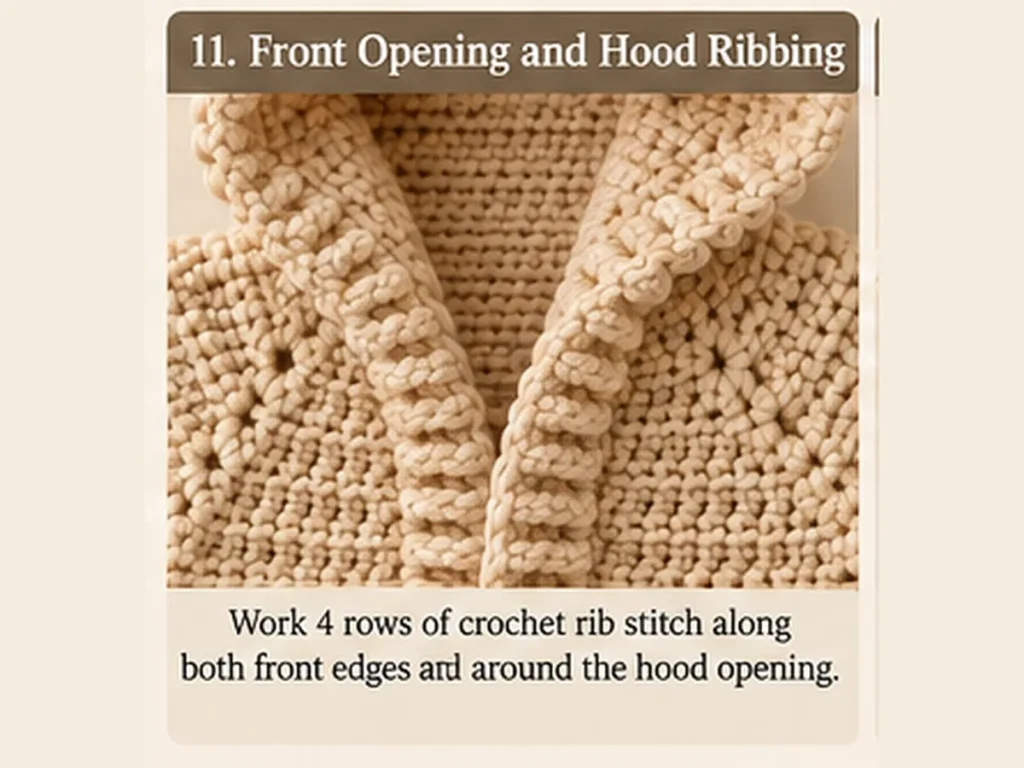
Piece 7: Front Opening and Hood Ribbing
Work the finishing border continuously along one front edge, around the hood opening, and down the opposite front edge.
Complete:
4 rows of crochet rib stitch
Keep the FPdc and BPdc columns aligned so the edging stays neat and consistent.
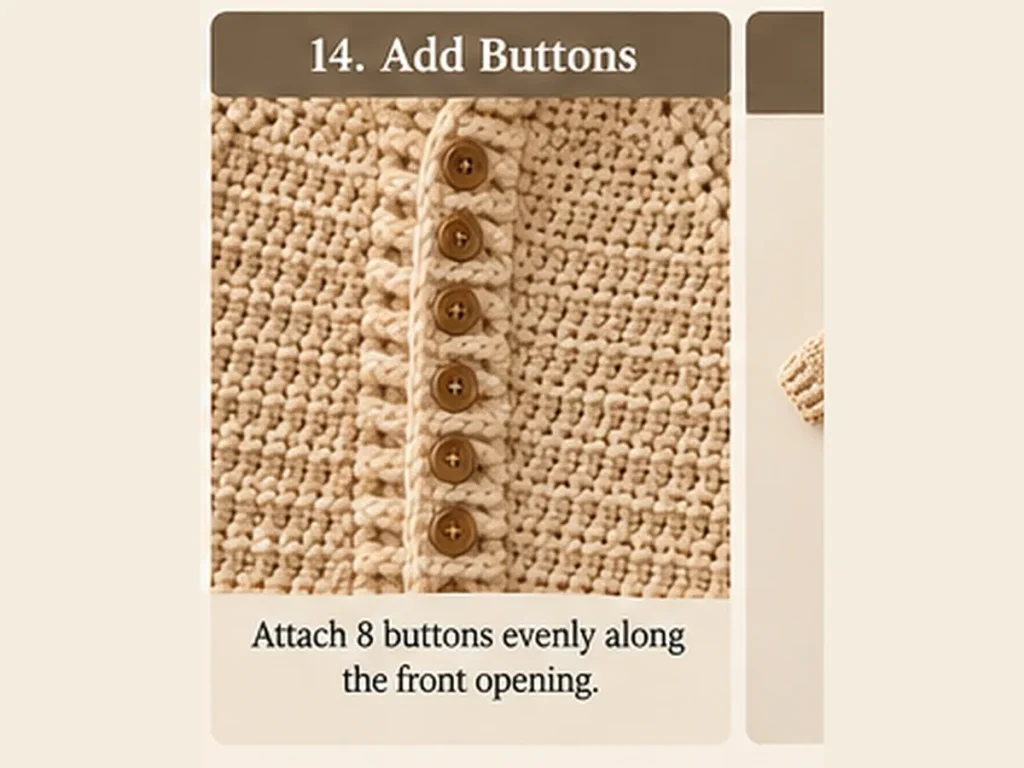
Before attaching the buttons, check that they pass comfortably through the spaces in the finished ribbing.
Assembly and Finishing
Once all of the crochet pieces are complete, you can finish the onesie.
- Secure the hood seam.
- Position the two ears evenly near the upper sides of the hood.
- Sew both ears firmly in place.
- Close the gap between the legs.
- Overlap the left front over the right at the lower opening.
- Position 8 buttons evenly along the front.
- Sew each button securely.
- Weave in all remaining yarn ends.
Take a final look at the hood, sleeves, ankles, crotch, and front opening to make sure everything sits neatly.
Because this is a baby garment, make sure every button and sewn-on detail is attached very securely before use.
Final Thoughts
This hooded bear ear baby onesie has such a cozy handmade feel, and the simple almond color lets the texture and tiny details stand out beautifully.
The hood and rounded ears give it that adorable teddy-bear look, while the long sleeves, separate legs, ribbed cuffs, and buttoned front make the finished piece feel complete and practical.
It would make a lovely baby-shower gift, special photo outfit, or handmade addition to a little one’s wardrobe.
You can keep the soft neutral color or choose your favorite baby-friendly shade to make the design completely your own.