
Little Bear Ears Beanie Crochet Pattern
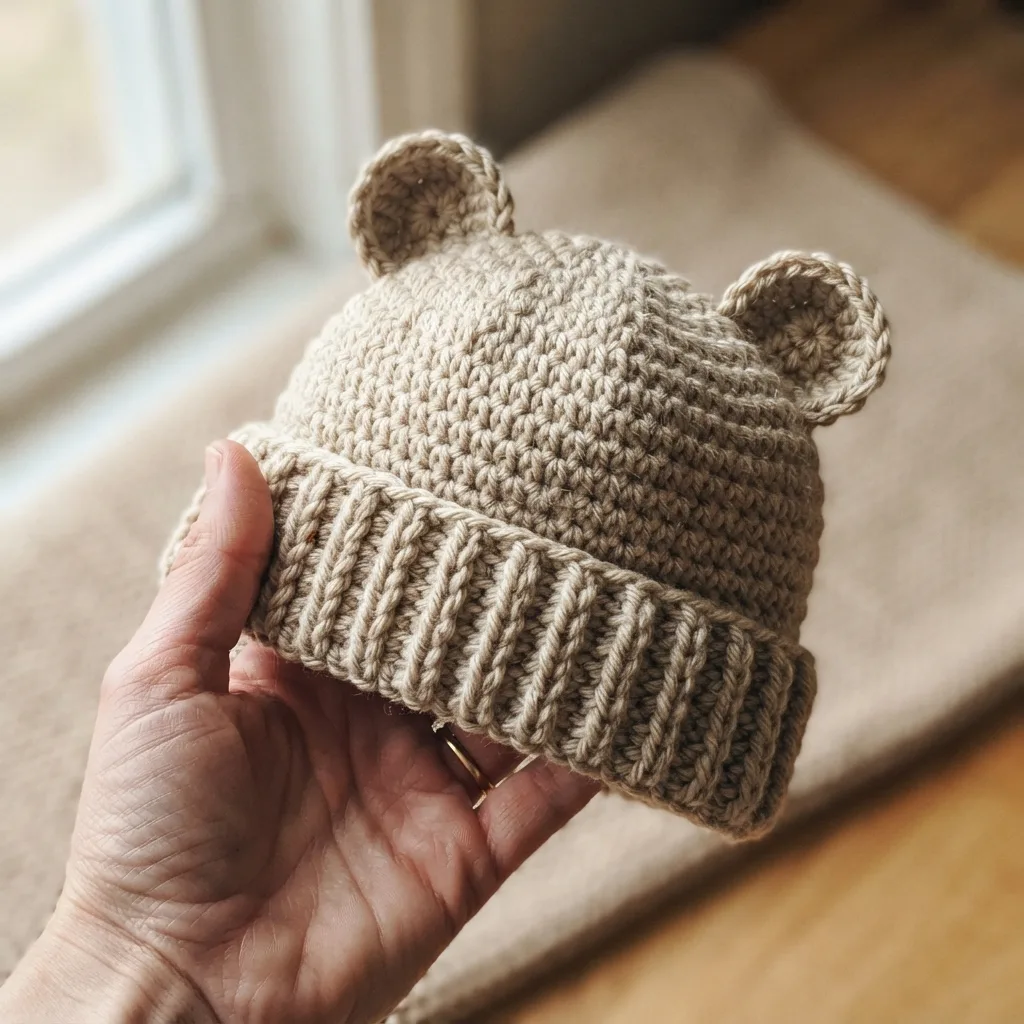
This one came together after I kept seeing textured ribbed beanies online and wanting to try the technique myself, and adding a pair of ears felt like the obvious way to make it a little more fun. The neutral oatmeal tone keeps it wearable for pretty much any baby, and it photographs beautifully if you are making it as a gift or for newborn photos.
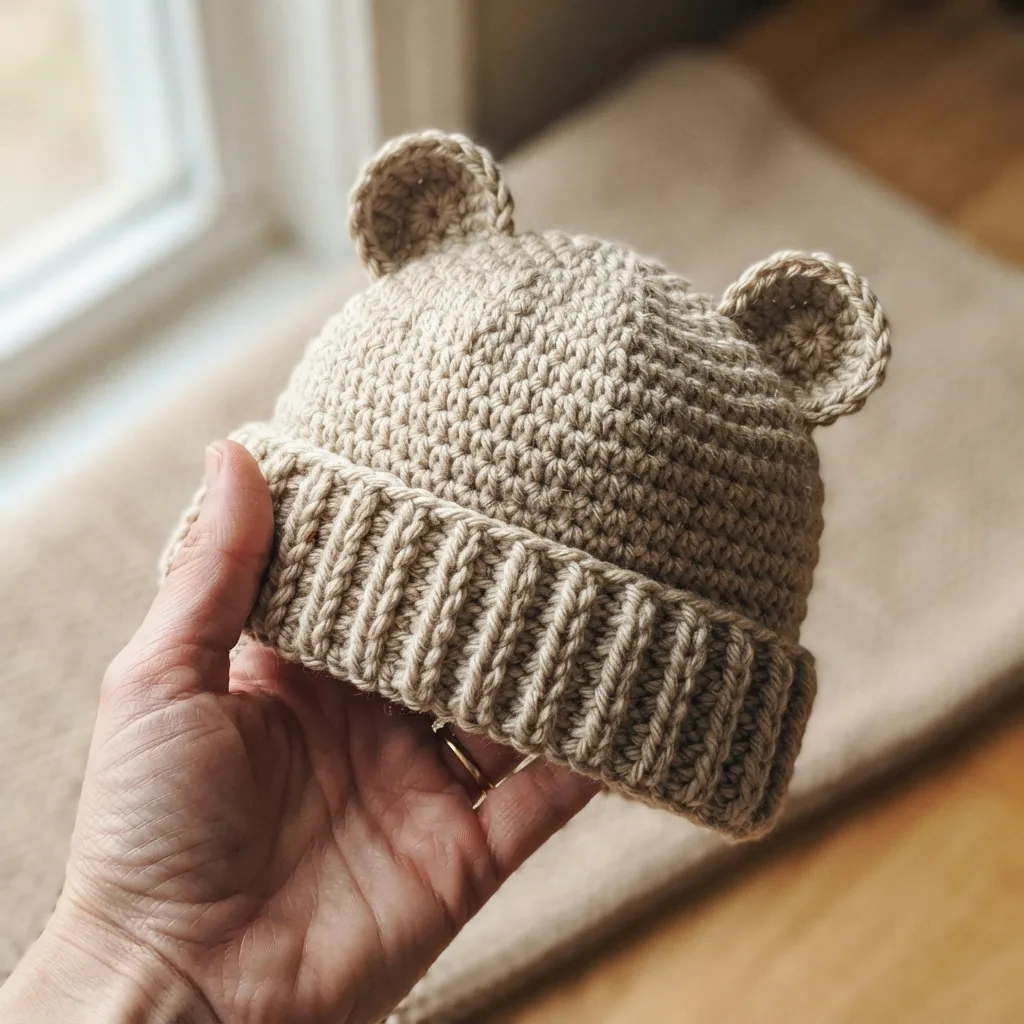
This pattern sits between beginner and intermediate, mostly because of the front post stitches used to build the ribbed band. It is a technique that looks more complicated than it actually is, once you understand that you are working around the post of the stitch below rather than into the usual top loops, it becomes fairly repetitive and relaxing. If you have never tried front post stitches before, this is a gentle place to start, since the rest of the hat is just plain single crochet.
The crown is worked first as a simple increasing spiral, then you switch over to the textured rib stitch for several rounds to form the brim, which is what gives the hat that cozy, cable-like band around the bottom. The two ears are worked separately as small flat discs, then gently cupped and sewn on at the point where the crown meets the ribbing. Plan for around 3 to 4 hours total, and know that this is genuinely one of the quicker projects on the blog once you get into a rhythm with the rib stitch.
Worth mentioning too, this is an original pattern I designed myself rather than copied from an existing hat, so I would treat the stitch counts below as a solid starting point to test and adjust for your own gauge and the head size you are making it for.
Quick Pattern Details
| Detail | Value |
| Skill Level | Beginner to Intermediate |
| Colors Needed | One neutral color, such as oatmeal, cream, or tan |
| Finished Size | Approx. 14 to 15 in (36 to 38 cm) head circumference, 0 to 6 months, adjustable |
| Time to Complete | 3 to 4 hours |
| Construction | Crown worked top down, ribbed band worked directly onto it, ears made separately |
| Pieces Made Separately | Ears (x2) |
| Special Technique | Front post half double crochet for the textured ribbed band |
Materials Needed
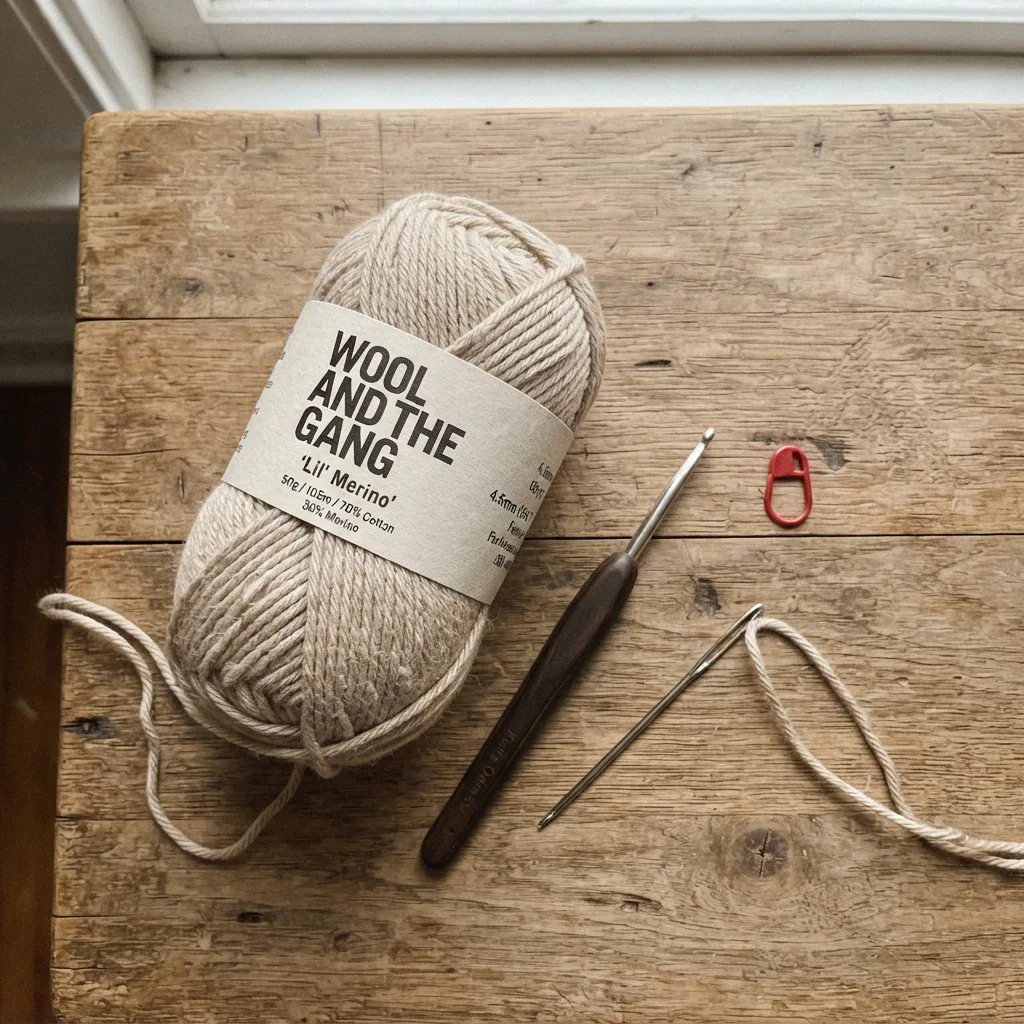
- Medium weight (worsted, weight 4) soft cotton or cotton blend yarn in a neutral color such as oatmeal, cream, or tan — approx. 60 to 80g
- Crochet hook, size 4.5mm (US 7)
- Yarn needle
- Stitch marker
Stitches & Abbreviations Used
- MR – Magic Ring
- ch – Chain
- sc – Single Crochet
- hdc – Half Double Crochet
- inc – Increase (2 stitches in same stitch)
- FPhdc – Front Post Half Double Crochet, creates the textured ribbed columns
- BLO – Back Loop Only
- sl st – Slip Stitch
- st(s) – Stitch(es)
- FO – Fasten Off
- ( ) – Stitch count at end of round
Instructions
Piece 1: Hat Crown & Body (make 1)
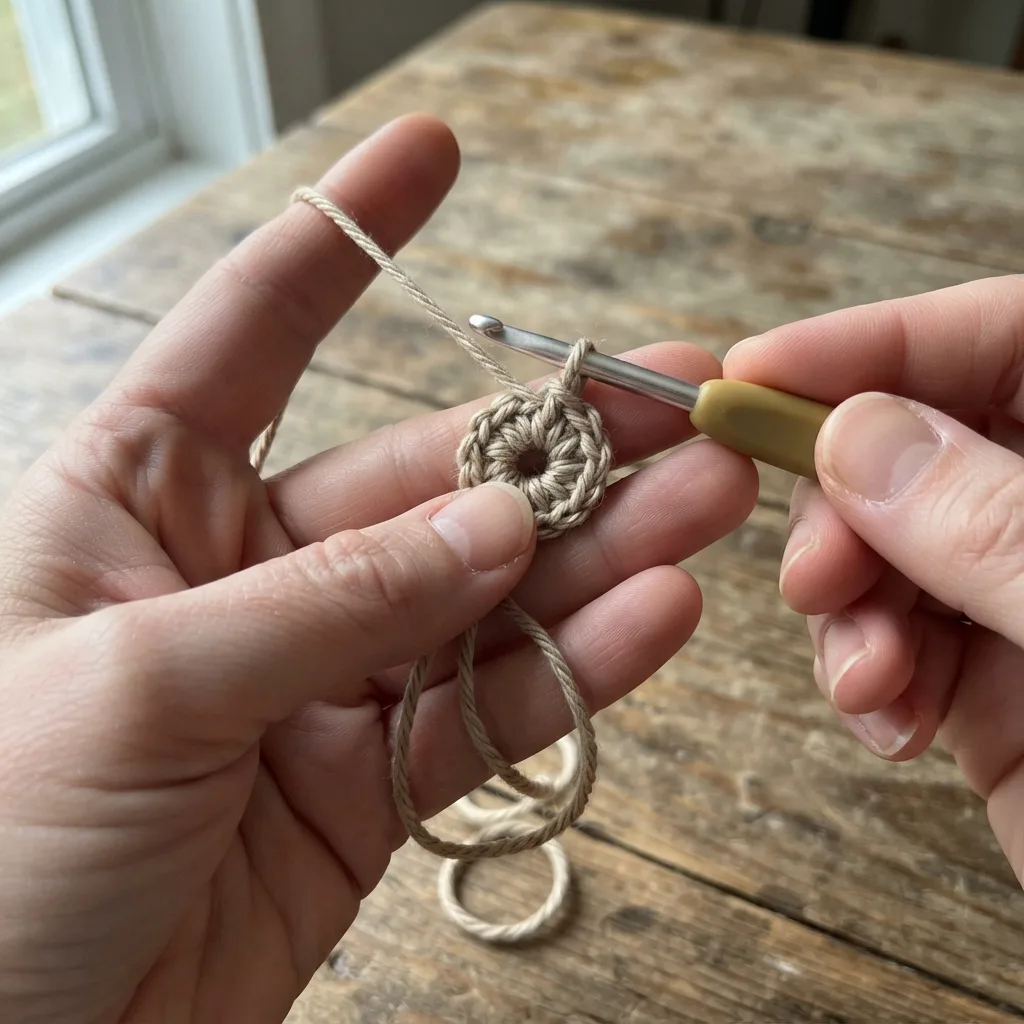
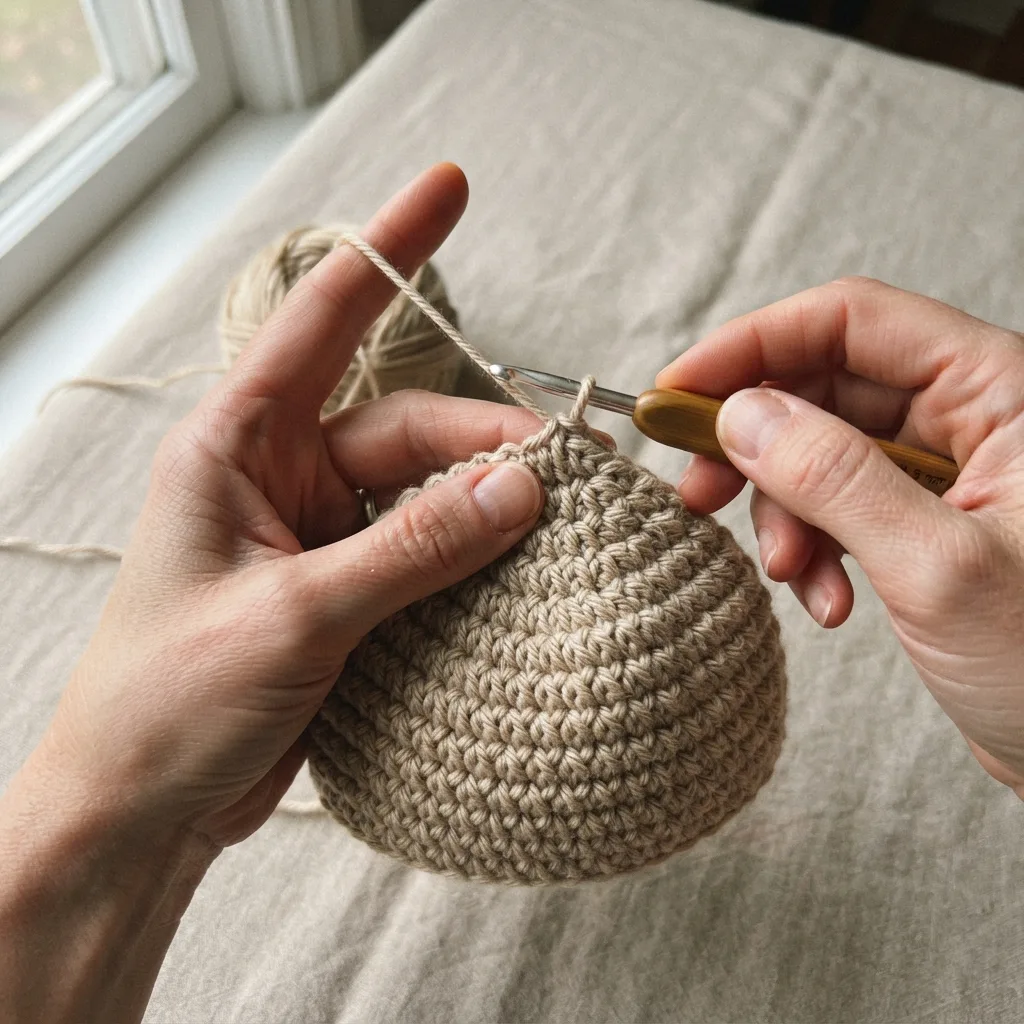
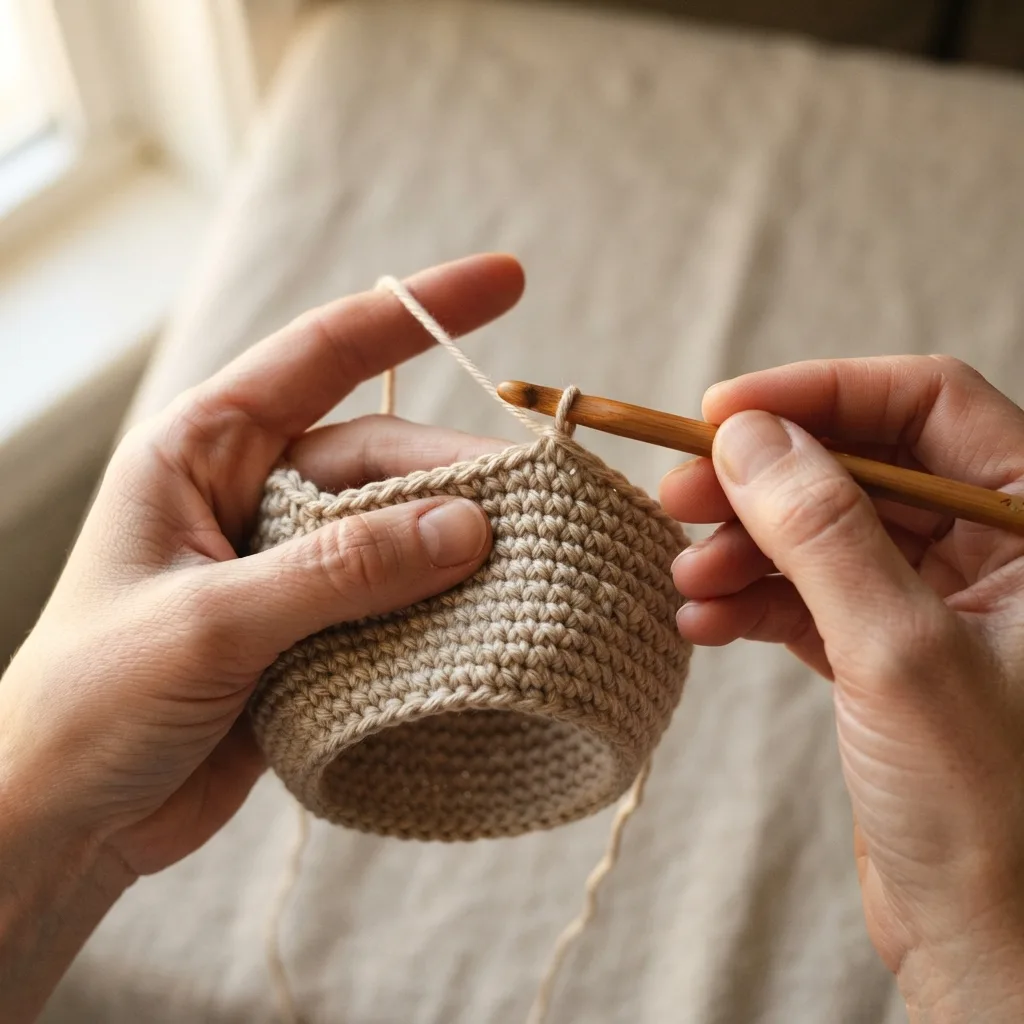
Worked in a continuous spiral from the top down. Use a stitch marker to track the start of each round.
- Rnd 1: 6 sc in MR (6)
- Rnd 2: inc x6 (12)
- Rnd 3: (sc, inc) x6 (18)
- Rnd 4: (sc 2, inc) x6 (24)
- Rnd 5: (sc 3, inc) x6 (30)
- Rnd 6: (sc 4, inc) x6 (36)
- Rnd 7: (sc 5, inc) x6 (42). This is sized for 0 to 6 months, add one more increase round here if you need a larger size.
- Rnds 8 to 15: sc around, no shaping (42). This is approximately 8 rounds and forms the main body of the hat down to ear level.
Piece 2: Textured Rib Band (continue directly from Piece 1)
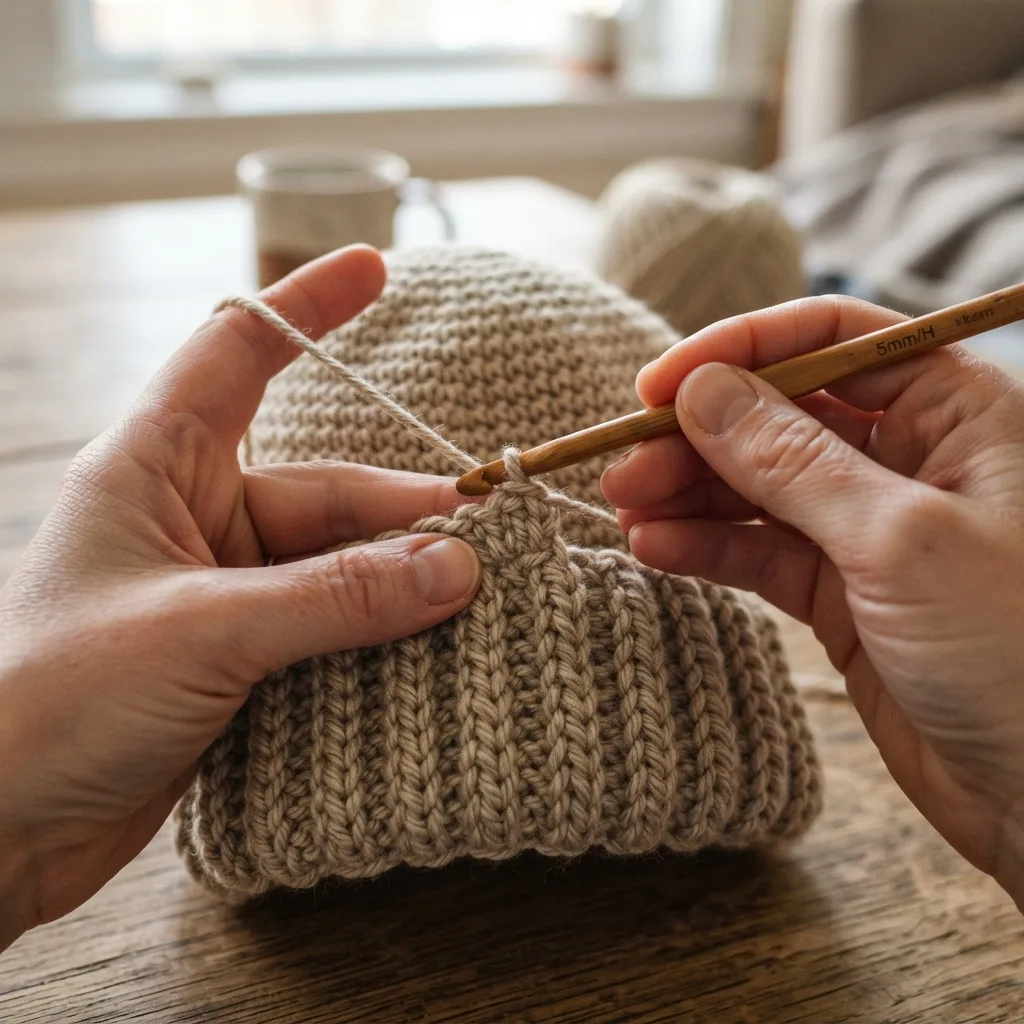
- Rnd 16, switch to the texture stitch: working FPhdc around each stitch of the previous round, meaning you work around the post of the stitch below rather than into the top loops, hdc around (42). This is what creates the raised ribbed column effect.
- Rnds 17 to 20: continue FPhdc around each stitch, working into the post of the stitch directly below in the same column each round (42). This is approximately 4 to 5 rounds and forms the ribbed brim band you see on classic textured beanies.
- Rnd 21, finishing edge: sc around in BLO for a neat closing edge (42)
- FO, leaving a long tail. Weave in the end.
Piece 3: Ears (make 2)
Worked as small flat discs, then given a slight cupped shape.
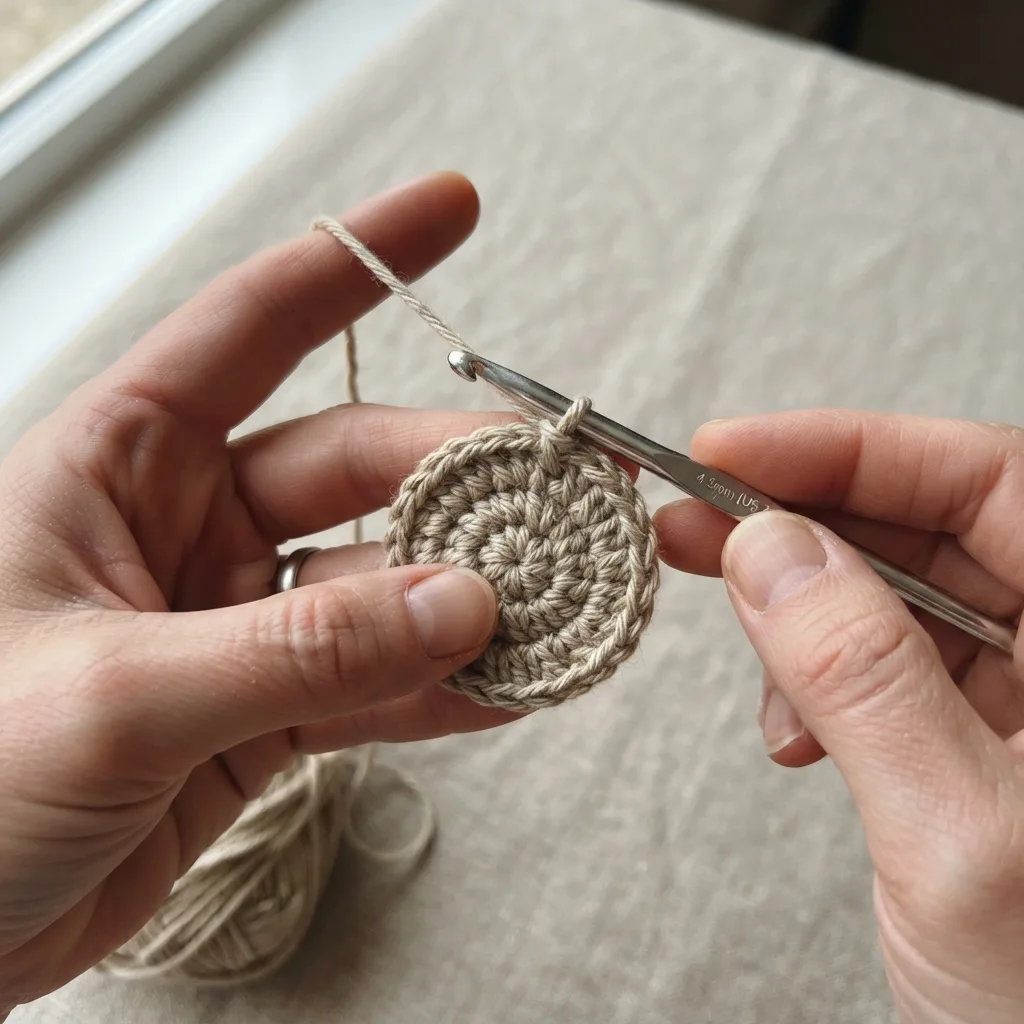
- Rnd 1: 6 sc in MR (6)
- Rnd 2: inc x6 (12)
- Rnd 3: (sc, inc) x6 (18)
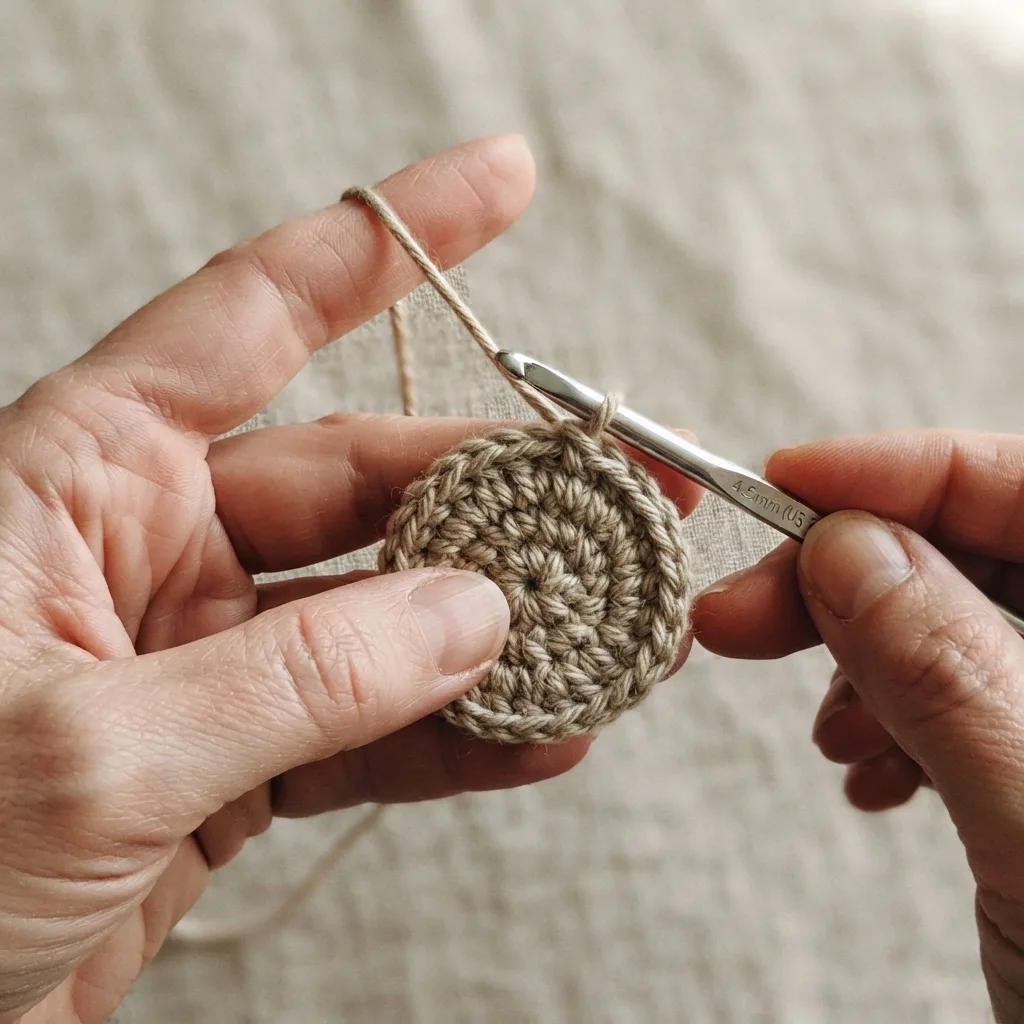
- Rnd 4: (sc 2, inc) x6 (24). The ear should now measure approximately 2 in (5 cm) across.
- Rnd 5: sl st around to finish the edge neatly (24)
- FO, leaving a long tail for sewing. Do not stuff, leave the ear as a single flat to slightly domed layer, and gently cup it inward when sewing to the hat to create some dimension.
Assembly
- Weave in all loose ends before assembly.
- Fold each ear very slightly in half and tack the base with a couple of stitches to give it a subtle cupped, three dimensional shape rather than lying completely flat.
- Sew both ears to the top of the hat body, spaced a few inches apart, positioned at the point where the crown meets the ribbed band. Angle them slightly outward and forward to mimic a natural bear silhouette.
- Try the hat on for fit, the ribbed band should stretch comfortably around the head while the crown sits rounded on top.
- Steam or lightly block the hat if the stitches look uneven, and give the ears a final shape check.
Tips for This Pattern
- If you are new to front post stitches, try working the first round slowly and check that you are inserting your hook around the post and not accidentally back into the top of the stitch, it is an easy habit to slip into at first.
- Keep the ears slightly smaller than you think you need, oversized ears tend to make the hat read as costume-like rather than a soft, wearable everyday hat.
- Since this pattern is adjustable, work a quick gauge swatch in the ribbed stitch before committing to the full hat if you are making it for a size other than 0 to 6 months, the rib stitch can pull in tighter than plain single crochet.
Loved this pattern? Browse more patterns on Learn Crochet Daily, and tag us if you make your own version, we would love to see it.