
Sky Blue and White Patchwork Crochet Cardigan Pattern
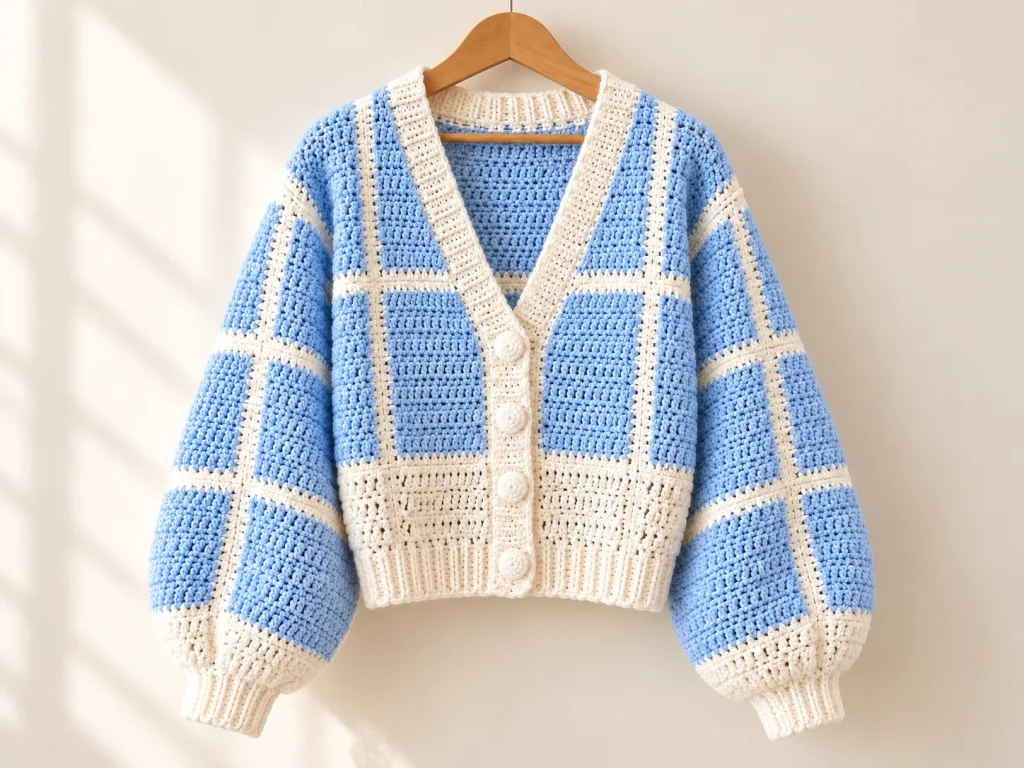
There is something so charming about a patchwork cardigan, especially when the colors are this soft.
This sky-blue and white crochet cardigan combines simple solid crochet pieces with crisp white borders, oversized sleeves, a cropped body, ribbed cuffs, and a clean three-button front. The white joins create a beautiful checkerboard effect without needing complicated color changes inside each square.
What I like most about this design is that it looks much more detailed than the individual pieces actually are. Most of the cardigan is made from straightforward double-crochet rectangles, then the shaped neckline pieces, white borders, gathered cuffs, and ribbing bring everything together.
This pattern is designed around a women’s small fit, using a waist reference of approximately 28 in / 71 cm and a wrist reference of 6.5 in / 16.5 cm. Each blue piece measures approximately 4.5 × 5 in / 11.4 × 12.7 cm, and the estimated project time is around 25–35 hours.
Make It in Your Own Colors
The sky blue and white combination gives this cardigan such a fresh, soft look, but the construction makes it very easy to personalize.
You could use blush pink and cream, sage and ivory, lavender and white, or even a darker color with a contrasting border.
The most important thing is consistency. Make one standard square first, measure it carefully, and then use the same row count and tension for all matching pieces.
Quick Pattern Details
| Detail | Information |
| Skill Level | Intermediate |
| Size | Women’s Small |
| Waist Reference | Approx. 28 in / 71 cm |
| Wrist Reference | Approx. 6.5 in / 16.5 cm |
| Square Size | Approx. 4.5 × 5 in / 11.4 × 12.7 cm |
| Estimated Time | 25–35 hours |
| Hook | 5.5 mm |
| Construction | Patchwork squares with shaped neckline pieces |
| Terminology | US crochet terms |
The standard version uses 42 blue squares plus 4 shaped neckline pieces. The back uses 10 standard squares, the fronts use 8, and the sleeves use 24 total.
Materials
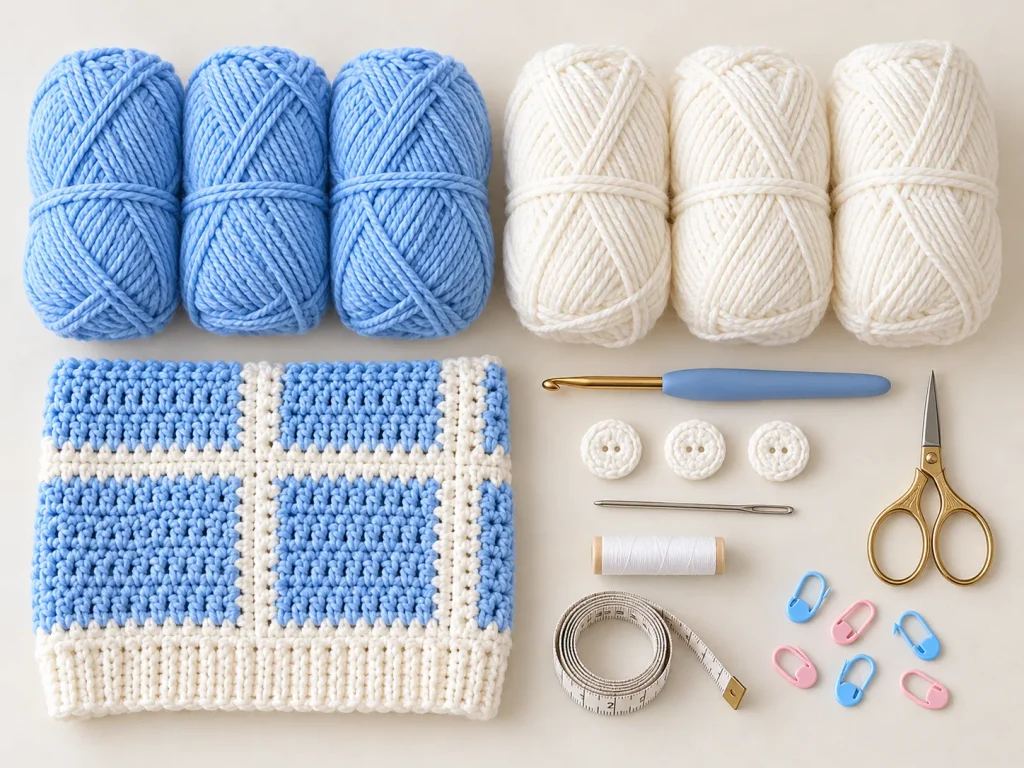
- Worsted-weight yarn
- Sky blue: 4 skeins, 380 yd each
- White: 3 skeins, 380 yd each
- 5.5 mm crochet hook
- 3 white buttons
- Scissors
- Yarn needle
- White sewing thread
- White yarn for joining
- Measuring tape
- Removable stitch markers
The sheet lists the full purchase quantities rather than exact consumption, so some leftover yarn is expected.
Abbreviations
- ch – Chain
- sc – Single crochet
- dc – Double crochet
- hdc – Half double crochet
- sl st – Slip stitch
- BLO – Back loop only
- dc2tog – Double crochet 2 together
- st(s) – Stitch(es)
- RS / WS – Right side / wrong side
- FO – Fasten off
Piece 1: Standard Blue Squares
Make 42 for the standard-length version.
Foundation
Make a slip knot and:
ch 18
The pattern does not specify whether the turning chain counts as a stitch or exactly where the first dc should be placed, so choose one working method and use it consistently for every matching piece.
Row 1
Work one full row of dc.
Following Rows
Ch 2 at the beginning of each row and continue working dc across.
Work approximately 12–13 additional rows, or until the piece measures:
4.5 × 5 in / 11.4 × 12.7 cm
Fasten off.
Make one test square before crocheting all 42. Matching the finished measurements matters more than forcing a particular row count.
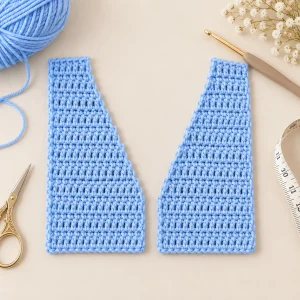
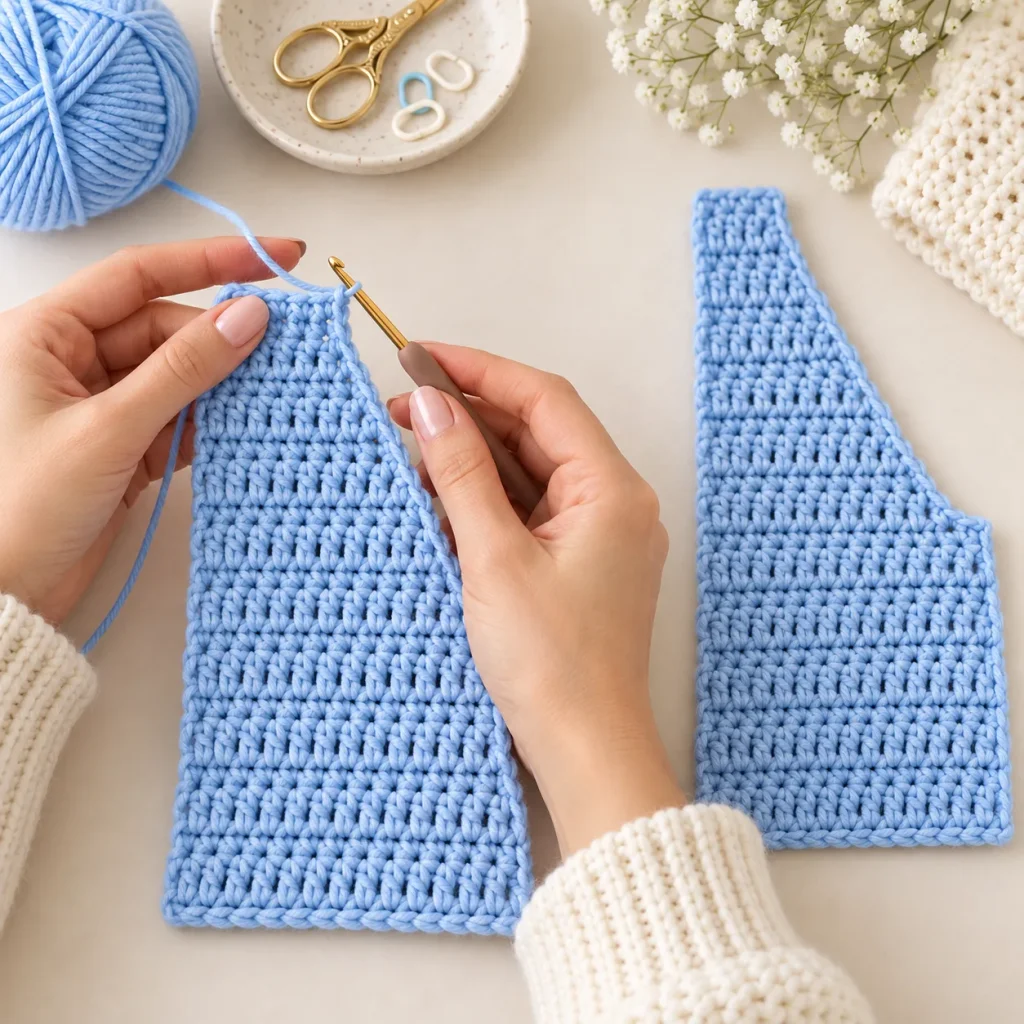
Piece 2: Back Neckline Pieces — Make 2
These pieces create the shaped opening at the back neckline.
Using sky blue:
ch 18
Rows 1–6
Work regular dc rows.
Row 7 Onward
Make 2 dc decreases on the neckline side in every row.
Work regular dc across the remaining stitches.
When you turn your work, keep the decreases on the same physical neckline edge.
Continue until the shaped piece reaches the same height as a standard square.
Make the second piece as a mirror image.
The source does not give final stitch totals, so focus on matching the height and mirrored shape rather than inventing a fixed ending count.
Piece 3: Front Neckline Pieces — Make 2
These form the V-shaped front opening.
With sky blue:
ch 18
Row 1
Work dc across until the final two foundation chains on the neckline side.
Work 1 dc decrease over those final two chains.
Following Rows
Continue working one dc decrease in every row, always keeping the shaping on the same physical neckline side.
Continue until the piece forms a triangle and reaches the same height as the standard squares.
Make the second piece as a mirror image.
Piece 4: White Borders Around Every Piece
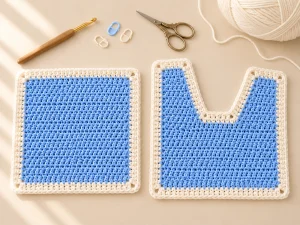
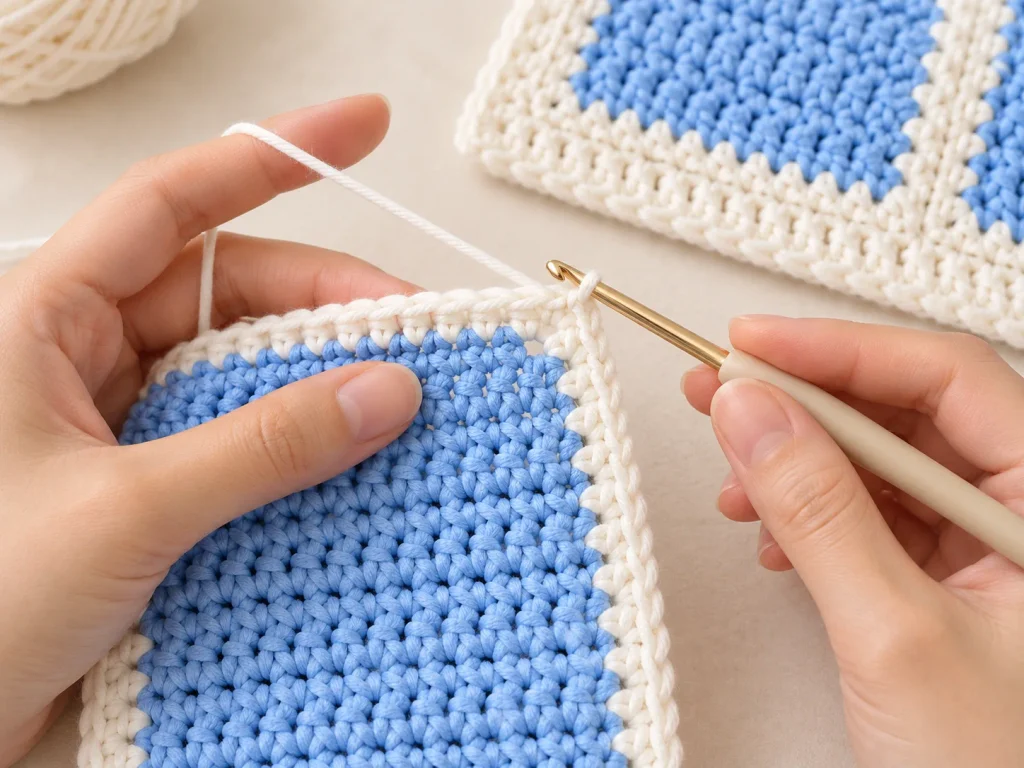
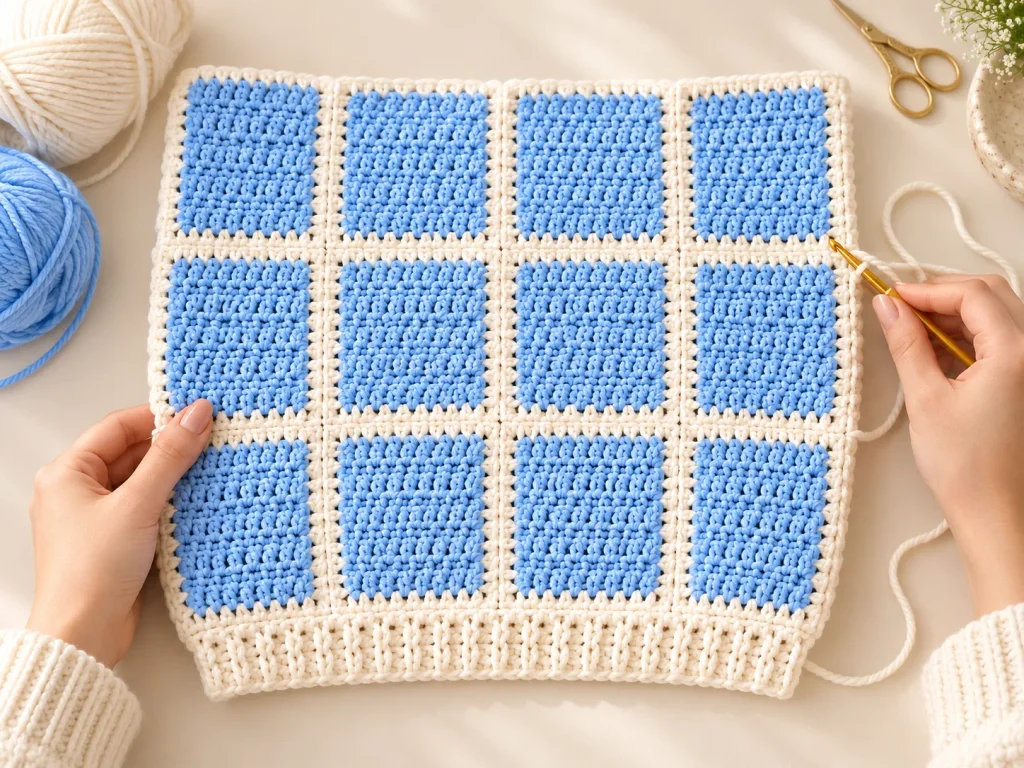
Every standard square and every shaped neckline piece gets 2 rounds of white sc.
Join white yarn to the edge of a blue piece.
Border Round 1
Sc evenly around the piece.
At each corner:
ch 2
Then continue sc along the next side.
Join with a sl st.
Border Round 2
Ch 1.
Work another round of sc around the piece, again using:
ch 2 at each corner
Join and fasten off.
Exact edge stitch counts are not supplied, so keep your spacing even and make sure corresponding pieces finish with compatible joining edges.
Piece 5: Back and Front Layout
Back Panel
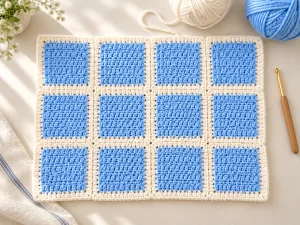
Arrange the back in 3 rows of 4 pieces.
Upper Row
- standard square
- shaped back-neck piece
- mirrored shaped back-neck piece
- standard square
Middle Row
4 standard squares.
Lower Row
4 standard squares.
The two shaped center pieces create the back neck opening.
Front Panels
Each front uses a shorter top row and a wider lower row.
For one front:
- upper row: 1 shoulder square + 1 triangular neckline piece
- lower row: 3 standard squares
Mirror the layout for the opposite front.
Keep the inner front edges open for the button opening.
Piece 6: Sleeves — Make 2
Each standard sleeve uses 12 bordered squares.
Arrange them:
- 4 squares across
- 3 rows long
This creates a wide rectangular sleeve.
For longer sleeves, add one extra row of 4 squares, giving 16 squares per sleeve.
Join the long outer edges later to create the sleeve seam.
The lower edge will receive the gathered white cuff.
Assembly
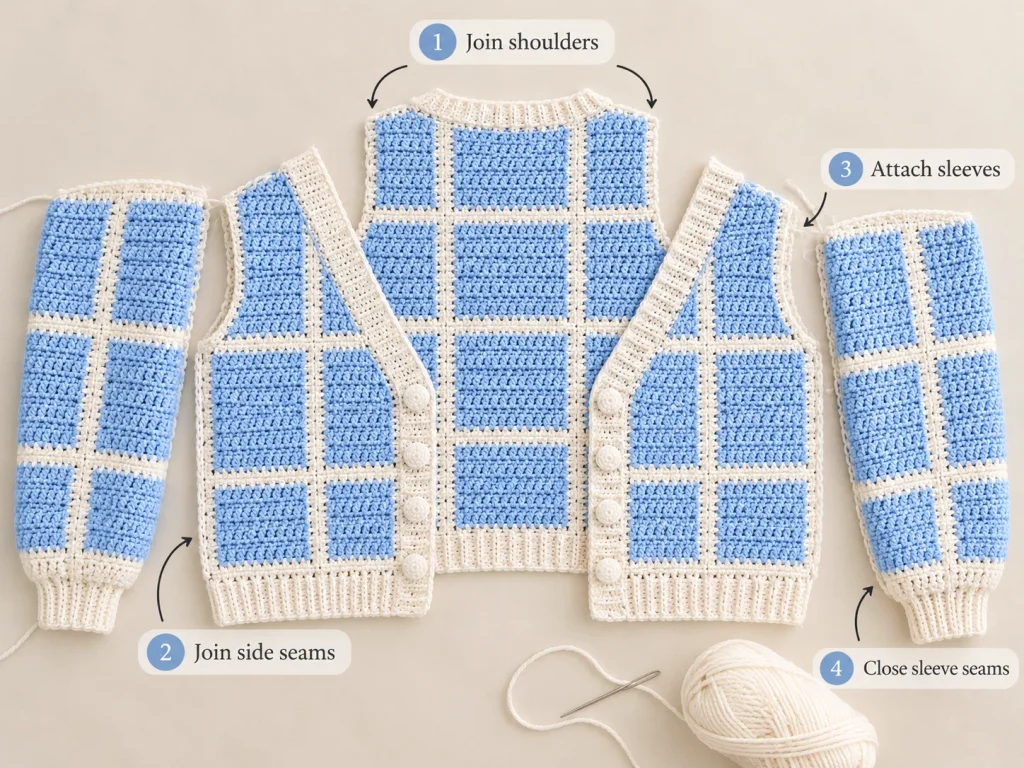
Using white yarn, place matching pieces with RS together.
Join the borders using sl st through both layers.
Build the back, fronts, and sleeve rectangles first.
Then:
- Join each front shoulder to the matching back shoulder.
- Leave the shaped neckline open.
- Join the lower side edges of the fronts to the back.
- Leave the upper side sections open for the sleeves.
- Center each sleeve on the shoulder join.
- Attach the sleeve around the armhole.
- Join the two long sleeve edges to close the sleeve.
Do not pull the slip-stitch seams too tightly. The white joins should stay visible and flexible, creating the checkerboard look.
Piece 7: Gathered Sleeve Cuffs
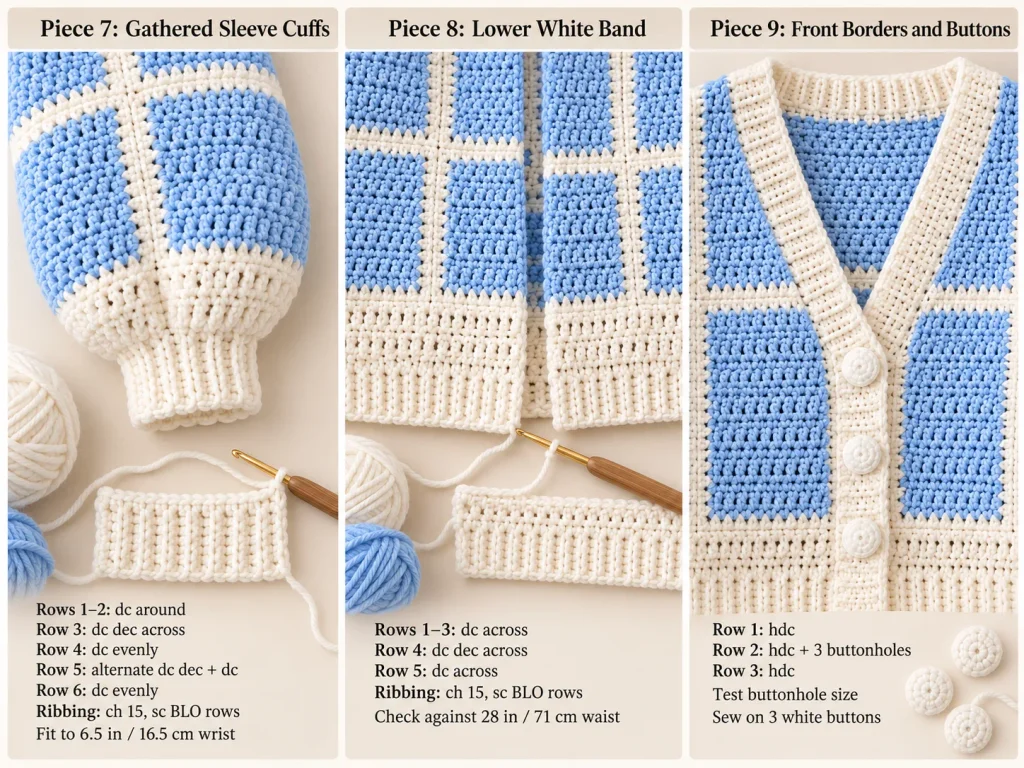
Using white yarn:
Rows 1–2
Work dc around the sleeve opening.
Row 3
Work dc decreases across the entire row.
Row 4
Dc evenly across.
Row 5
Alternate:
1 dc decrease, 1 regular dc
across.
Row 6
Dc evenly across.
For a looser cuff, you can stop the gathering sequence after Row 4 and move directly to the ribbing.
Ribbing
Ch 15.
Work sc BLO rows until the ribbing fits comfortably around the wrist.
Use the 6.5 in / 16.5 cm wrist reference as your guide.
The source does not provide a fixed ribbing-row count, so fit is more important than forcing a number.
Piece 8: Lower White Band
Work white yarn along the entire lower garment edge while keeping the center front open.
Rows 1–3
Dc across.
Row 4
Work dc decreases across the row.
Row 5
Dc across.
Then begin the ribbing with:
ch 15
Work sc BLO rows as you did for the sleeve cuffs.
Check the band against the 28 in / 71 cm waist reference and your own measurement.
Piece 9: Front Borders and Buttons
Using white yarn, begin at the lower band and work along the front opening and neckline.
Row 1
Work one hdc row.
Row 2
Work another hdc row, placing 3 buttonholes on your chosen side.
Row 3
Finish with one regular hdc row.
The pattern does not give a fixed buttonhole chain length, so test your actual buttons and make each opening only large enough for the button to pass through comfortably.
Sew 3 white buttons onto the opposite front, matching them carefully to the buttonholes.
Final Finishing
Weave in all joining, border, and ribbing ends.
Check that:
- the two neckline sides mirror each other
- both sleeves are the same length
- the white joins sit evenly
- the cuffs fit comfortably
- the lower band sits nicely at the waist
- all 3 buttons line up cleanly
A gentle final block can help relax the patchwork seams and make the white grid look more even.
Final Thoughts
This cardigan is definitely a bigger project than a one-piece sweater, but the patchwork construction makes it surprisingly enjoyable to work on.
I love that you can make the blue pieces a few at a time, border them in white, and slowly watch the cardigan come together like a puzzle.
The oversized sleeves and soft blue color give it a relaxed feel, while the white joins, ribbing, and button band keep everything looking polished.
Take your time matching the square sizes and mirrored neckline pieces. Those details make the biggest difference in the finished cardigan.
Once everything is assembled, you end up with a cozy handmade piece that feels playful, clean, and completely unique.