
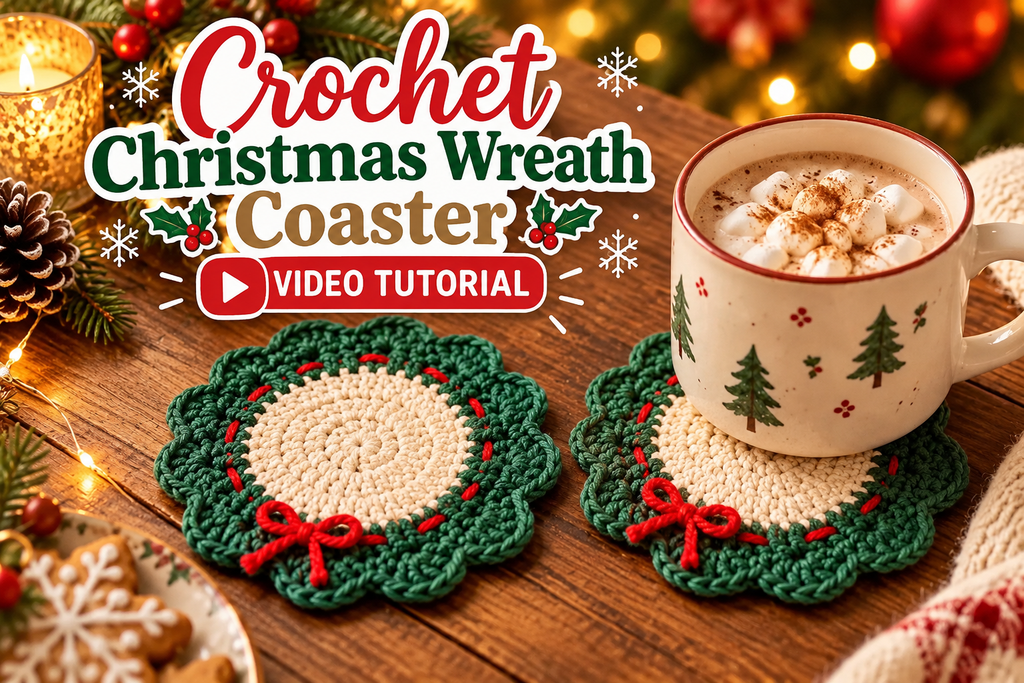
Christmas Wreath Crochet Coaster Pattern: A Handmade Gift That Holds a Mug
Key Takeaways
- This is a confident-beginner pattern in US terms, worked in joined rounds without turning.
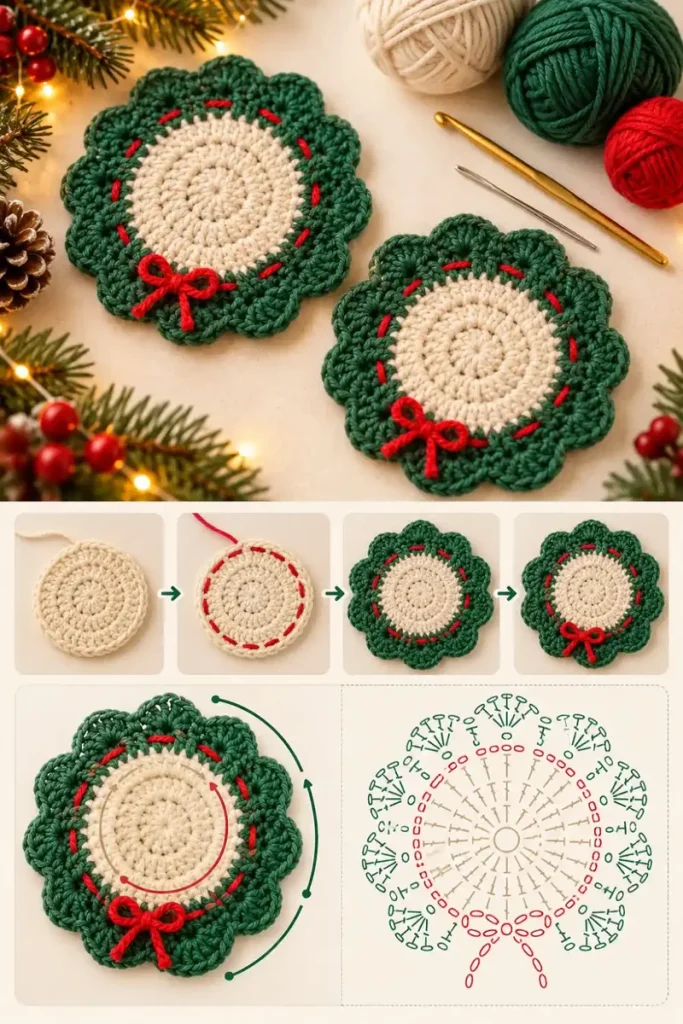
- A cream center grows from 6 to 48 single crochet, then a green border adds 12 scalloped shells.
- Red running stitches and a small bow finish the wreath look.
- A larger version adds two rounds and reaches 60 stitches, which divides evenly into the shell repeat.
- The pattern has not been physically tested, so make one sample before you make a set.
It’s mid-December, the gift list is longer than your free evenings, and a scarf is out of the question. You want something small, handmade, and actually useful. A coaster fits that description. It uses little yarn, it sits on a table all winter, and someone will use it every time they set down a hot drink.
So here’s a wreath coaster: a solid cream center, a scalloped green border, red stitching, and a bow. Let’s walk through it round by round.
Read this first: this pattern has not been crocheted or tested. The stitch counts were checked for consistency only. The finished size (about 4 to 5 inches across the scallops) and the yarn amount (30 to 45 yards per coaster) are estimates, not measurements. Make one sample before you start a batch for gifts.
Why This Wreath Coaster Works for Handmade Gifts
Gift crochet fails in two places: it takes too long, or it doesn’t survive real use. This design addresses both. The center is plain single crochet, so the flat surface can hold a cup. All the decoration sits on the border, away from the cup.
The cream center is a flat disk. The green shells form the scalloped wreath edge, and the red stitching and bow add the holiday detail. Worsted-weight cotton keeps the fabric firm and washable. Have you ever made a coaster that curled up like a taco? The checks built into this pattern are there to prevent that.
Materials and Skill Level
- Worsted-weight cotton yarn in cream (center), dark green (border), and red (stitching and bow)
- 4 mm crochet hook, or a size that makes a firm fabric with your yarn
- Blunt yarn needle
- Scissors
- Removable stitch marker
- Flat drying surface and rustproof pins (optional, for gentle blocking)
Skill level is confident beginner. You need a magic ring, single crochet, increases, and double crochet. Abbreviations: ch (chain), sl st (slip stitch), sc (single crochet), dc (double crochet), inc (2 sc in the same stitch), and shell (5 dc in the same stitch).
Step-by-Step Crochet Instructions
Three rules apply to every round. Work in joined rounds without turning. The ch 1 at the start of a round does not count as a stitch. Join with a sl st into the first sc of the round, never into the previous joining slip stitch. Mark that first sc if you have trouble finding it.
Step 1: Start the Cream Center (Round 1)
With cream yarn, make a magic ring. Ch 1, work 6 sc into the ring, close the ring, and sl st into the first sc. You now have 6 stitches. Why this matters: a tight ring keeps the middle of the coaster closed.
Step 2: Increase to 48 Stitches (Rounds 2 to 8)
Round 2: ch 1, inc in each stitch around (12 sc). From Round 3 on, ch 1 and repeat [sc in each of the next stitches, inc in the next stitch] 6 times, then join. The number of plain sc grows by one each round: 1 in Round 3, 2 in Round 4, and so on up to 6 in Round 8. Fasten off cream after Round 8. Counts are in the table below. Count after every round.
Step 3: Check the Cream Disk
Lay the disk on a flat surface. It should lie reasonably flat. A slightly six-sided outline can come from stacked increases, and gentle blocking may soften it. If it cups or ruffles noticeably, check your stitch counts and tension before moving on. Honestly, this is the step people skip, and it’s the cheapest place to fix a problem.
Step 4: Work the Green Foundation (Round 9)
Join green yarn with a sl st in any stitch of Round 8. Ch 1, sc in the same stitch and in each remaining stitch around (48 sc). Sl st into the first sc. This round is the base for the scallops and the line for the red stitching later.
Step 5: Make the Scallops (Round 10)
Ch 1, sc in the same stitch as the join. Skip the next stitch, work 5 dc into the next stitch, skip the next stitch. Repeat [sc in next stitch, skip next stitch, 5 dc in next stitch, skip next stitch] 11 more times. Sl st into the first sc, fasten off, and weave in the ends. You should have 12 shells. The final skipped stitch is the last unused stitch of Round 9, just before the first sc, so don’t add another shell at the join.
Step 6: Add the Red Stitching
Cut red yarn about three times the coaster’s circumference, plus extra for tails. With a yarn needle, work a running stitch around the green foundation (Round 9): over about two stitch-widths on the front, under about two on the back, all the way around the 48 stitches. That gives about 12 visible red dashes. Go around stitch posts rather than splitting the yarn, and keep the yarn relaxed so the coaster doesn’t gather.
Step 7: Make and Attach the Bow
Tie a small bow from a separate length of red yarn and adjust the loops and tails. With a short matching strand, sew the center knot to a low point between two green shells, toward the outside edge. Trim the tails and secure the ends.
Stitch Count Reference
| Round | Color | Stitches | Repeat |
|---|---|---|---|
| 1 | Cream | 6 sc | 6 sc in magic ring |
| 2 | Cream | 12 sc | inc in each stitch |
| 3 | Cream | 18 sc | [1 sc, inc] x 6 |
| 4 | Cream | 24 sc | [2 sc, inc] x 6 |
| 5 | Cream | 30 sc | [3 sc, inc] x 6 |
| 6 | Cream | 36 sc | [4 sc, inc] x 6 |
| 7 | Cream | 42 sc | [5 sc, inc] x 6 |
| 8 | Cream | 48 sc | [6 sc, inc] x 6 |
| 9 | Green | 48 sc | sc in each stitch |
| 10 | Green | 12 sc and 12 shells (60 dc) | [sc, skip 1, 5 dc, skip 1] x 12 |
Practical Tips for a Flat, Giftable Coaster
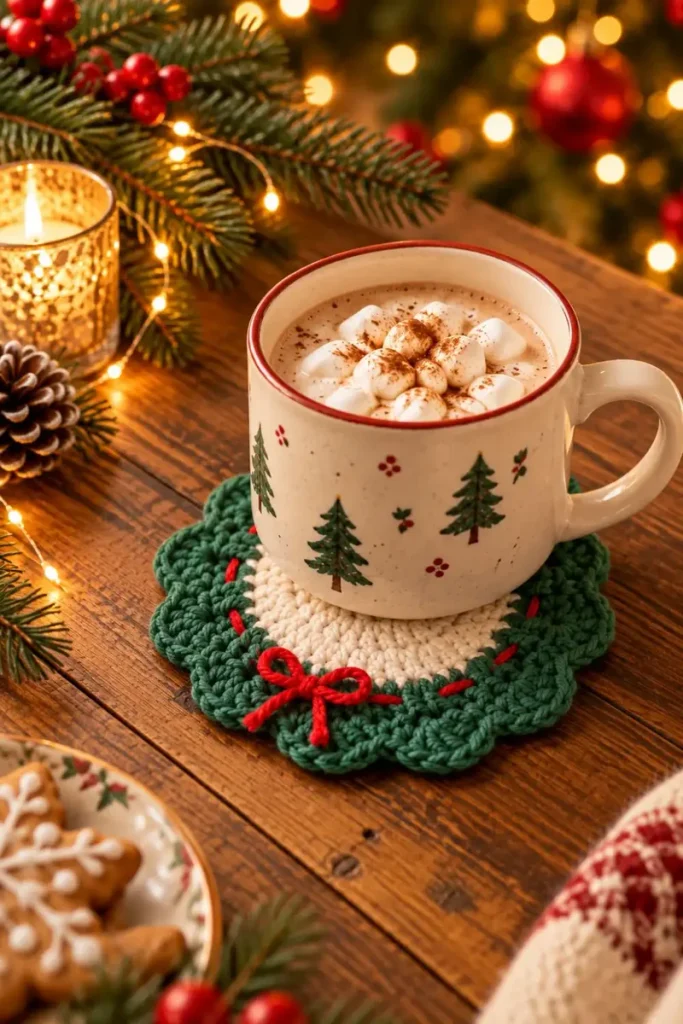
- Do the cup-fit check. The mug or glass should sit entirely on the flat cream center, without resting on the bow or thick yarn ends. If the cup touches the green border, omit the bow or make the larger version.
- Want a bigger center? After Round 8, add Round 9 (54 sc): ch 1, [7 sc, inc] 6 times, join. Then Round 10 (60 sc): ch 1, [8 sc, inc] 6 times, join, and fasten off. Make the green foundation 60 sc and repeat the shell sequence 15 times, giving 15 sc and 15 shells (75 dc). The fixed two-over, two-under red stitching is for the 48-stitch version only, so space it evenly on the larger one.
- Weave ends smartly. Run them along several stitches on the back and avoid bulky knots under the cream center.
- Block gently if needed. Dampen according to the yarn-care instructions, smooth flat, arrange the scallops evenly, and let it dry completely.
- Test for color transfer. Check the red and green yarn on a small damp swatch before washing with the cream.
Why does my cream center cup or ruffle?
Cupping usually means missing increases or tight tension. Ruffling usually means more than six increases in a round, or tension issues. Recount each round against the table above.
Why do I only get a few scallops?
Round 9 must have 48 sc, and each shell repeat uses four foundation stitches. Forty-eight divided by four gives 12 scallops. If your count is off, the repeat won’t close evenly.
Why does the larger version add two rounds instead of one?
A 54-stitch round can’t be divided evenly into the four-stitch shell repeat, but 60 stitches can. That is why the larger version goes to 60 before the border.
Can I wash it?
Follow the yarn label for washing. Avoid fabric stiffener so the cotton stays washable and absorbent. Test the colored yarns for transfer first, as noted above. I haven’t verified wash performance on a finished coaster, so treat your first sample as the test.
Make One, Check It, Then Make the Set
Back to that crowded December: a coaster is small enough to fit between everything else, and if it passes the flat check and the cup-fit check, it’s ready to wrap. Make one complete coaster, measure the cream center against your actual cup base, and confirm it lies flat before you commit to a matching set. Then tell me which version you made: the standard 48-stitch coaster or the larger one, and did your cup sit flat?
Video Tutorial
Prefer to watch the stitches being worked? Follow along with the video below, then use the written steps as your checklist.